17
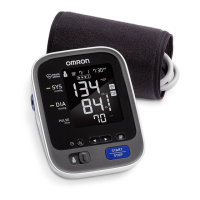
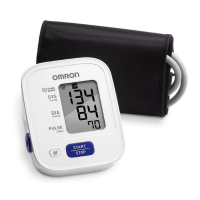
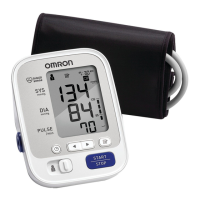
TAKING A MEASUREMENT
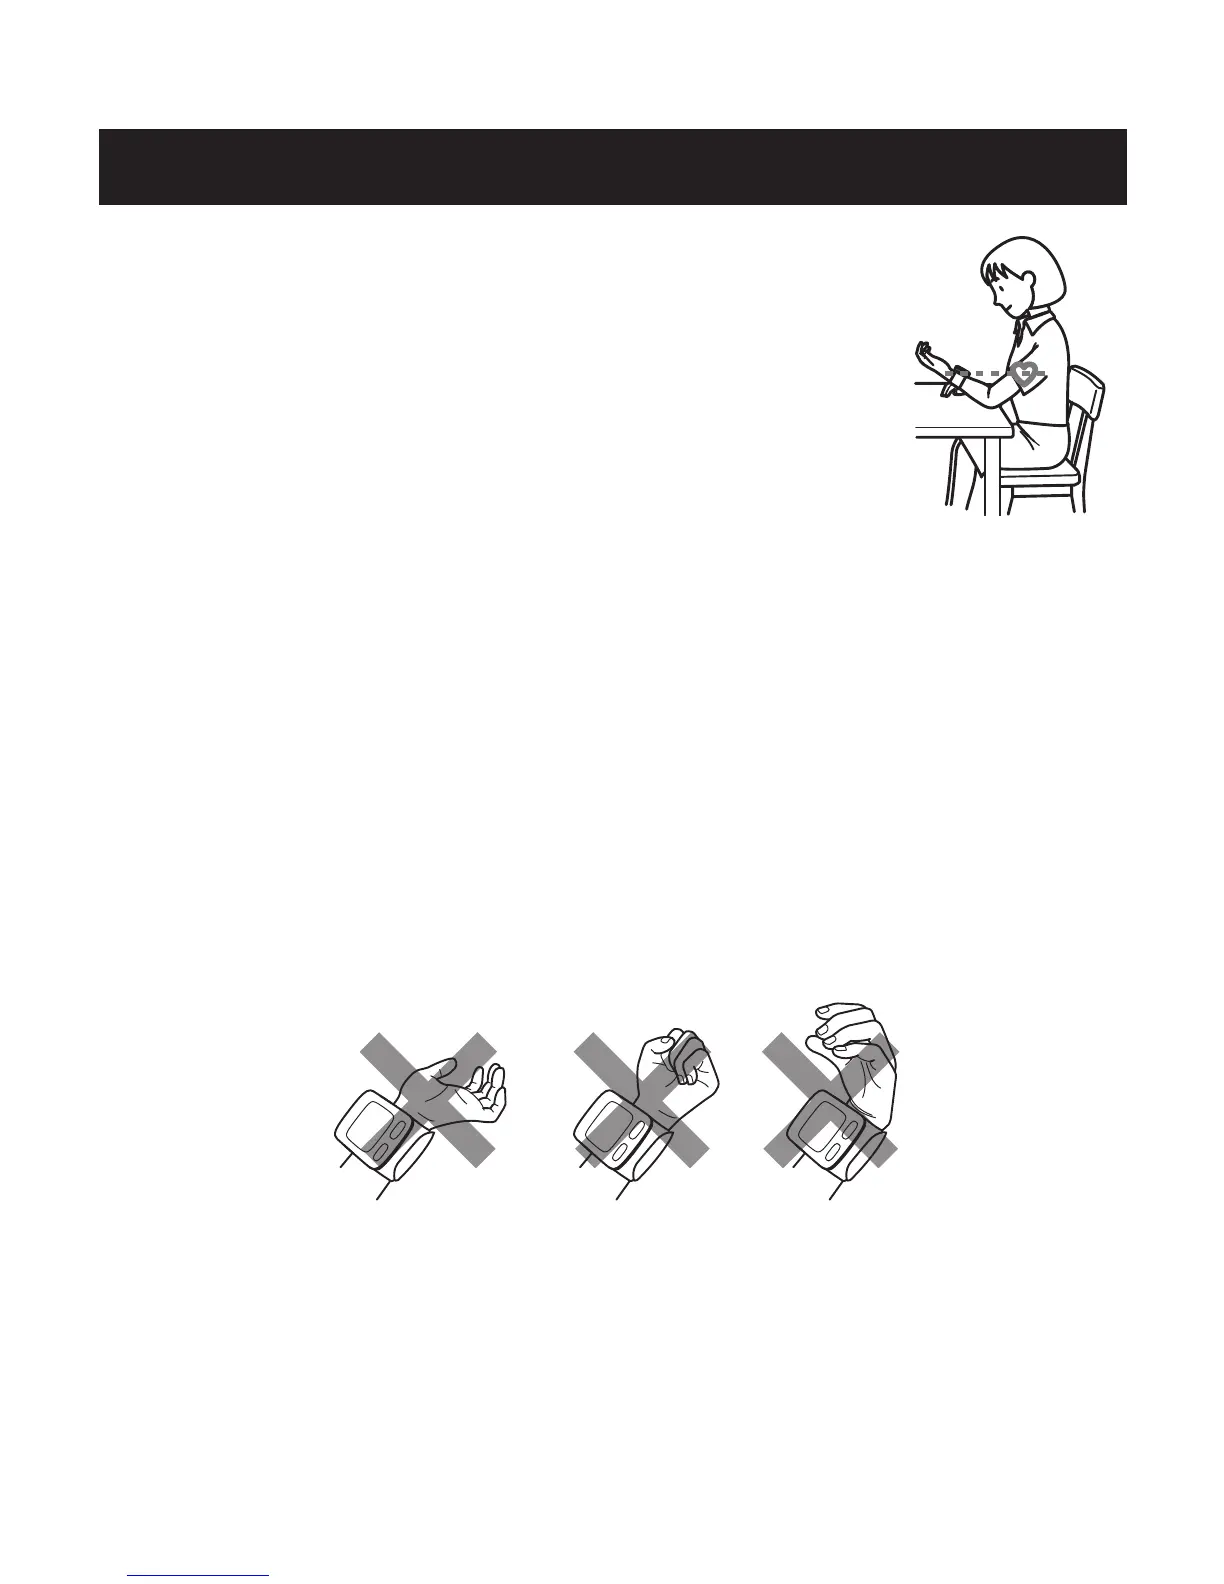
1. Sit comfortably on a chair with your feet flat on the
floor and place your elbow on a table in order to relax
before starting blood pressure measurement.
NOTES: • The distance from the top of your seat
measuring to the top of the table you are sitting
at, should be 12±2 inches (30±5 cm). If the
distance measured between the top of your seat
and table do not fall within this parameter,
please correct your seat or table height. If you
are unable to make any seat or table
adjustments, please turn-off the position sensor
and position your wrist at heart-level by
yourself.
• The cuff must be approximately the same height
as your heart. If the cuff is too high above your
heart, your blood pressure will read artificially
low. If the cuff is too low below your heart, your
blood pressure will be artificially high.
• Relax your wrist and hand. Do not bend your
wrist back, clench your fist, or bend your wrist
forward.
2. Press the START/STOP button.
All symbols appear on the display.
Heart Zone Guidance-The monitor has a built-in Positioning sensor that is
used as an aid in determining if the monitor is at the correct height. It has been
designed to work with most people so that when your wrist is at the correct
position relative to your heart, the Positioning indicator will be blue. If the
Positioning indicator changes to orange, the device may not be at the correct
height relative to your heart. Due to difference in individual size and physique,
this feature may not helpful in all cases and you may wish to turn off this
feature. If you feel the position of the wrist according to positioning sensor's
guidance does NOT match your heart level, please turn off this feature and
follow your judgement. It can be disabled, see “Setting the Positioning Sensor”
below.
NOTE: Even if the device is not positioned properly and the Positioning
indicator is orange, after 5 seconds the monitor will start the
measurement and the wrist cuff will start to inflate.