34
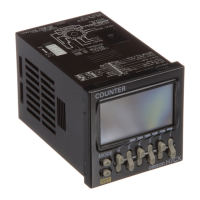
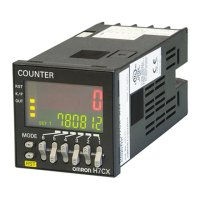
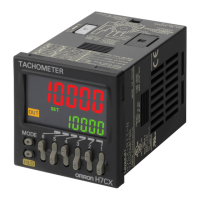
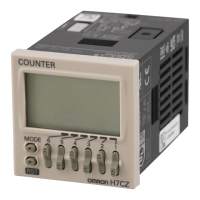
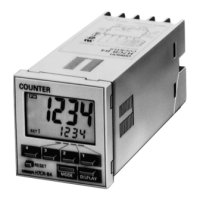
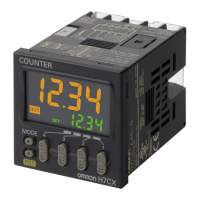
H7CXH7CX
Installation
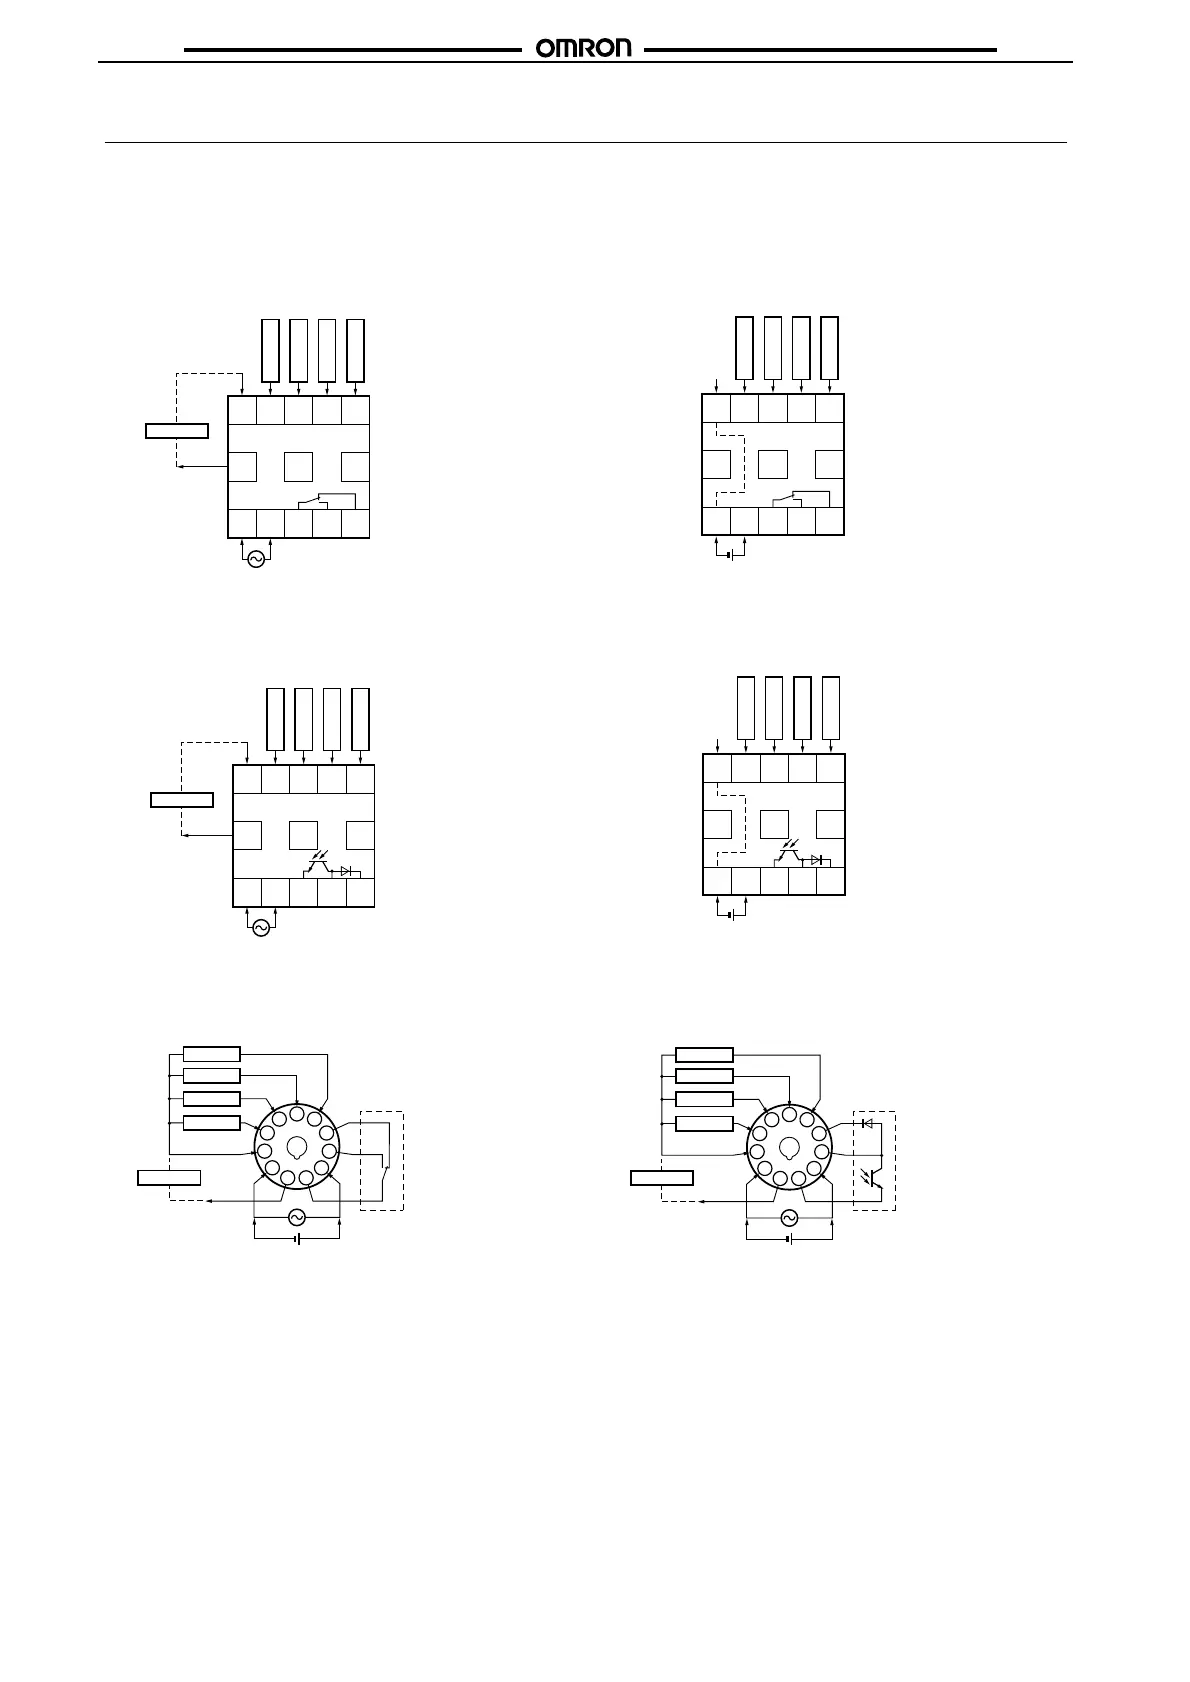
■ Terminal Arrangement
Confirm that the power supply meets specifications before use.
Note: Do not connect unused terminals as relay terminals.
6
7
8
9
10
11
1
2
3
4
5
(+)
(−)
CP1
CP2
OUT
0 V
(−)
(+)
678910
11 12 13
OUT
(
−)
(+)
0 V
12345
678910
11 12 13
OUT
(+)(−)
0 V
12345
678910
11 12 13
12345
OUT
(−)
(+)
0 V
678910
11 12 13
0 V
12345
(+)(−)
OUT
6
7
8
9
10
11
1
2
3
4
5
(+)
(−)
CP1
CP2
0 V
OUT
(−)
(+)
H7CX-A/-A4
1-stage Contact Output
H7CX-AD/-A4D
1-stage Contact Output
H7CX-AS/-A4S
1-stage Transistor Output
H7CX-ASD/-A4SD
1-stage Transistor Output
H7CX-A11/-A114/-A11D1/-A114D1
1-stage Contact Output
Sensor, etc.
Reset
CP2
CP1
Total re se t
Unused
Unused
12 VDC
External power
supply
Reset
CP2
CP1
Total re set
Unused Unused
Unused
Note: Terminals 1 and 6 are connected internally.
Reset
CP2
CP1
Total re se t
Sensor, etc.
12 VDC
External power
supply
Unused Unused
Reset
CP2
CP1
Total re set
Unused Unused
Unused
H7CX-A11S/-A114S/-A11SD1
1-stage Transistor Output
Reset
Total re se t
Sensor, etc.
12 VDC
Note: Terminals 1 and 6 are connected internally.
External power supply
Internal circuit
Reset
Total reset
Sensor, etc.
12 VDC
External power supply
Internal circuit
 Loading...