Spark Plugs
The genset has two spark plugs. The spark plugs
must be in
QOOd
condition and have the proper gap
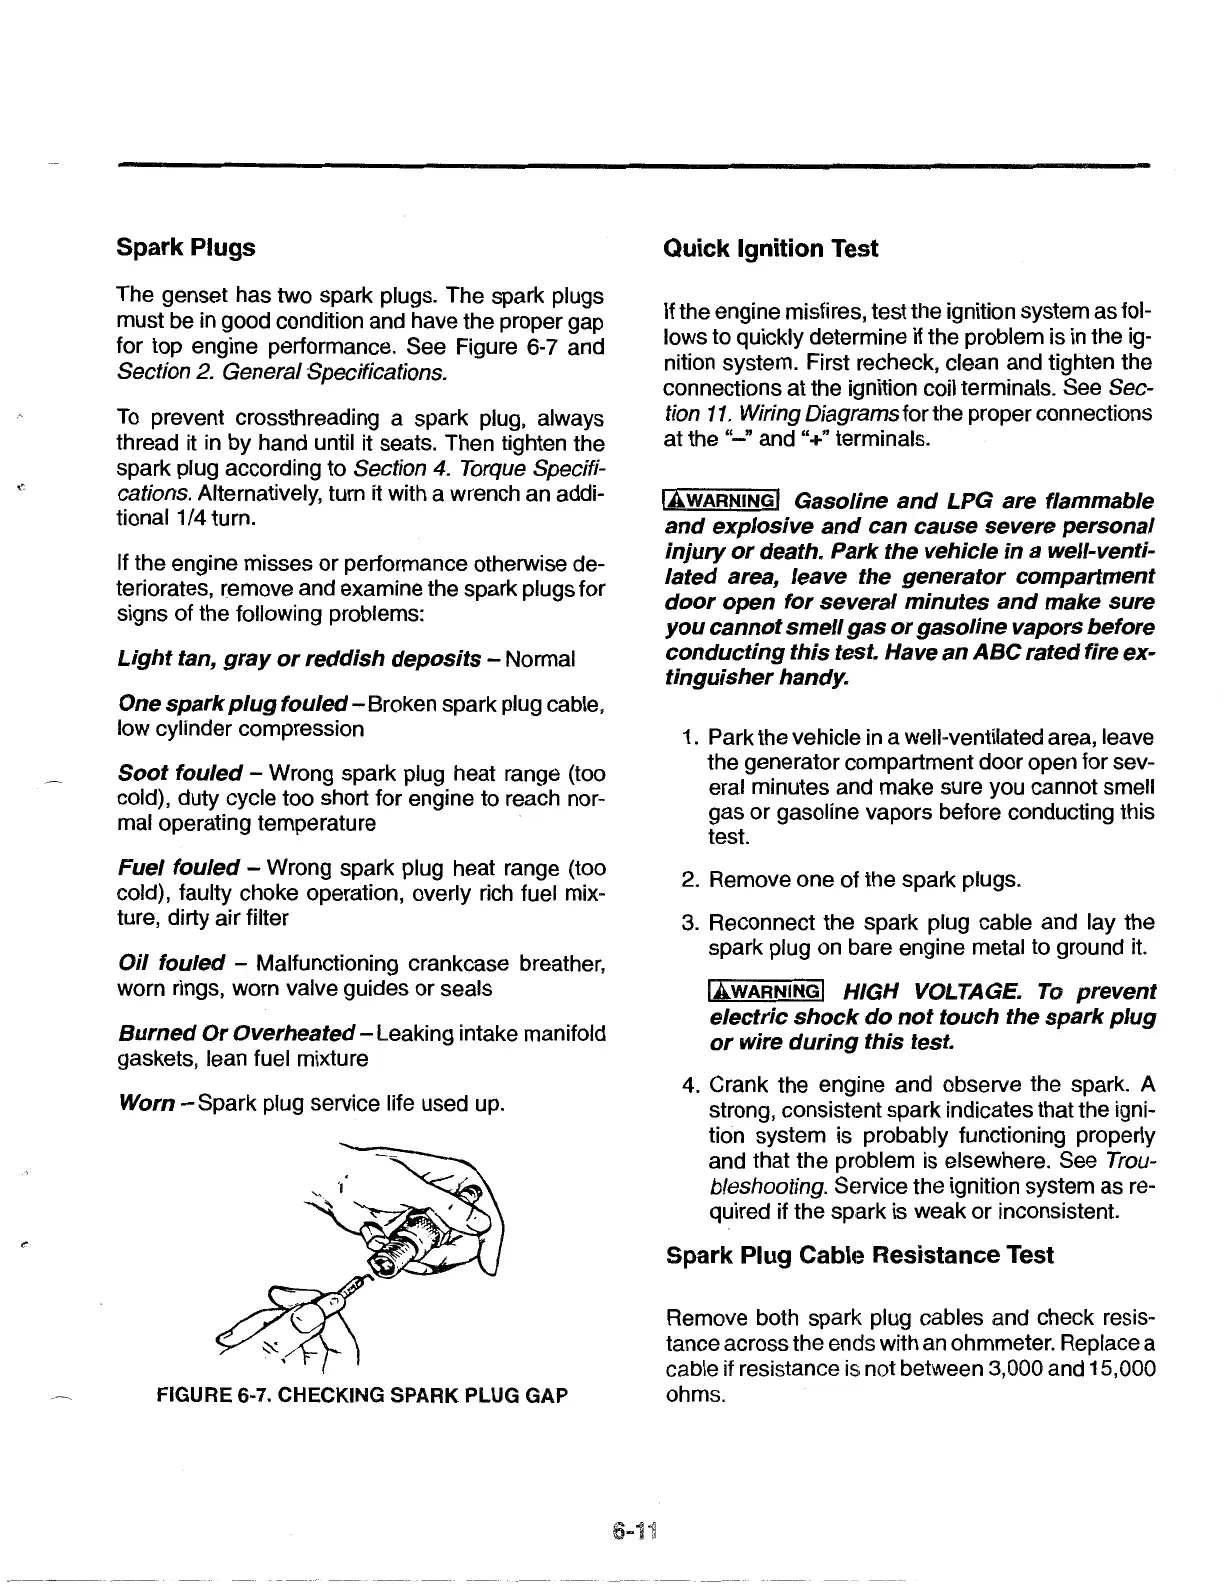
for top engme performance. See Figure 6-7 and
Section 2. General Specifications.
To
prevent crossthreading a spark plug, always
thread it
in
by
hand until it seats. Then tighten the
sp~rk
plug according to Section
4.
Torque Specifi-
cations. Alternatively, turn it with a wrench an addi-
tional1/4
turn.
If the engine misses or performance otherwise de-
teriorates, remove and examine the spark plugs for
signs of the following problems:
Light
tan,
gray
or
reddish
deposits
- Normal
One
s~ark
plug
foule~-
Broken spark plug cable,
low cylinder compression
Soot
fouled
- Wrong spark plug heat range (too
cold), duty cycle too short for engine to reach nor-
mal operating temperature
Fuel
fouled
- Wrong spark plug heat range (too
cold), faulty choke operation, overly rich fuel mix-
ture, dirty air filter
Oil
fouled
- Malfunctioning crankcase breather
worn rings, worn valve guides or seals '
Burned
Or
Overheated-
Leaking intake manifold
gaskets, lean fuel mixture
Worn
-Spark
plug service life used up.
FIGURE 6-7. CHECKING SPARK PLUG GAP
6-11
Quick
Ignition
Test
If the engine misfires, test the ignition system as fol-
lows to quickly determine if the problem is in the ig-
nition system. First recheck, clean and tighten the
connections
at
the ignition coil terminals. See Sec-
tion
11.
Wiring Diagrams for the proper connections
at
the "-!' and "+" terminals.
IAWARNINGI
Gasoline
and
LPG are flammable
and
explosive
and
can
cause severe
personal
injury
or
death.
Park
the vehicle
in
a well-venti-
lated
area, leave the
generator
compartment
door
open
for
several
minutes
and
make
sure
you
cannot
smell
gas
or
gasoline
vapors
before
conducting
this
test. Have
an
ABC
rated fire ex-
tinguisher
handy.
1.
Park the vehicle in a well-ventilated area, leave
the generator compartment door open for sev-
eral minutes and make sure you cannot smell
gas
or
gasoline vapors before conducting this
test.
2. Remove one of the spark plugs.
3.
Reconnect the spark plug cable and lay the
spark plug on bare engine metal to ground it.
IAWARNINGI
HIGH VOLTAGE.
To
prevent
electric
shock
do
not
touch
the
spark
plug
or
wire
during
this
test.
4. Crank the engine and observe the spark. A
strong,
consist1~nt
spark indicates that the igni-
tion system is probably functioning properly
and that the problem is elsewhere. See Trou-
bleshooting. Service the ignition system as re-
quired if the spark is weak or inconsistent.
Spark Plug
Cabh:!
Resistance Test
Remove both spark plug cables and check resis-
tance across the ends with an ohmmeter. Replace a
cable
if resistance is not between 3,000 and 15,000
ohms.
 Loading...