CRANKSHAFT
Remove the crankshaft after the connecting rod and
piston have been removed, carefully pull the crankshaft
out of the oil seal and bearing.
Inspection
Check the crankpin
O.D.
and finish.
If
it is worn or scored
and cannot be smoothed out by polishing or
if
it exceeds
the allowable size limit, the crankshaft should be
replaced.
Installation
Lubricate the bearings with engine oil. Slide the crank-
shaft into the bearing. Install the crankcase cover and
check
to
see that the crankshaft turns freely.
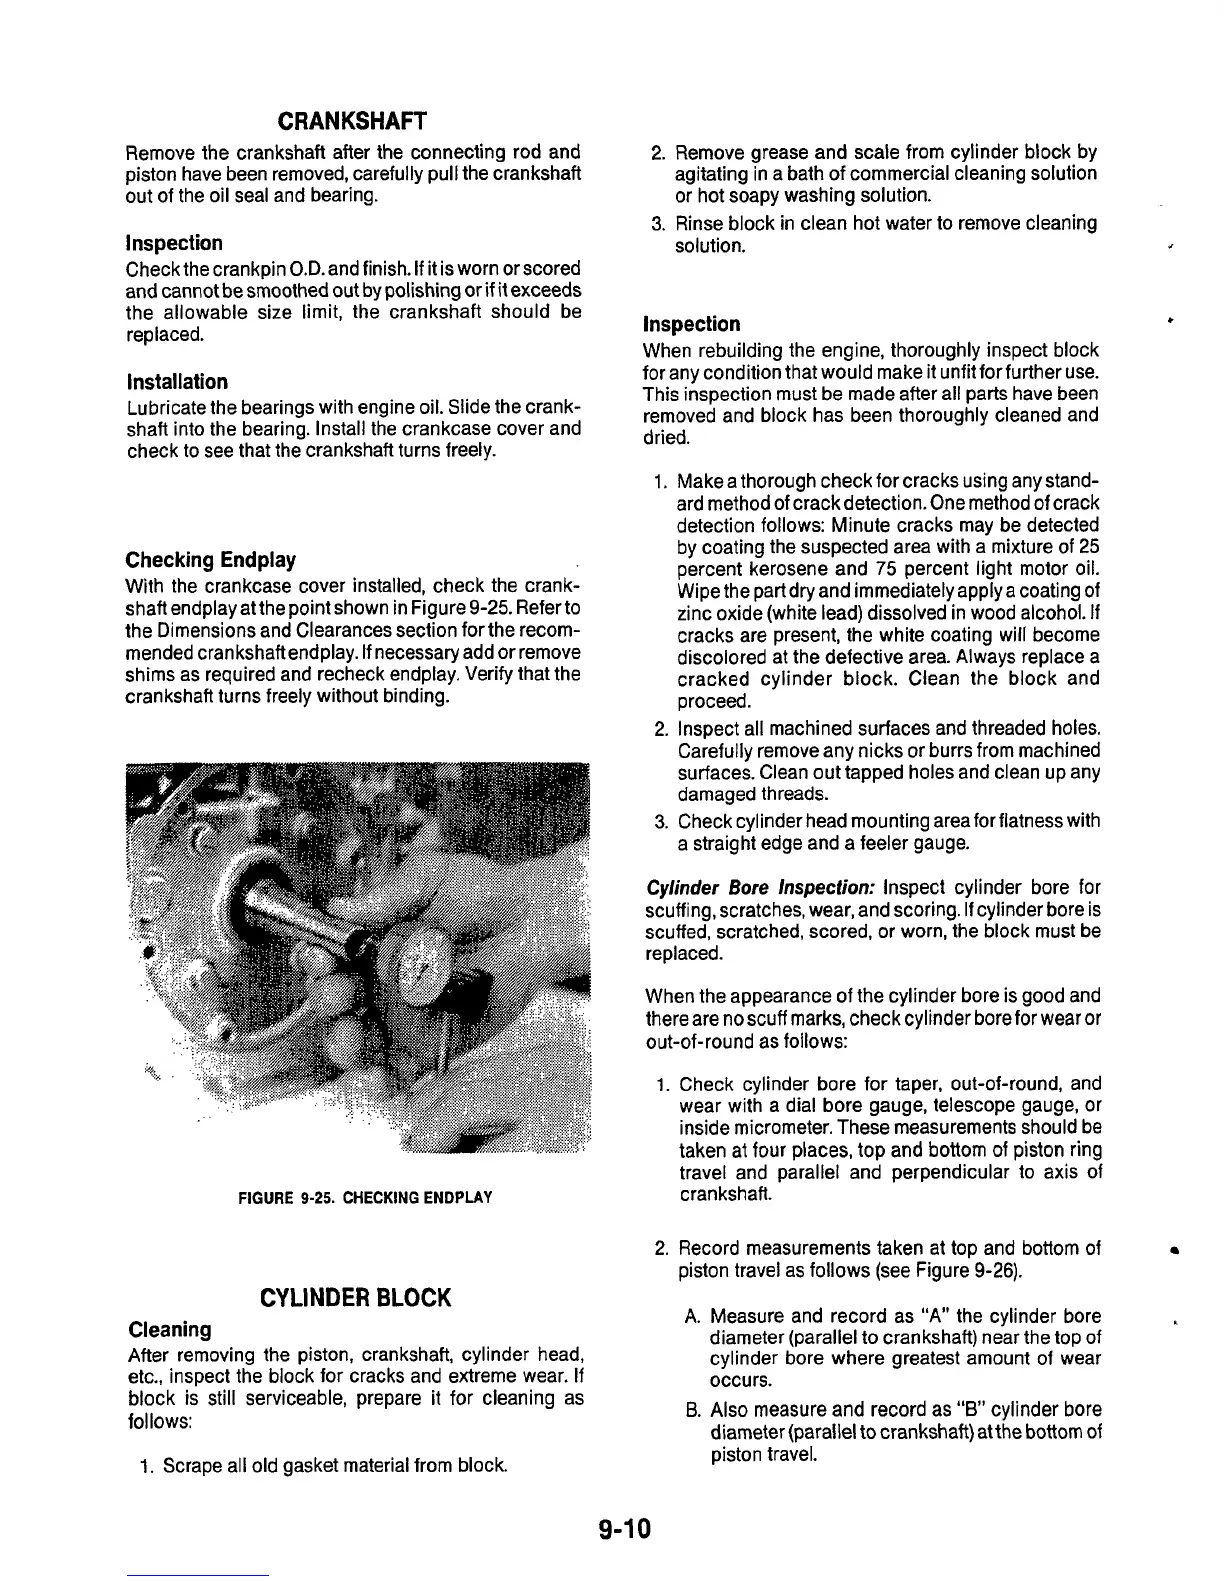
Checking Endplay
With the crankcase cover installed, check the crank-
shaft endplay at the point shown in Figure
9-25.
Refer
to
the Dimensions and Clearances section for the recom-
mended crankshaft endplay.
If
necessary add or remove
shims as required and recheck endplay. Verify that the
crankshaft turns freely without binding.
FIGURE
9-25.
CHECKING ENDPLAY
CYLINDER
BLOCK
Cleaning
After removing the piston, crankshaft, cylinder head,
etc., inspect the block for cracks and extreme wear.
If
block is still serviceable, prepare
it
for
cleaning as
follows:
1.
Scrape all old gasket material from block.
2.
3.
Remove grease and scale from cylinder block by
agitating in a bath of commercial cleaning solution
or
hot soapy washing solution.
Rinse block in clean hot water to remove cleaning
solution.
Inspection
c
When rebuilding the engine, thoroughly inspect block
for any condition that would make it unfit for further use.
This inspection must be made after all parts have been
removed and block has been thoroughly cleaned and
dried.
Make a thorough check for cracks using anystand-
ard method of crack detection. One method
of
crack
detection follows: Minute cracks may be detected
by coating the suspected area with a mixture of
25
percent kerosene and
75
percent light motor oil.
Wipe the part dry and immediately apply a coating of
zinc oxide (white lead) dissolved in wood alcohol.
If
cracks are present, the white coating will become
discolored at the defective area. Always replace a
cracked cylinder block. Clean the block and
proceed.
Inspect all machined surfaces and threaded holes.
Carefully remove any nicks or burrs from machined
surfaces. Clean out tapped holes and clean up any
damaged threads.
Check cylinder head mounting area for flatness with
a straight edge and a feeler gauge.
Cylinder Bore Inspection:
Inspect cylinder bore
for
scuffing, scratches, wear, and scoring. If cylinder bore is
scuffed, scratched, scored,
or
worn, the block must be
replaced.
When the appearance of the cylinder bore is good and
there are
no
scuff marks, check cylinder bore for wear or
out-of-round
as
follows:
1.
Check cylinder bore for taper, out-of-round, and
wear with a dial bore gauge, telescope gauge, or
inside micrometer. These measurements should be
taken at four places, top and bottom of piston ring
travel and parallel and perpendicular to axis of
crankshaft.
2.
Record measurements taken at top and bottom
of
piston travel as follows (see Figure
9-26).
A.
Measure and record as
“A”
the cylinder bore
diameter (parallel
to
crankshaft) near the top
of
cylinder bore where greatest amount of wear
occurs.
B.
Also measure and record as
“B’
cylinder bore
diameter (parallel to crankshaft) at the bottom
of
piston travel.
9-1
0

 Loading...
