1. Insert the power key FPC switch into the
middle hole of the power key slot on the upper
cover
2. When installing the power button FPC bracket,
pay attention to the groove facing the body
3. Stick the power button with waterproof foam
Install volume keys, and pay attention to the arrow
indicating that the side with the pillar is facing
inward, and press it down
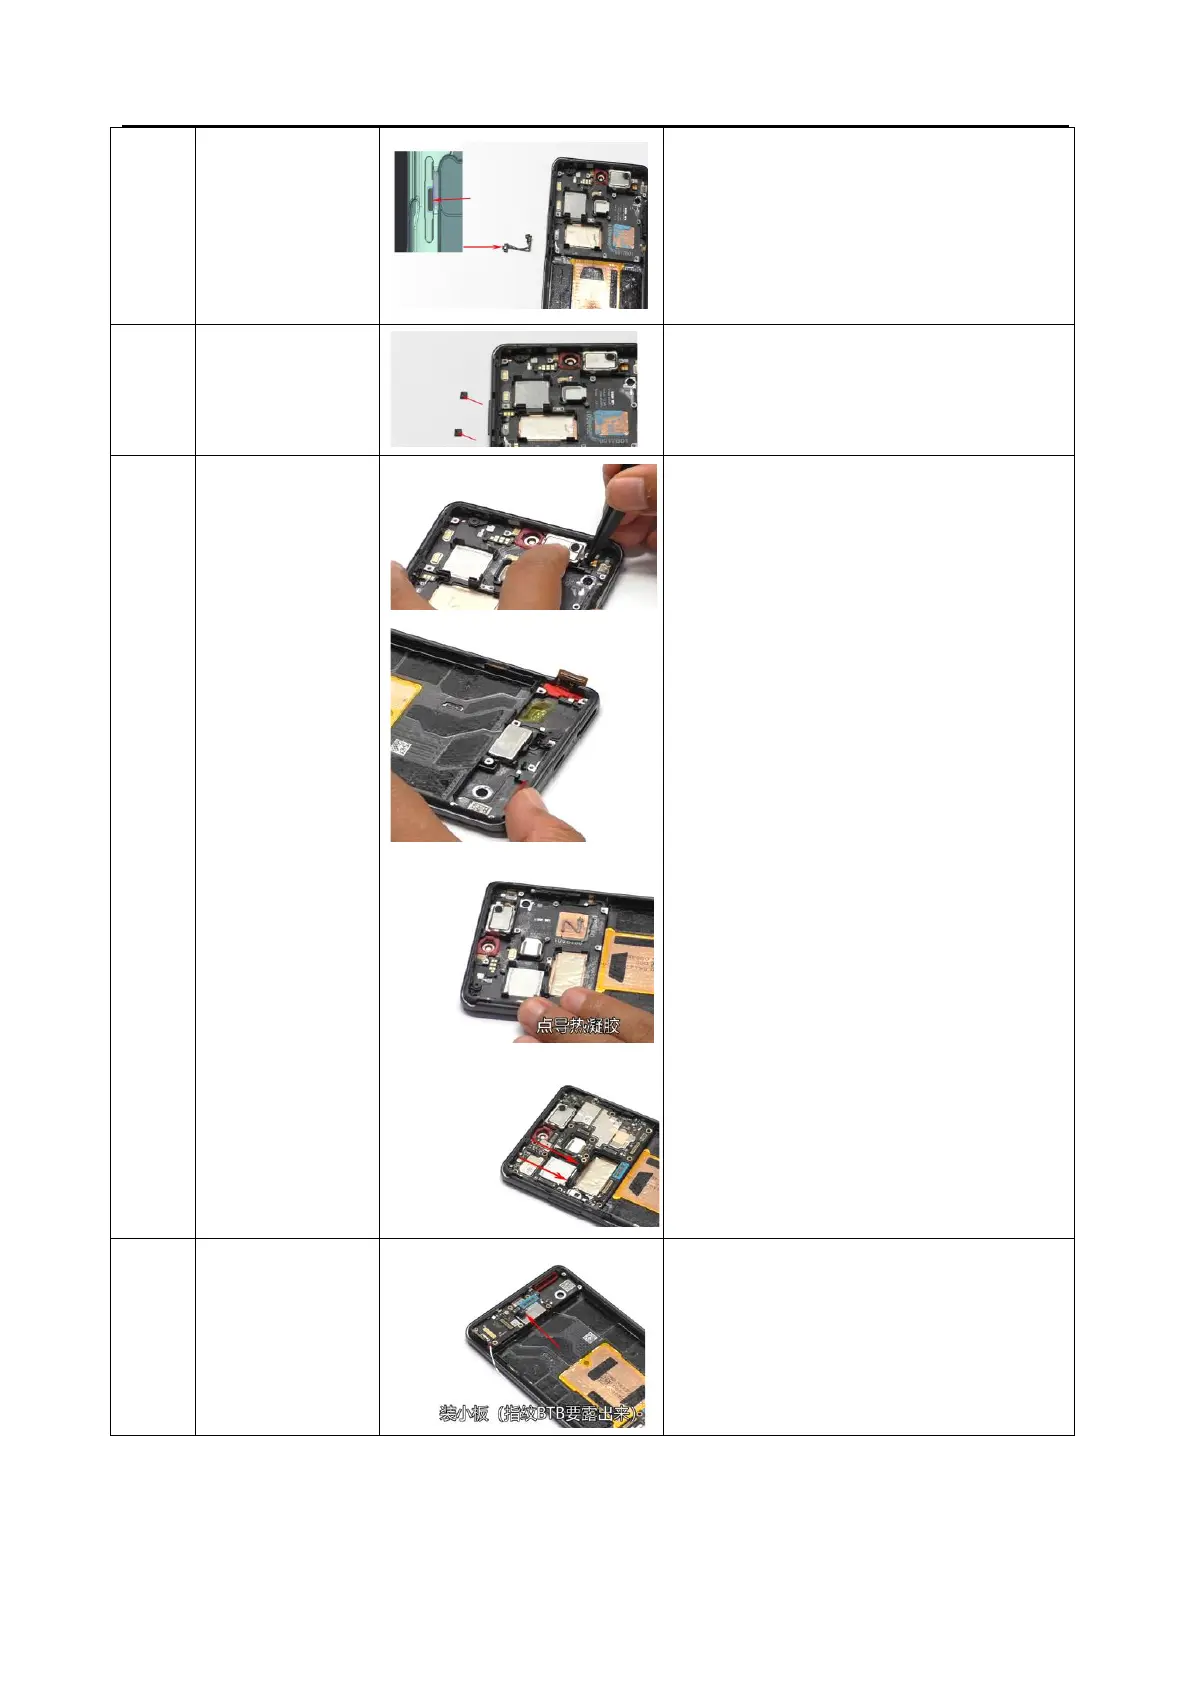
1. Install the receiver, motor and point
conduction gel.
2. Install the mainboard and tidy up the RF
cables. install two fixing screws for the
mainboard.
3. Install the front camera, attach double-sided
adhesive to fix the front facing camera, and
attach a graphite sheet to the front facing
camera.
4. Install a rear main camera and telephoto.
5. Install the rear wide-angle and stick the
motherboard conductive cloth onto the wide-
angle conductive cloth;
6. Buckle the front BTB and attach the front
graphite.
Remark:
1. Check if the conductive foam and cloth in the
middle frame are intact
2. After reinstalling the mainboard, check if the
conductive cloth of the camera is intact
3. Check if the conductive foam on the wide-angle
BTB clamping steel plate of the antenna bracket is
intact