Do you have a question about the Onkyo A-9711 and is the answer not in the manual?
Appliance should not be used near water or in damp conditions to prevent shock or damage.
Ensure adequate airflow around the unit by maintaining clearance to prevent overheating.
Connect only to the specified power supply type as described or marked on the appliance.
Details conditions requiring qualified service personnel for repair.
The internal AC fuse is not user-serviceable; contact service for issues.
Instructions to set the rear panel voltage selector to match local power supply.
Guidance on cleaning the unit using a soft cloth and mild detergent.
Connect a compact disc player to the CD input jacks for audio playback.
Connect turntable leads to PHONO jacks and ensure proper grounding.
Properly connect speaker cables to amplifier terminals, observing polarity and impedance.
Details about switched and unswitched AC outlets and their capacity limits.
Connect tape decks, DAT, or MD players to TAPE or PROCESSOR connectors for recording/playback.
How to connect the turntable's ground wire to the amplifier's GND terminal.
Connect to the POWER AMP DIRECT for direct signal path, bypassing tone controls.
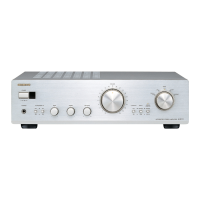
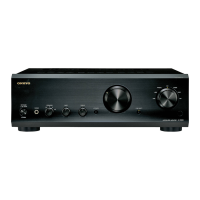
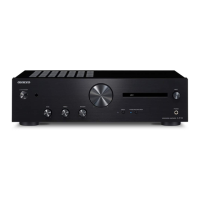
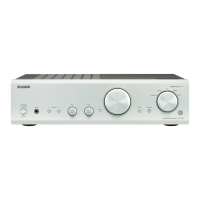
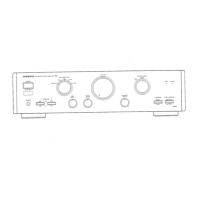
Controls unit power and indicates operational status with LEDs.
Selects the desired audio source for listening.
Adjusts the listening volume level, with a system for simultaneous changes.
Selects active speaker outputs (A, B, A+B) or headphone output.
Boosts or attenuates bass frequencies; bypassed when set to center.
Boosts or attenuates treble frequencies; can act as high-cut filter.
Adjusts midbass presence by selecting center frequencies for tone shaping.
Eliminates low-frequency noise, especially from warped records.
Temporarily reduces volume level by -20 dB for easier control.
Adjusts the relative volume level between left and right speakers.
Selects the audio source for recording to a tape deck.
Selects MM or MC cartridge type for turntables.
Receives infrared signals from the remote control unit.
Steps to set up the unit before playing audio sources.
Guides on selecting input, starting playback, and setting volume.
Instructions for connecting and using headphones for listening.
How to use tone controls and balance for optimal sound.
Guide for connecting and operating external audio processors.
How to monitor the recording process for comparison with the source.
Instructions for copying audio from one tape to another.
Overview of the remote control and its buttons.
Instructions for inserting batteries into the remote control.
Tips for optimal use and potential interference issues with the remote.
How to temporarily silence sound output using the Muting button.
Illustrates the internal signal flow and component connections of the amplifier.
Shows frequency response curves for bass boost and subsonic filter functions.
Displays frequency response changes related to the midbass presence control.
Lists causes and remedies for the unit not turning on.
Identifies issues preventing sound output and their solutions.
Addresses causes and fixes for unwanted noise during operation.
Troubleshoots issues causing distorted or noisy audio output.
Lists reasons why recording functions might fail.
Details the RMS power output per channel for different impedance loads.
Lists dynamic power ratings at various impedances.
Specifies the THD levels at rated power and 1 watt.
Lists input sensitivity and impedance for various sources like PHONO, CD, TUNER.
Indicates the frequency range the amplifier can reproduce accurately.
Details the voltage and frequency requirements for different regions.
| Speaker Load Impedance | 4 Ω - 16 Ω |
|---|---|
| Total Harmonic Distortion | 0.08% |
| Output | Pre Out |
| Dimensions | 435 x 130 x 369 mm |
| Signal-to-Noise Ratio | 100 dB (Line, IHF-A) |