66
Using the Timers—Continued
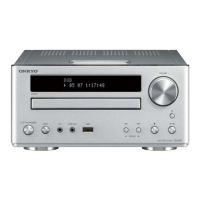
With the record timer, you can automatically turn on the
CD/HDD receiver, start recording, and turn off the CD/
HDD receiver at a specified time. This timer is conve-
nient when you want to record music or programs while
you are out, or record late-night broadcasting programs.
Before setting the timer:
• You must set the clock before you can set the timers.
•
Before setting a timer to turn on the radio, you must
preset the station you want to use (see
pages 34
and
35
).
Notes:
• When four timers have already been programmed, cancel
one of the timers already set, and then set a new one.
• Some operation cannot be done about one minute before
the On time of the timer.
• To ensure that the first few seconds of a program are
recorded, set the On time slightly ahead of the program’s
start time (about one minute).
To hear what’s being recorded during recording:
When the record timer starts from the Standby mode, the
output of the CD/HDD receiver is muted. Press the
[MUTING] button or VOL [
q]/[w] button to unmute the
CD/HDD receiver.
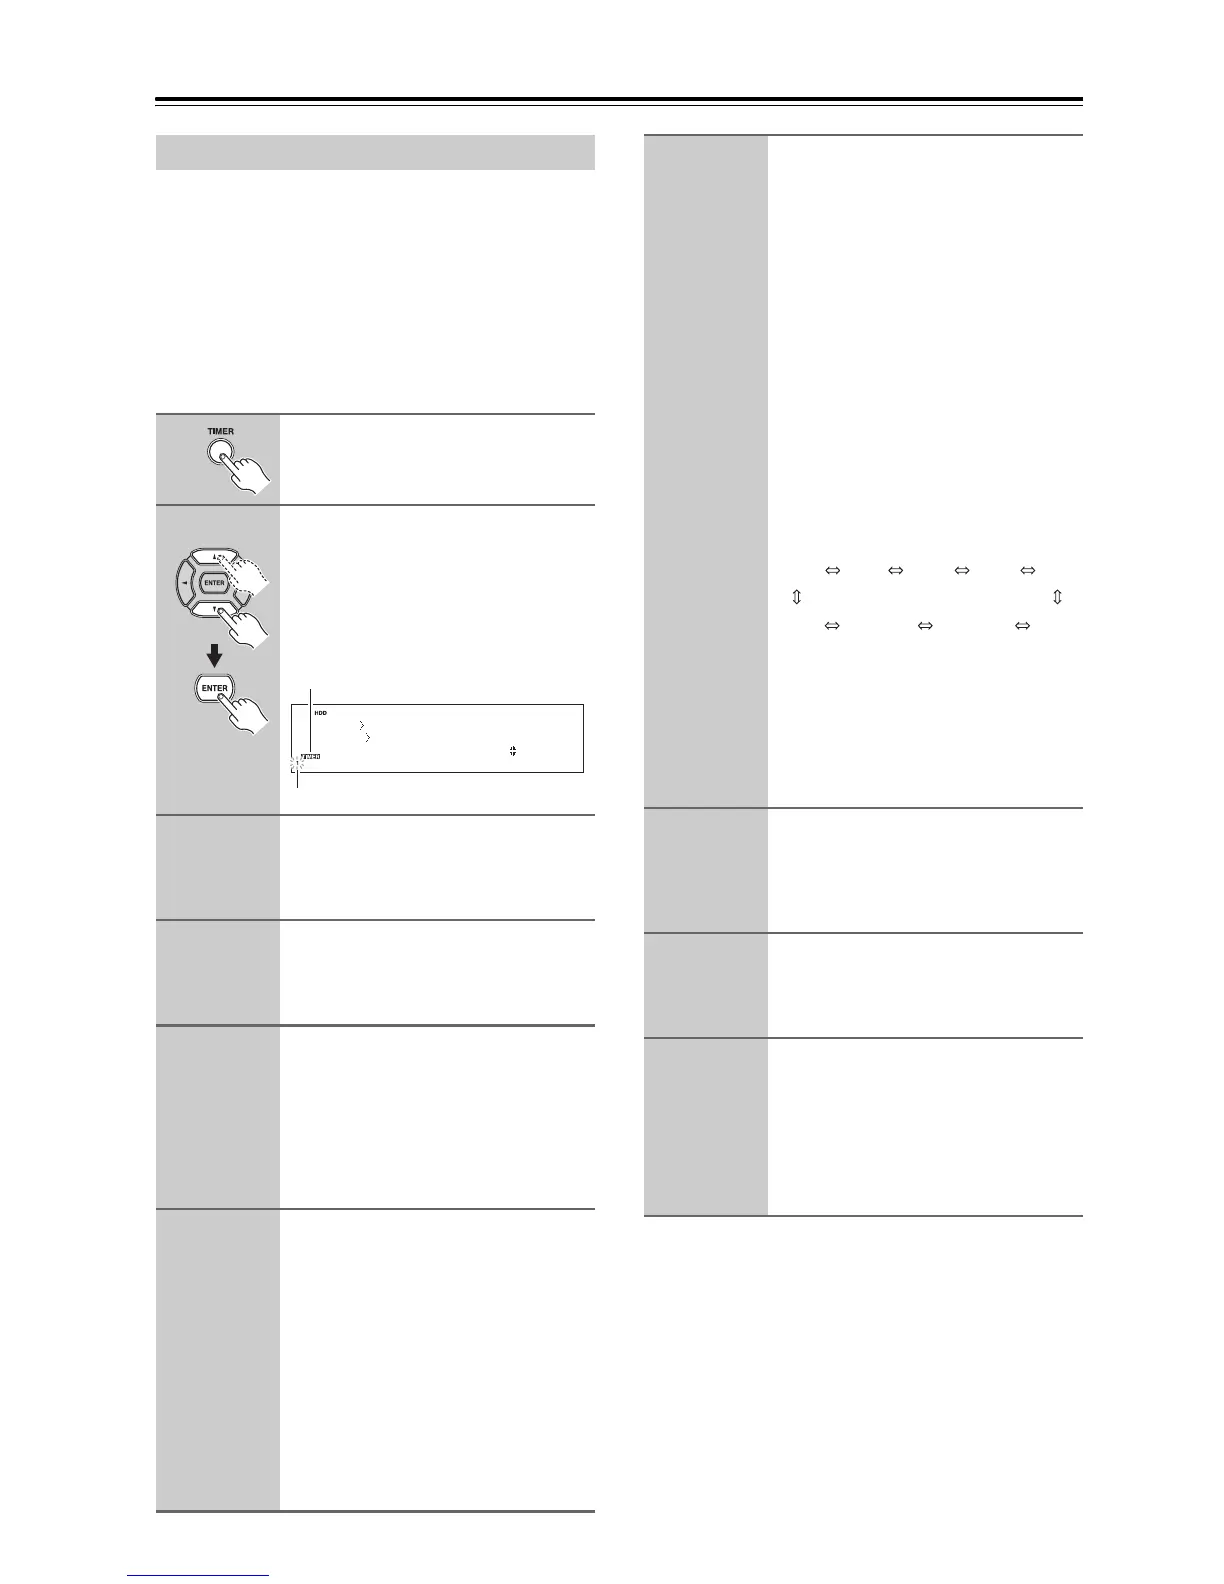
Using the Record Timer
1
Press the [TIMER] button.
2
Select a timer number.
Use the Up and Down [
q]/[w] buttons
to select Timer1, 2, 3, or 4 and then
press [ENTER]. The Timer indicator
lights up and the selected timer number
flashes on the display.
3
Set the status of the timer.
Use the Up and Down [q]/[w] buttons
to select “On”, and then press
[ENTER].
4
Set the type of the timer.
Use the Up and Down [
q]/[w] buttons
to select “Rec”, and then press
[ENTER].
5
Select the source you want to play.
Use the Up and Down [q]/[w] buttons
to select the source and then press
[ENTER].
You can select the following sources:
FM, AM, or LINE
Select a preset for FM or AM.
6
Select the source you want to
record.
Use the Up and Down [q]/[w] buttons
to select the source, and then press
[ENTER].
You can select the following sources:
HDD, USB, or TAPE
When selecting an external component,
you need to use an u-capable compo-
nent and set the Input Display name to
match the type of component (see
page 45).
Timer 1
:Off
Timer Mode
TIMER indicator
TIMER number
7
Set the day and time.
Use the Up and Down [
q]/[w] buttons
to select “Once” or “Every”, and then
press [ENTER].
Select “Once” for on-off operation.
Select “Every” to perform the same
operation every week. Use the Up and
Down [
q]/[w] buttons to set the day
and then press [ENTER].
If you selected “Once”:
Use the Up and Down [
q]/[w] buttons
to select the day, and then press
[ENTER].
If you selected “Every”:
Use the Up and Down [
q]/[w] buttons
to select the day, “Everyday”, or “Days
Set”, and then press [ENTER].
You can select the following:
If you selected “Days Set”, use the Up
and Down [
q]/[w] buttons to select the
first day, and then press [ENTER]. Use
the Up and Down [
q]/[w] buttons to
select the last day, and then press
[ENTER]. You can select only consec-
utive days.
8
Set the On time and Off time.
Use the Up and Down [
q]/[w] buttons
to select the time, and then press
[ENTER]. You can also use the number
buttons.
9
Set the volume.
Use the Up and Down [q]/[w] buttons
to adjust the volume, and then press
[ENTER].
10
Press the [ON/STANDBY] button
to set the CD/HDD receiver to
Standby.
Note:
Be sure to set the CD/HDD receiver to
Standby, otherwise the timed operation
will not work.
SUN
TUE
MON
Days Set Everyday
WED THU
SAT
FRI
 Loading...