En-9
System preparation
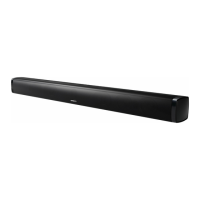
To mount the sound bar on the wall
Caution:
•
Be very careful to prevent the sound bar (2.4 kg)
from falling when mounting on the wall.
•
Before mounting, check the wall strength. (Do
not put on the veneer plaster or whitewashed
wall. The sound bar may fall.) If unsure, consult
a qualified service technician.
•
Mounting screws are not supplied. Use
appropriate ones.
•
Check all wall mount angle screws for
looseness.
•
Select a good location. If not, accidents may
occur or the sound bar may get damaged.
•
Onkyo is not responsible for accidents
resulting from improper installation.
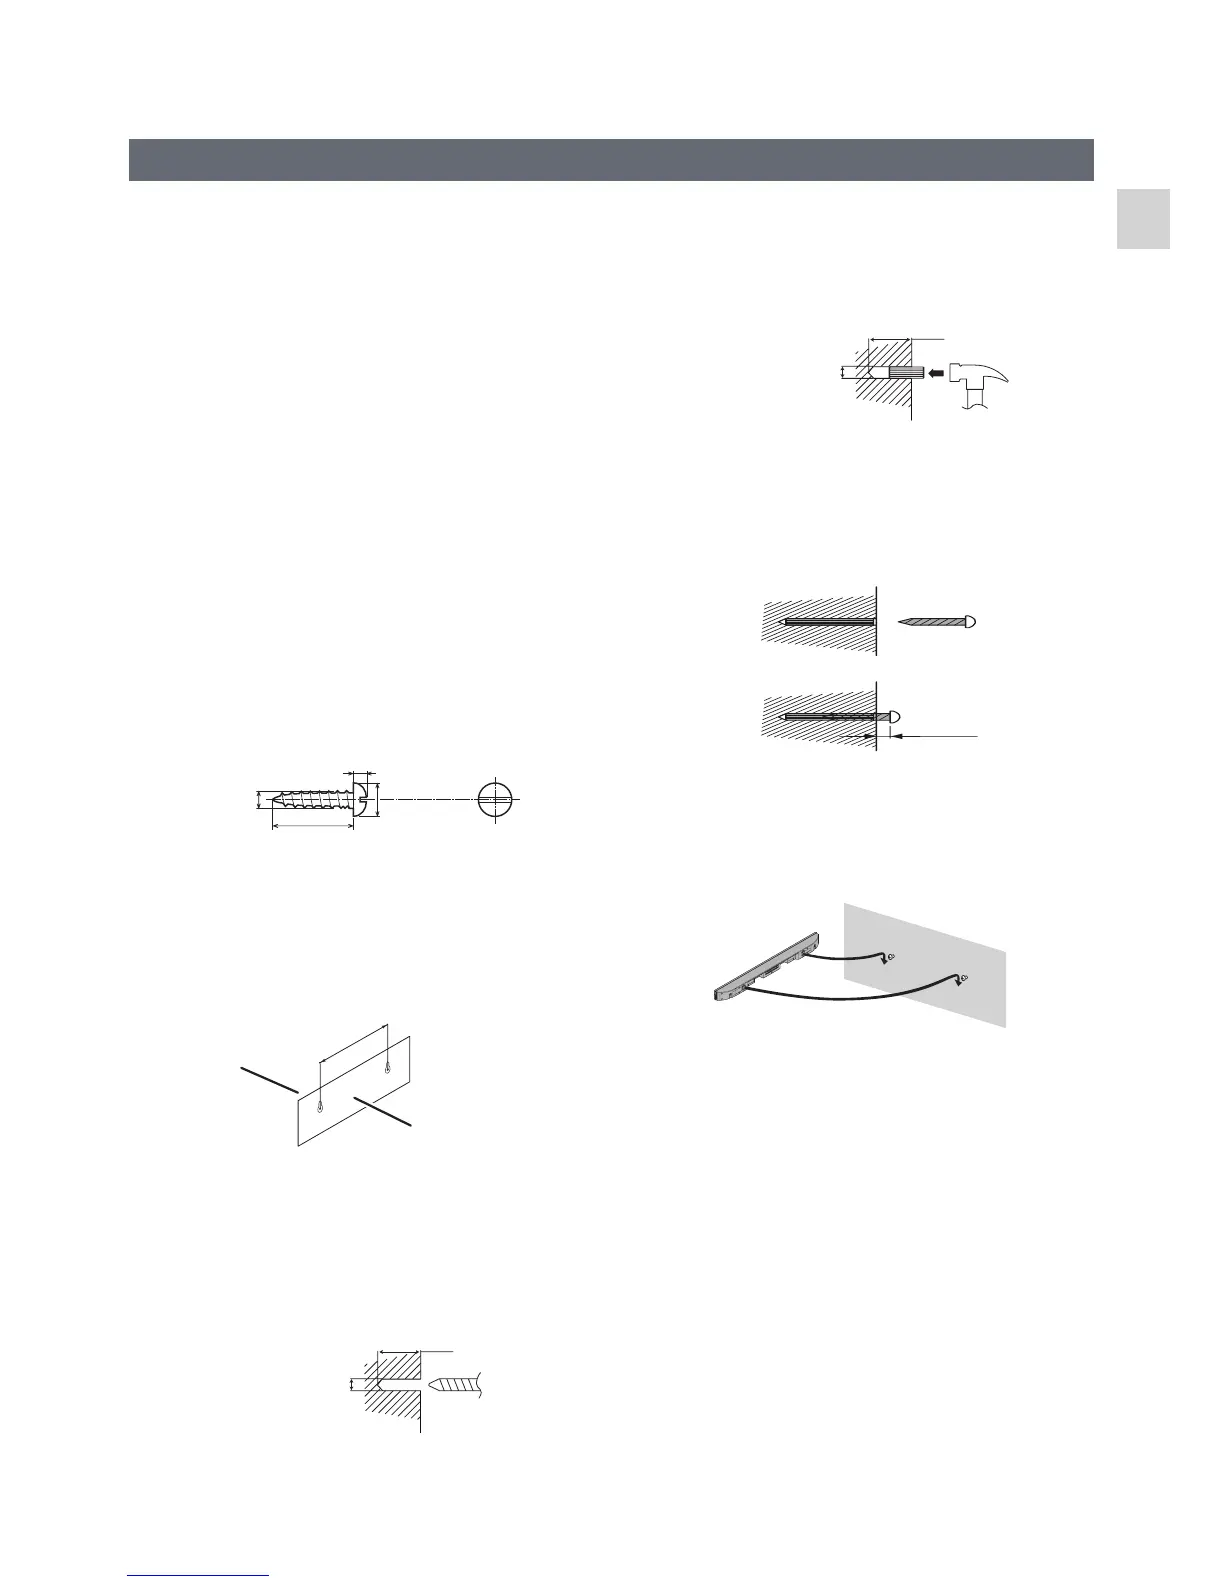
■
Driving screws
Onkyo designed the sound bar so you may hang
it on the wall. Use proper screws (not supplied).
See below for size and type.
3.2 mm
9 mm
Min. 22 mm
5 mm
■
Installing the sound bar
1
Fix the pattern paper to the wall in
horizontal position as below.
44 mm
Wall surface
Pattern paper
(supplied)
548 mm
2
Make a hole on the wall following
the screw point marks on the pattern
paper by using a drill.
Wall surface
32 mm
8-9 mm
3
Fix a wall mount plug into the hole
using a hammer, until it is flush with
the wall surface.
32 mm
8-9 mm
Wall surface
4
Fasten the screws to the wall as shown
below. (Total screw is 2 pieces.)
Screw using
Wall surface
Wall surface
Screwdriver
4.5mm - 5mm
Gap from wall
surface
5
Hang the sound bar onto the screws.
Note
Refer to “When mounting on the wall” in “Falling
Prevention” (P.11).
 Loading...