ADJUSTMENTS AND CONFIRMATION PROCEDURES
NAAF-7077
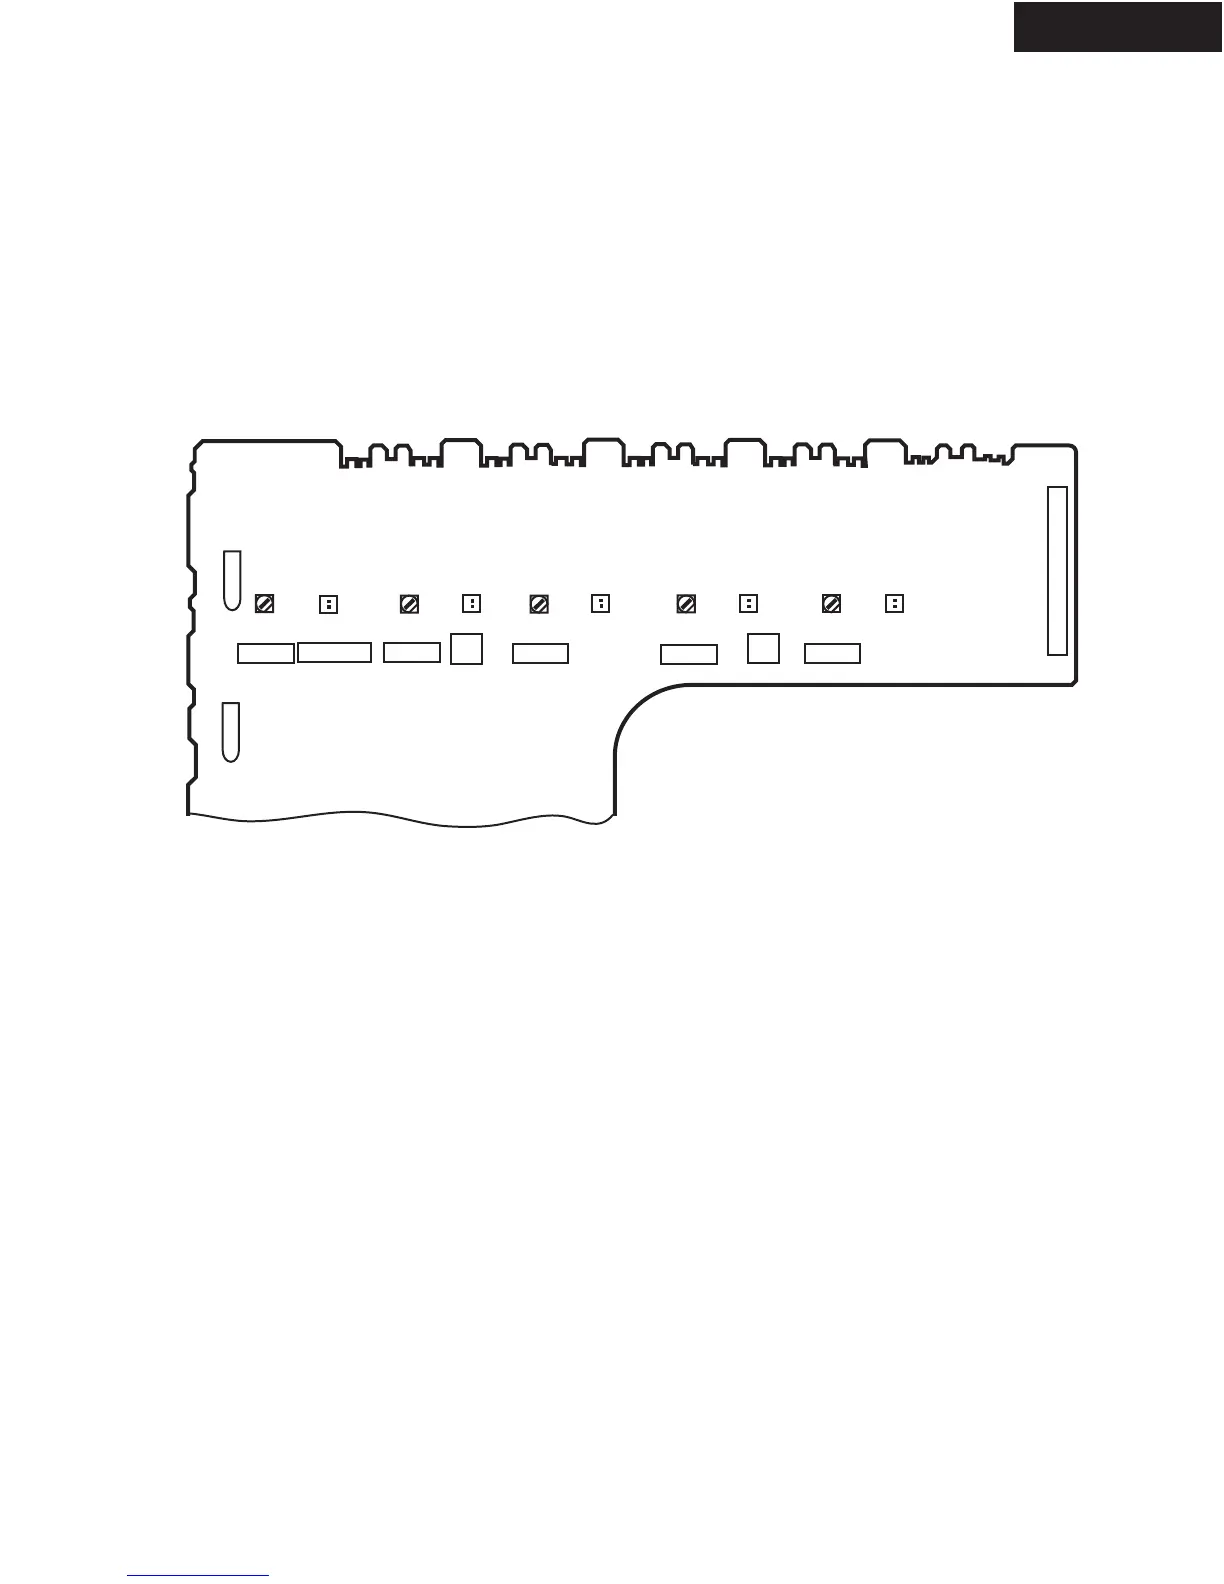
P6000
P6001
P6004
P6011
P931
JL6951
JL6952
P6931
JL6804
JL6803
P6805
P6904
P6905
P6003
P6002
R6040
R6041
R6044
R6043
R6042
P6080
P6084
P6083
P6082
P6081
Idling current adjustment
Before Idling adjustment, turn the trimming resistors R6040, R6041, R6042, R6043 and R6044 to counter clockwise.
Connect the DC voltmeter to sockets P6080,P6081, P6082, P6083 and P6804.
After turn POWER to ON, adjust the trimming resistors R6040, R6041, R6042, R6043 and R6044 so that the reading o
voltmeter becomes 5.0 mV.
After adjustment, attach the top cover.
Confirm the voltage of points above after five minutes.
When less than 6.0 mV, readjust the resistors above so that the voltage becomes 6.0 mV.
When 6.0 mV to 8.0 mV, you are not necessary to adjust.
When more than 8.0 mV, readjust the resistors above so that the voltage becomes 8.0 mV.
Note: No load and No signal
Confirmation of protection circuit
1. Confirmation of operation of speaker relay
Confirm that the speaker relay turns ON approximate. 5 seconds after the power switch is turned ON.
Confirm that the speaker relay turns OFF immediately after the power switch is turned OFF.
2. Confirmation of DC detection circuit
Connect the shored plug between the both terminals of P5601.
Press and hold down DVD button, then press STANDBY button.
During "TEST-1" on the FL tube light on, press ZONE 2 (TX-DS696) or SPEAKER A (TX-DS595) button.
Apply DC 1.5 to 3V to MULTI CHANNEL INPUT terminal with no load.
Confirm that the speaker relay turns OFF.
Apply DC -1.5 to -3V to MULTI CHANNEL INPUT terminal with no load.
Confirm that the speaker relay turns OFF.
After the adjustment, disconnect the shorted plug.
Caution: Don't apply DC voltage more than 1 sec..
3. Confirmation of Current detection circuit
Connect the shored plug between the both terminals of P5601.
Press and hold down DVD button, then press STANDBY button.
During "TEST-1" on the FL tube light on, press ZONE 2 (TX-DS696) or SPEAKER A (TX-DS595) button.
Connect the differentiating circuit and apply the 200Hz square signal to MULTI CHANNEL INPUT terminal.
Adjust the attenuator or Volume so that the output level becomes 35V p-p.
Confirm that the speaker relay does not turn OFF when a 3.0 ohm load is connected.
Confirm that the speaker relay turns OFF when a 1.5 ohm load is connected.
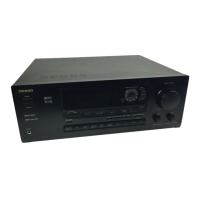
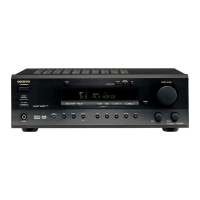
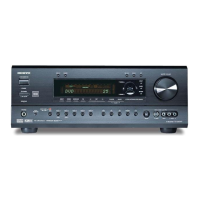
TX-DS595/696
 Loading...