42
First Time Setup
—Continued
If you connect a component to a digital audio input, you
must assign that input to an input selector. For example,
if you connect your CD player to OPTICAL IN 1, you
must assign OPTICAL IN 1 to the CD input selector.
These are the default assignments.
For TX-SR506
For TX-SR576
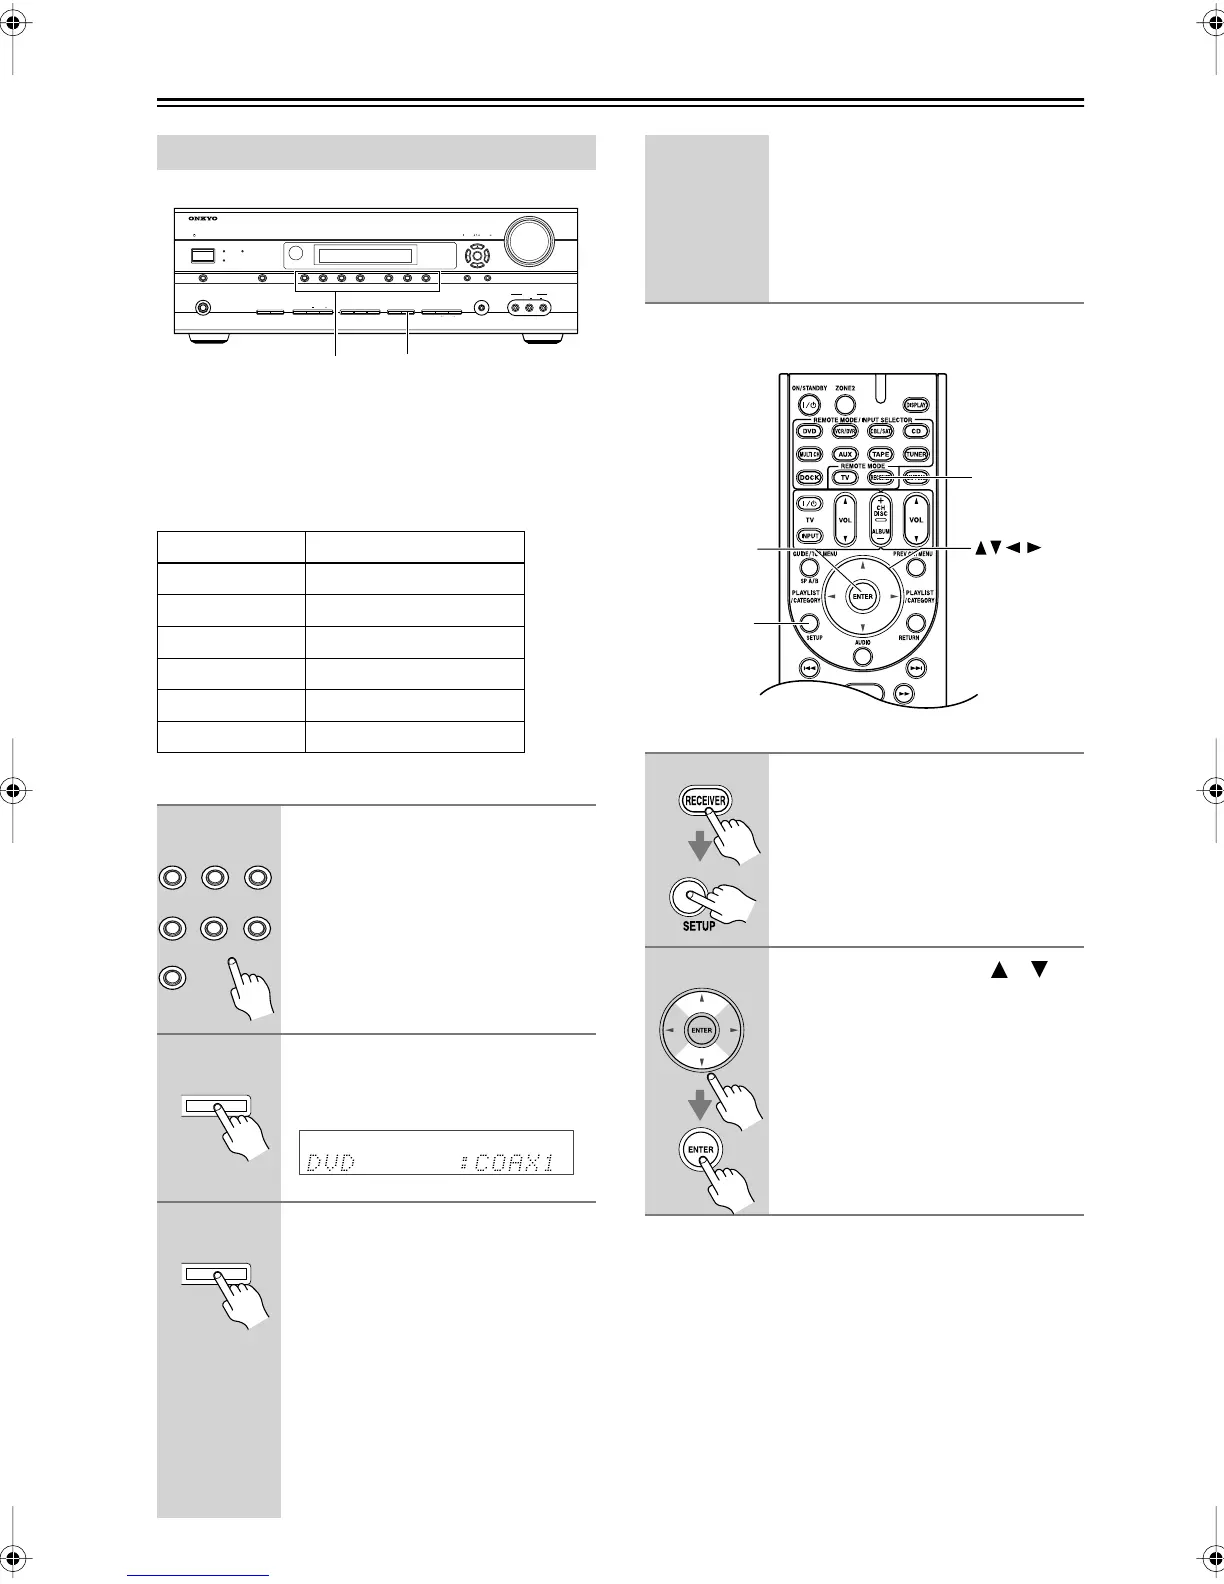
Digital Input Setup
Input selector Audio input
DVD COAX1
VCR/DVR OPT1
CBL/SAT COAX2
AUX - - -
TAPE - - -
CD OPT2
1
Press the input selector button
for the input selector that you
want to assign.
The TUNER input selector cannot be
assigned and is fixed at the “- - -”
option.
2
Press the [DIGITAL INPUT]
button.
The current assignment is displayed.
3
Press the [DIGITAL INPUT] but-
ton repeatedly to select an
option.
COAX1
: Select if the component is
connected to DIGITAL IN
COAXIAL 1.
COAX2
: Select if the component is
connected to DIGITAL IN
COAXIAL 2.
OPT1
: Select if the component is
connected to DIGITAL IN
OPTICAL 1.
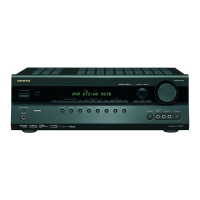
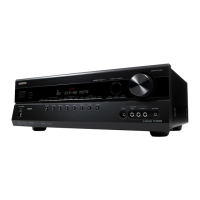
STANDBY/ON
STANDBY
PURE AUDIO
ZONE 2
MOVIE/TV MUSIC GAME
TONE
DISPLAY
DIGITAL INPUT
RT/PTY/TP MEMORY
CLEAR
TUNING MODE
ZONE 2 OFF
PHONES
MULTI CHPURE AUDIO
DVD VCR/DVR CBL/SAT AUX
TAPE TUNER CD
SETUP MIC
VIDEO
L AUDIO R
AUX INPUT
ENTER
SETUP RETURN
TUNING PRESET
MASTER VOLUME
1 2, 3
DVD VCR/DVR CBL/SAT
AUXTAPE TUNER
CD
DIGITAL INPUT
DIGITAL INPUT
OPT2
: Select if the component is
connected to DIGITAL IN
OPTICAL 2.
- - -:
Select if the component is
connected to an analog
input.
1
Press the [RECEIVER] button,
followed by the [SETUP] button.
2
Use the Up and Down [ ]/[ ]
buttons to select “1.Input
Assign,” and then press
[ENTER].
SETUP
RECEIVER
ENTER
TX-SR506En.book Page 42 Friday, February 29, 2008 5:31 PM
 Loading...