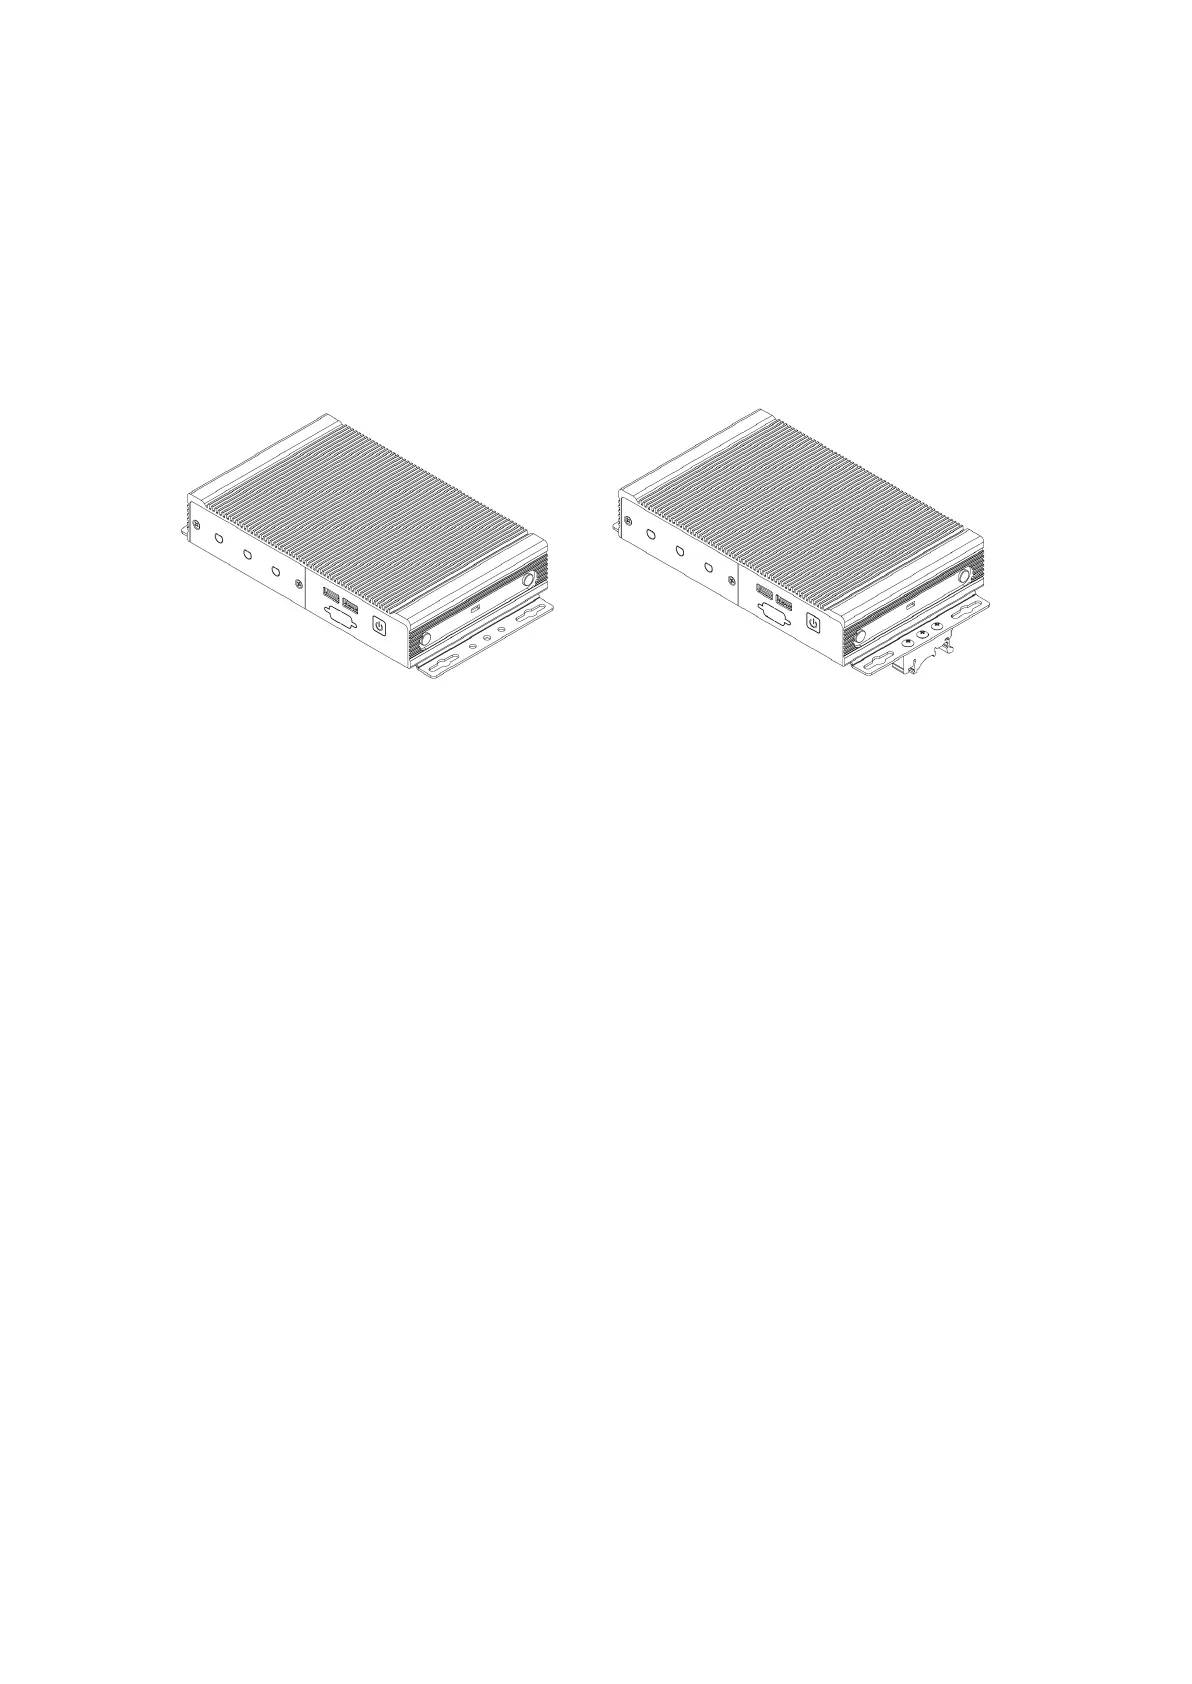
3 - Mounting Instructions
3.1 - Wall Mount & DIN Rail Mounting
Step 1: Attach wall mounting brackets MTW101 (no DIN), MTW101-K (DIN), MTW107 (Vertical DIN),
VM1041 (VESA) to the chassis using the supplied screws. Specifications can be found below:
Screw type:
M3X0.5 FH 120 Degree Screw
Length
: 4 mm
Step 2: Locate the 4 holes that line up accordingly to the bracket as shown below.
Step 3: Fasten system to surface. The mounting bracket systems are required to secure 3x the
hanging weight of the computer system. The mating substrate must be capable of maintaining the
same rating.
Step 4 (for DIN Bracket): Using the outer 2 holes of the 3 hole set on the wall mount bracket, line up
the DIN bracket.
Step 5 (for DIN Bracket): Using the supplied screws, using a Phillips head screwdriver, mount the DIN
bracket to the bracket.
Step 6 (for DIN Bracket): Mount system onto the DIN rail.