27
MAINTENANCE AND CLEANING
OREGON® Cordless Tool System
POLE SAW MODEL PS250
AC 1113 - F/N 563397
• Keep all cutter lengths equal.
• After sharpening all cutters, use the file
guide to check the depth gauges again.
Reset the depth gauge if necessary.
• Replace the chain, replace the side
cover, and replace the battery.
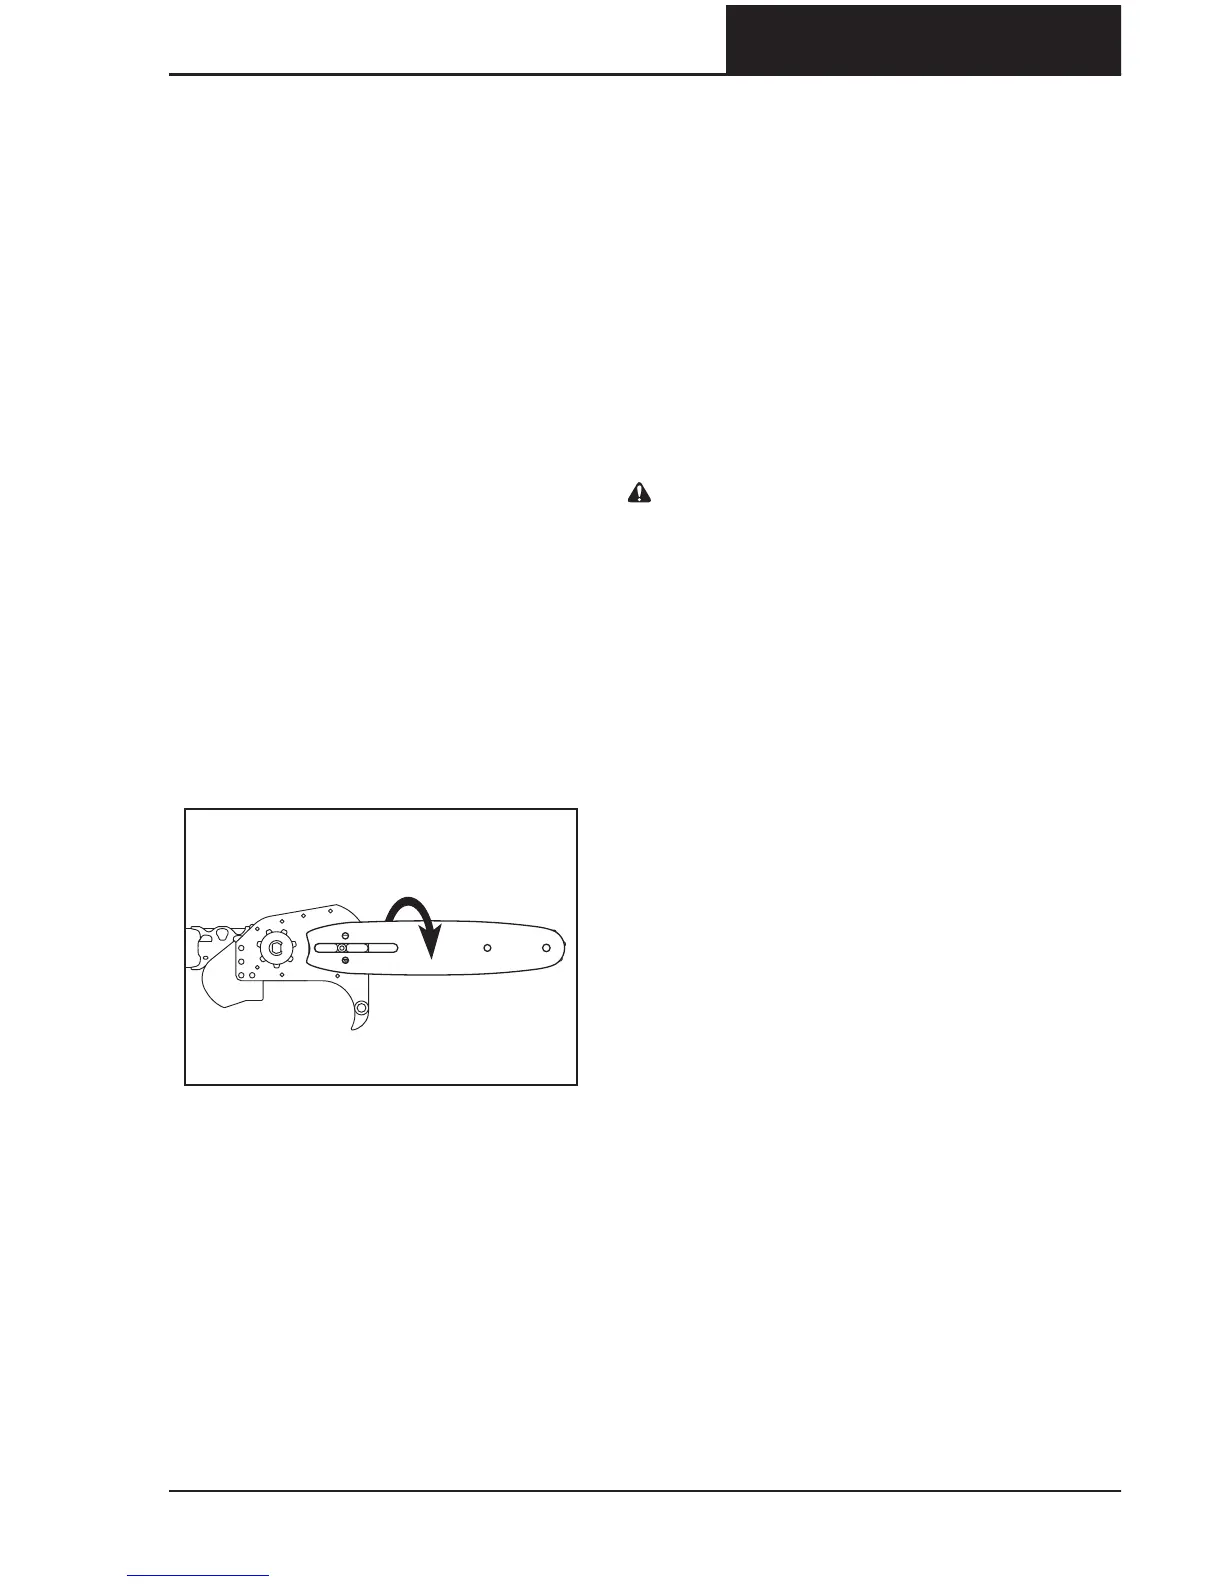
MAINTAINING THE GUIDE BAR
To even bar wear and maximize bar life,
flip the bar occasionally.
Wear gloves.
• Remove the battery.
• Loosen the side cover knob and remove
the side cover.
• Adjust the tensioning screw as far back
toward the rear of the cutting head as it
will go.
• Remove the bar and chain.
• Flip the bar vertically (Fig. ) and
reinstall the bar and chain as described
in “Assembling the guide bar and saw
chain”.
REPLACING A WORN
SAW CHAIN
When the saw chain becomes cracked or
has broken teeth, or when it is stretched
to the point that it cannot be kept at
proper tension, it must be replaced.
Wear gloves.
• Remove the battery.
• Loosen the side cover knob and remove
the side cover.
• Adjust the tensioning screw as far back
toward the rear of the cutting head as it
will go.
• Remove the bar and chain.
• Install the new chain as described in
“Assembling the guide bar and saw
chain”.
• Tension the chain as described in
“Tensioning the saw chain”.
REPLACING A WORN
GUIDE BAR
WARNING: THE EDGES OF A WORN
GUIDE BAR, PARTICULARLY THE
EDGES OF THE GROOVE WHERE
THE CHAIN TOUCHES THE BAR,
CAN BE EXTREMELY SHARP. USE
APPROPRIATE HAND PROTECTION.
When the guide bar becomes cracked
or has excessive wear around the edges,
particularly in the groove where the
saw chain touches the bar, it must be
replaced. Also, if the nose sprocket is
worn, has teeth missing, or does not turn
smoothly, the bar must be replaced.
Wear gloves.
• Remove the battery.
• Loosen the side cover knob and remove
the side cover.
• Adjust the tensioning screw as far back
toward the rear of the cutting head as it
will go.
• Remove the bar and chain.
• Install the new bar as described in
“Assembling the guide bar and saw
chain”.
• Tension the chain as described in
“Tensioning the saw chain”.
FIG. 40