45
Installation
Piping Installation
5. Keep piping distances as short as is feasible, and keep rises and bends to a minimum. (Keep below
the maximum head loss, including during start times.)
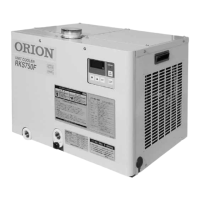
RKS250F1-S RKS400F1
Maximum head loss (m) 50/60 Hz 2
/
3
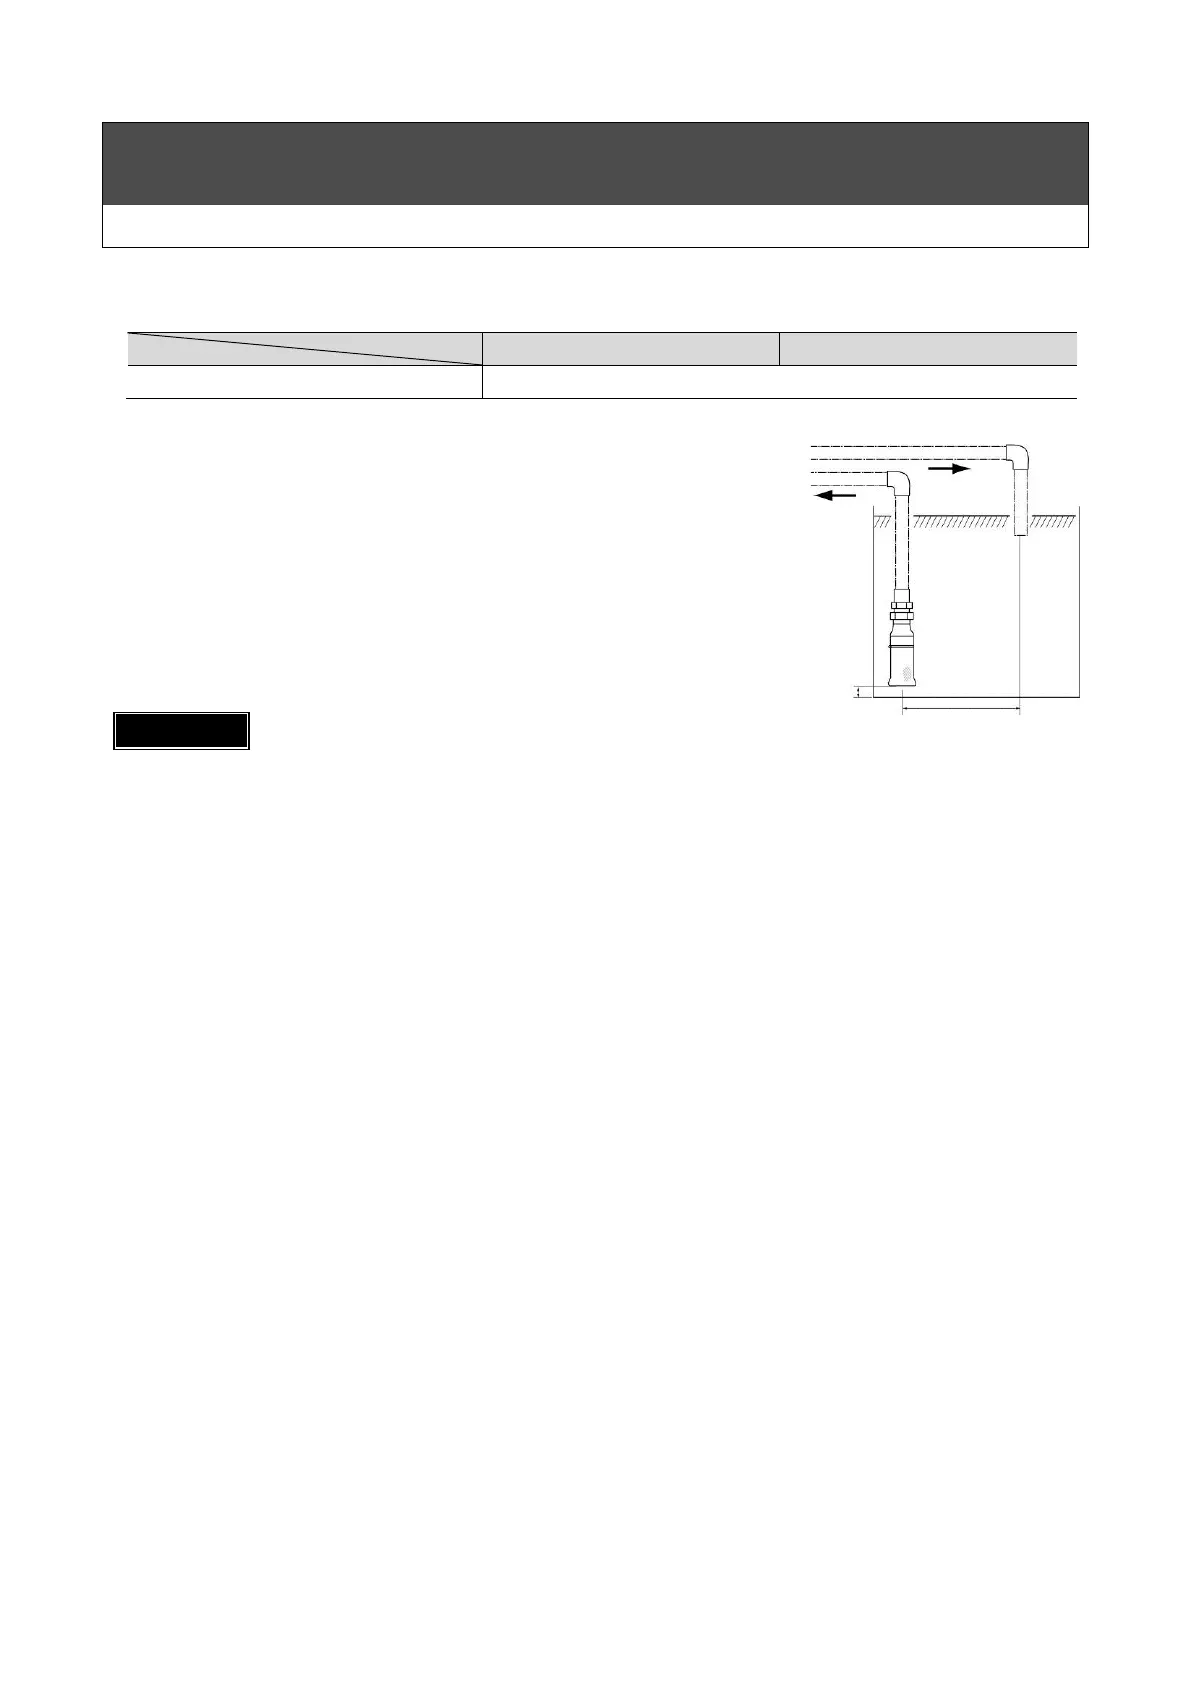
6. Water inlet and outlet piping installation (connecting included
parts)
(1) Install the strainer assembly on the end of the water intake
side pipe.
(2) Install the strainer assembly approx. 10 cm away from the
bottom of the water tank. Also, be sure to install the strainer
assembly so that it is not above the water surface even when
the water level in the tank is at its lowest level.
(3) Install the end of the water outlet pipe as far away from the end
of the inlet pipe as possible.
IMPORTANT
●An alarm will be generated and the product will not operate if the inlet and outlet ports are
reversed.
●Be careful during piping installation not to allow dirt or other foreign material to enter the
water circuit, etc.
●Choose a PVC pipe or spring-protected hose to avoid kinks in the pump intake.
(4) Perform piping so that no air pockets form. Water will not circulate if there are air pockets in the
water piping on the intake side. (In cases where there is horizontal piping, such areas of piping
might not be able to fill with water even after priming, thus preventing water circulation. In such
cases, piping should be installed at some slope, or other measures should be performed such as
installation of a floor cistern to force water in through the piping.)
Water
inlet
Water outlet
10
㎝
(Separate them from each
other)

 Loading...