12
OTICON INTIGA FITTING GUIDE 13
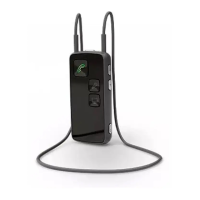
2. Lower the other end to snap into the base. 3. When the top shell is placed on the base shell, there will
be a small gap between the shells creating the sound
inlet to the microphones.
2. 3.
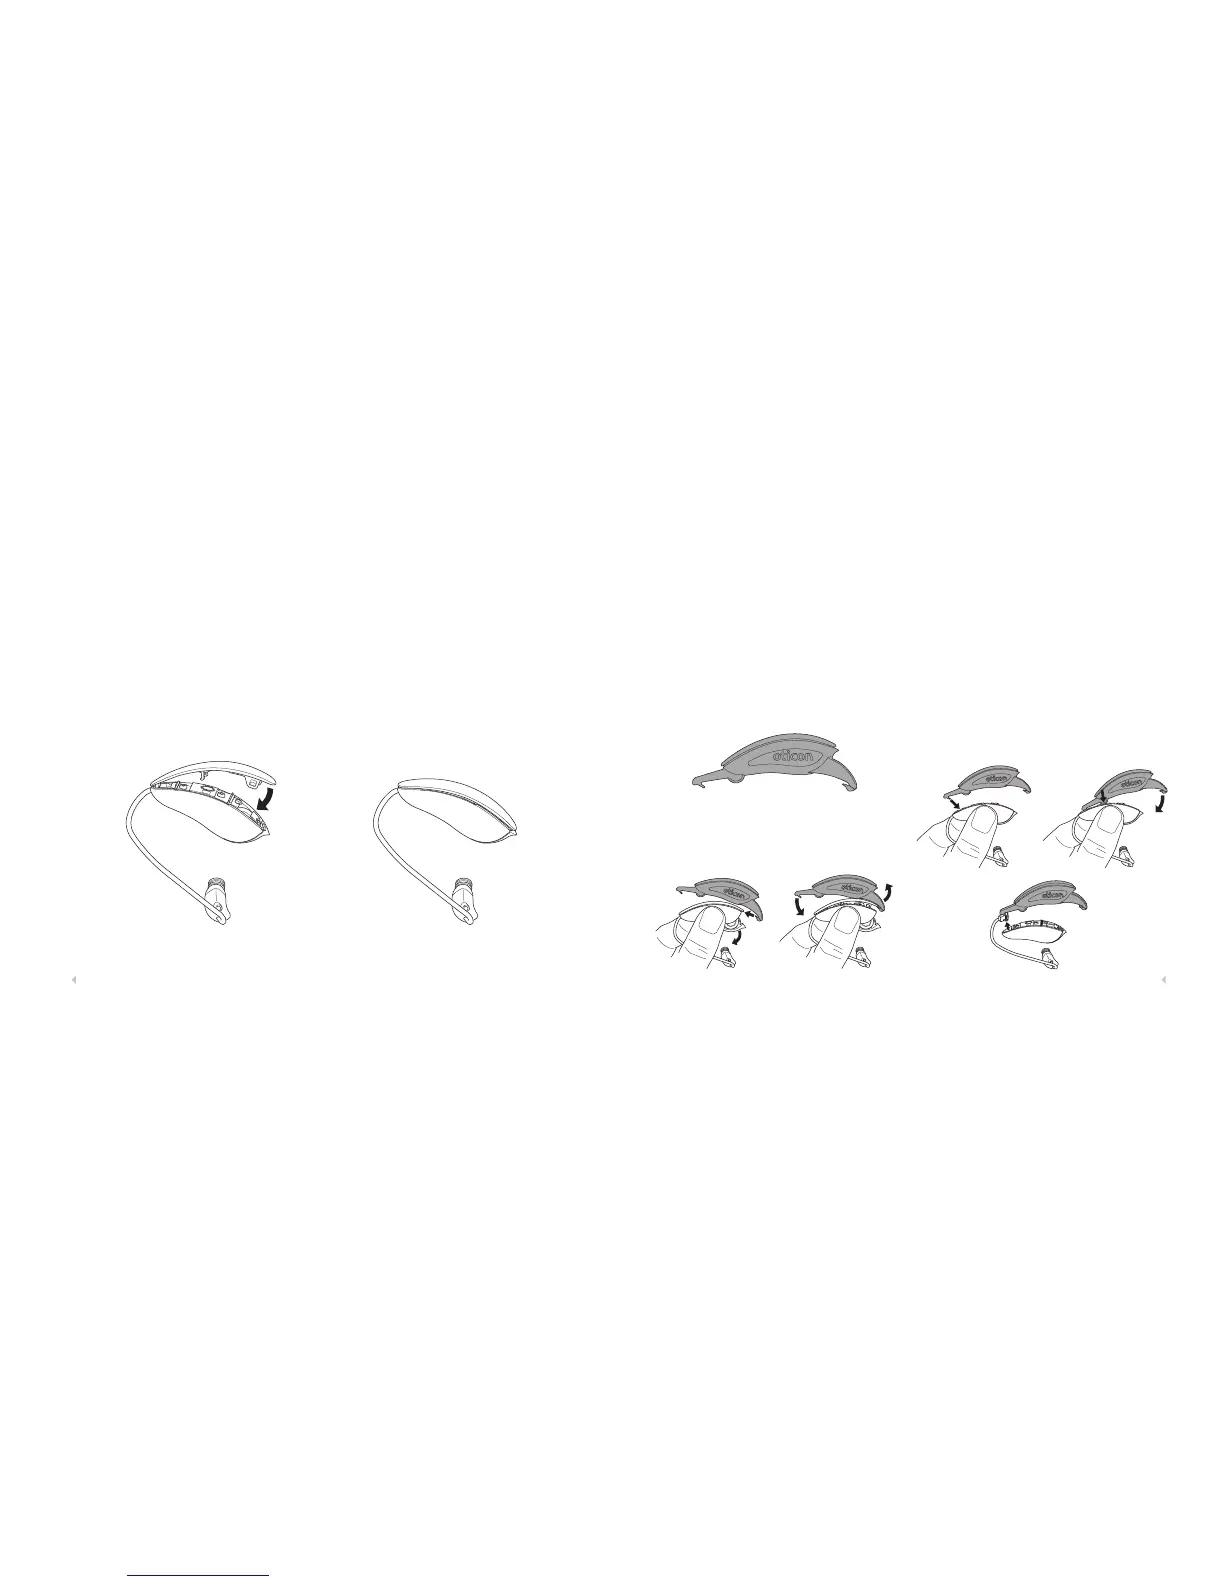
Changing the Receiver:
1. Remove the top shell with the Service Tool. Note that
the shape of the grip of the tool follows the shape of
the Oticon Intiga instrument.
Insert the hook of the back arm between the top shell and
battery drawer (a) and push down on the other end lifting
off the top shell (b).
2. To remove the Receiver, insert the hook on the front
arm of the Service Tool into the slot in the top of the
Receiver plug (a). Tilt the tool until the ball is seated in
the programming socket (b). Continue tilting the tool
lifting the Receiver out of the base (c).
Front arm
Ball
Back arm
a.
a.
b.
b.
c.