10
OTICON INTIGA FITTING GUIDE 11
3
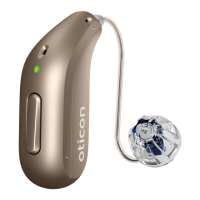
The Oticon Intiga device has a top shell with clean lines
contributing to the discreet appearance. Oticon Intiga is
delivered with the top shell separate from the base shell
and components. This allows the placement of the
Receiver with the required length for the user and the
programming of the instrument before the top shell is put
in place.
You will need to remove and/or replace the top shell in the
following instances:
• Initial programming of the Intiga devices
• Changing the Receiver
• Follow up programming of the device
Programming Oticon Intiga for the first time
Intiga is shipped ready for the selected Receiver and the
Programming Top Shell to be positioned.
1. Attach the Receiver by aligning the pins in the base shell
with the Receiver.
2. Proceed to page 30 for the next step in programming
Oticon Intiga.
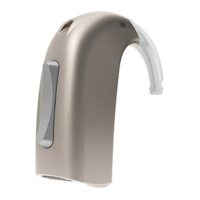
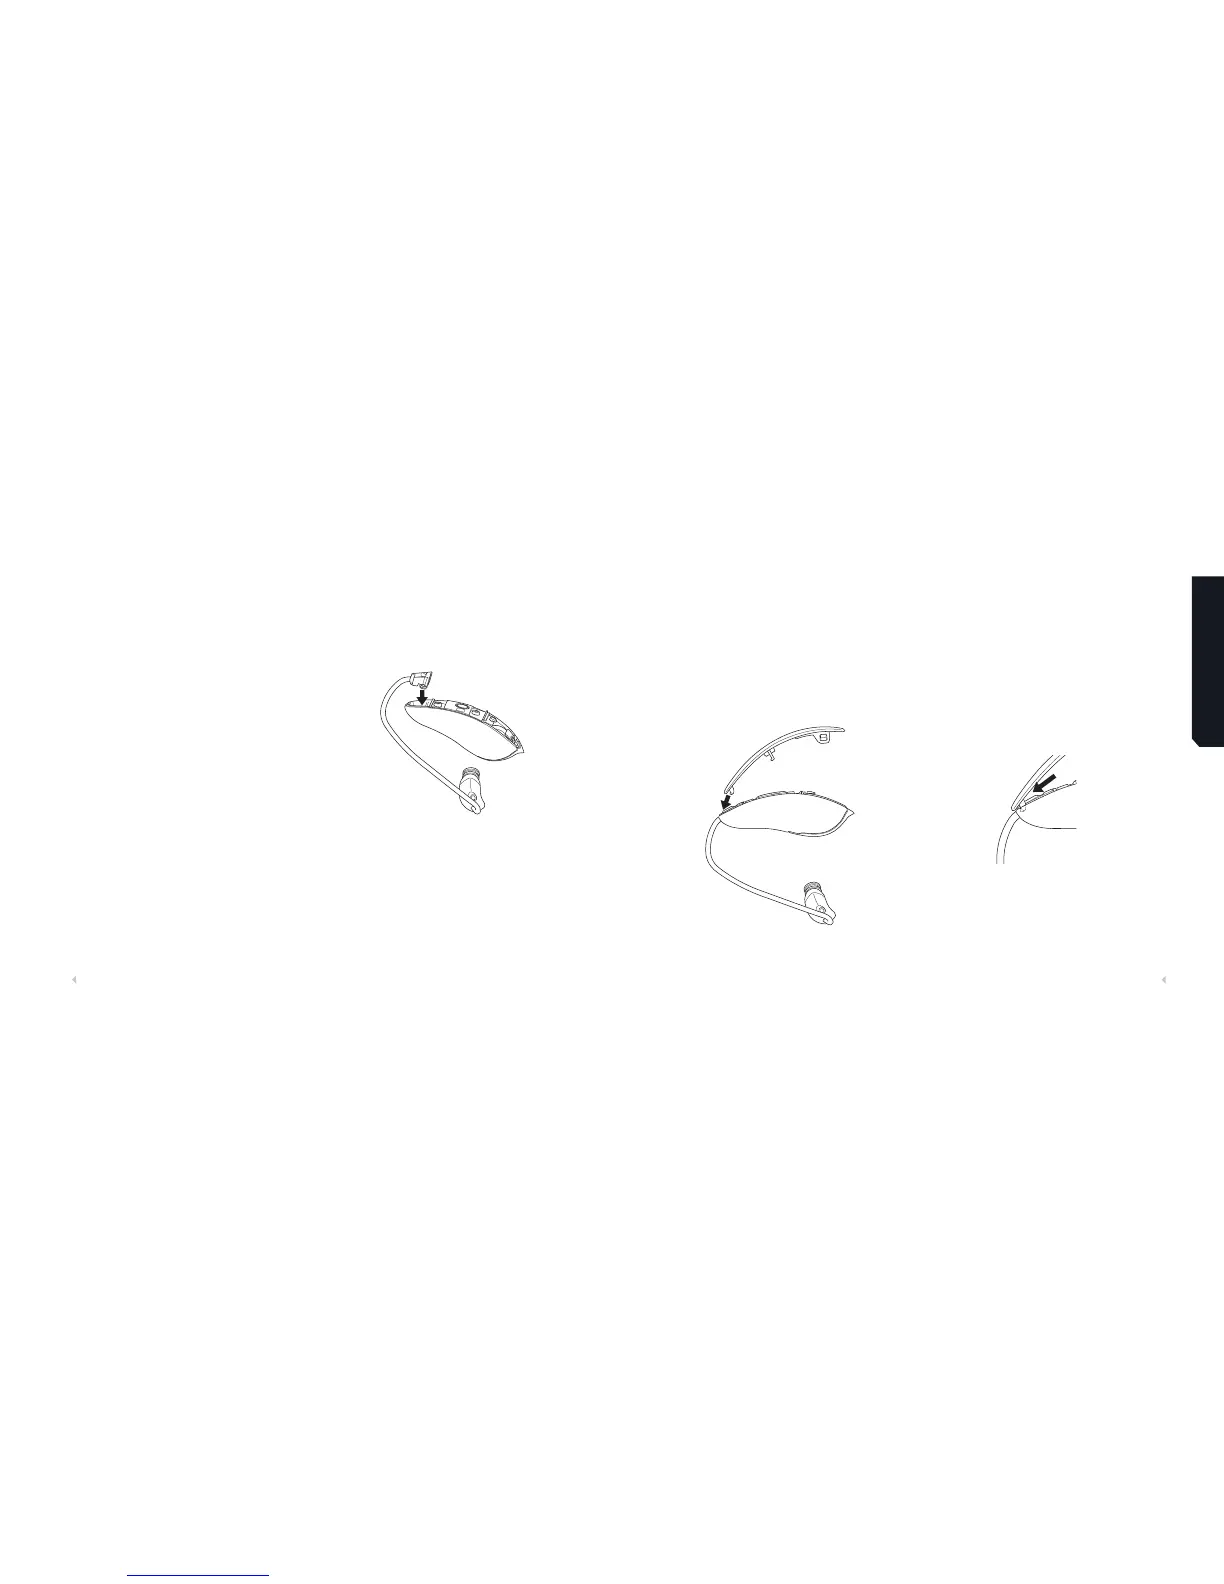
The Top Shell
Customising Oticon Intiga
1. Attach the top shell by inserting the front hooks into the
base shell.
1a. 1b.
Attaching Top Shell