7
D4 D3
D5
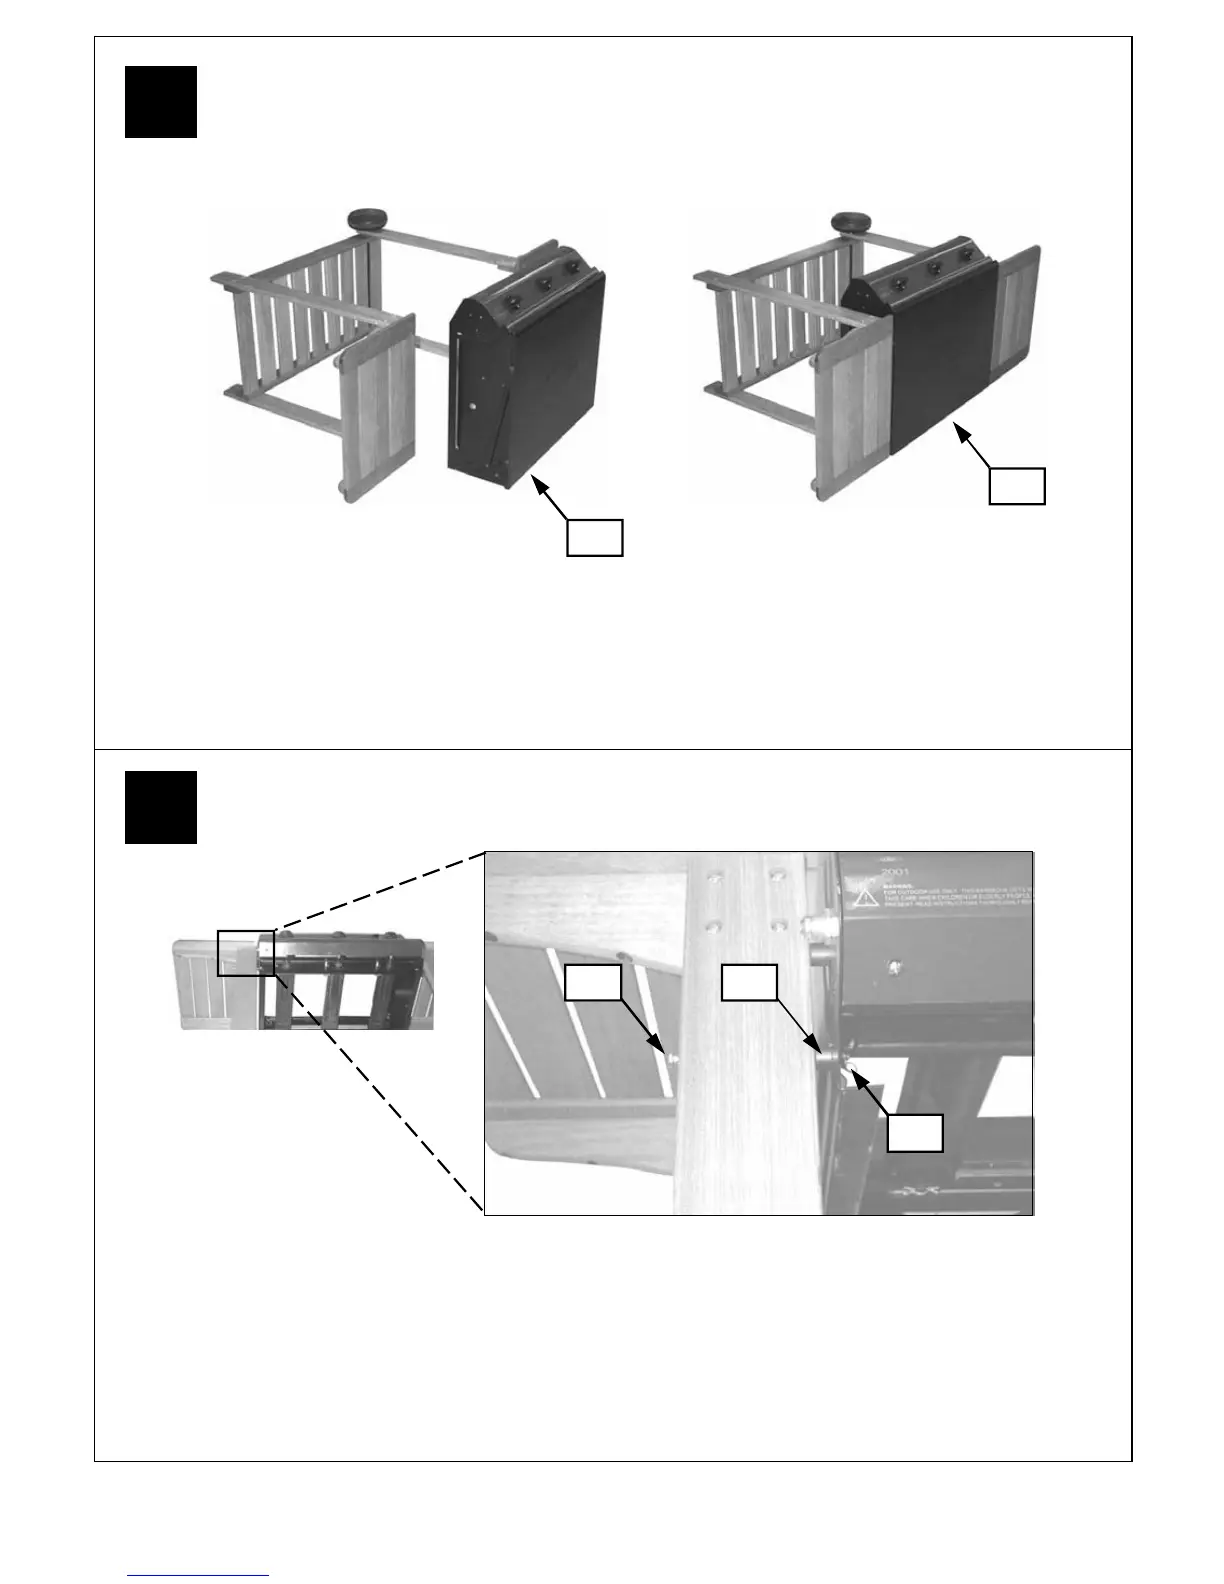
With the barbecue laid on the ground, insert a body support bolt (D3) through the short leg, through
a spacer (D4), through the sidewall of the body, and secure the bolt with a wing nut (D5). Repeat the
process for all the legs until the body is completely fixed to the trolley. NOTE: When positioning the
body of the barbecue, ensure the control panel is on the same side as the legs with Velcro
B3
B3
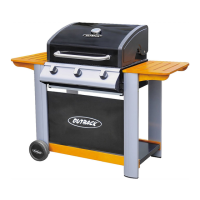
Lay the assembled trolley on its side. Lay the body (B3) on its back and slide into position between the
trolley legs. Warning: Care must be taken to ensure lid does not fall open unexpectedly.
6
5