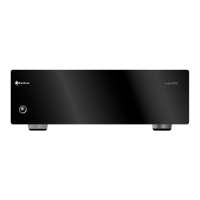
Outlaw Audio
8
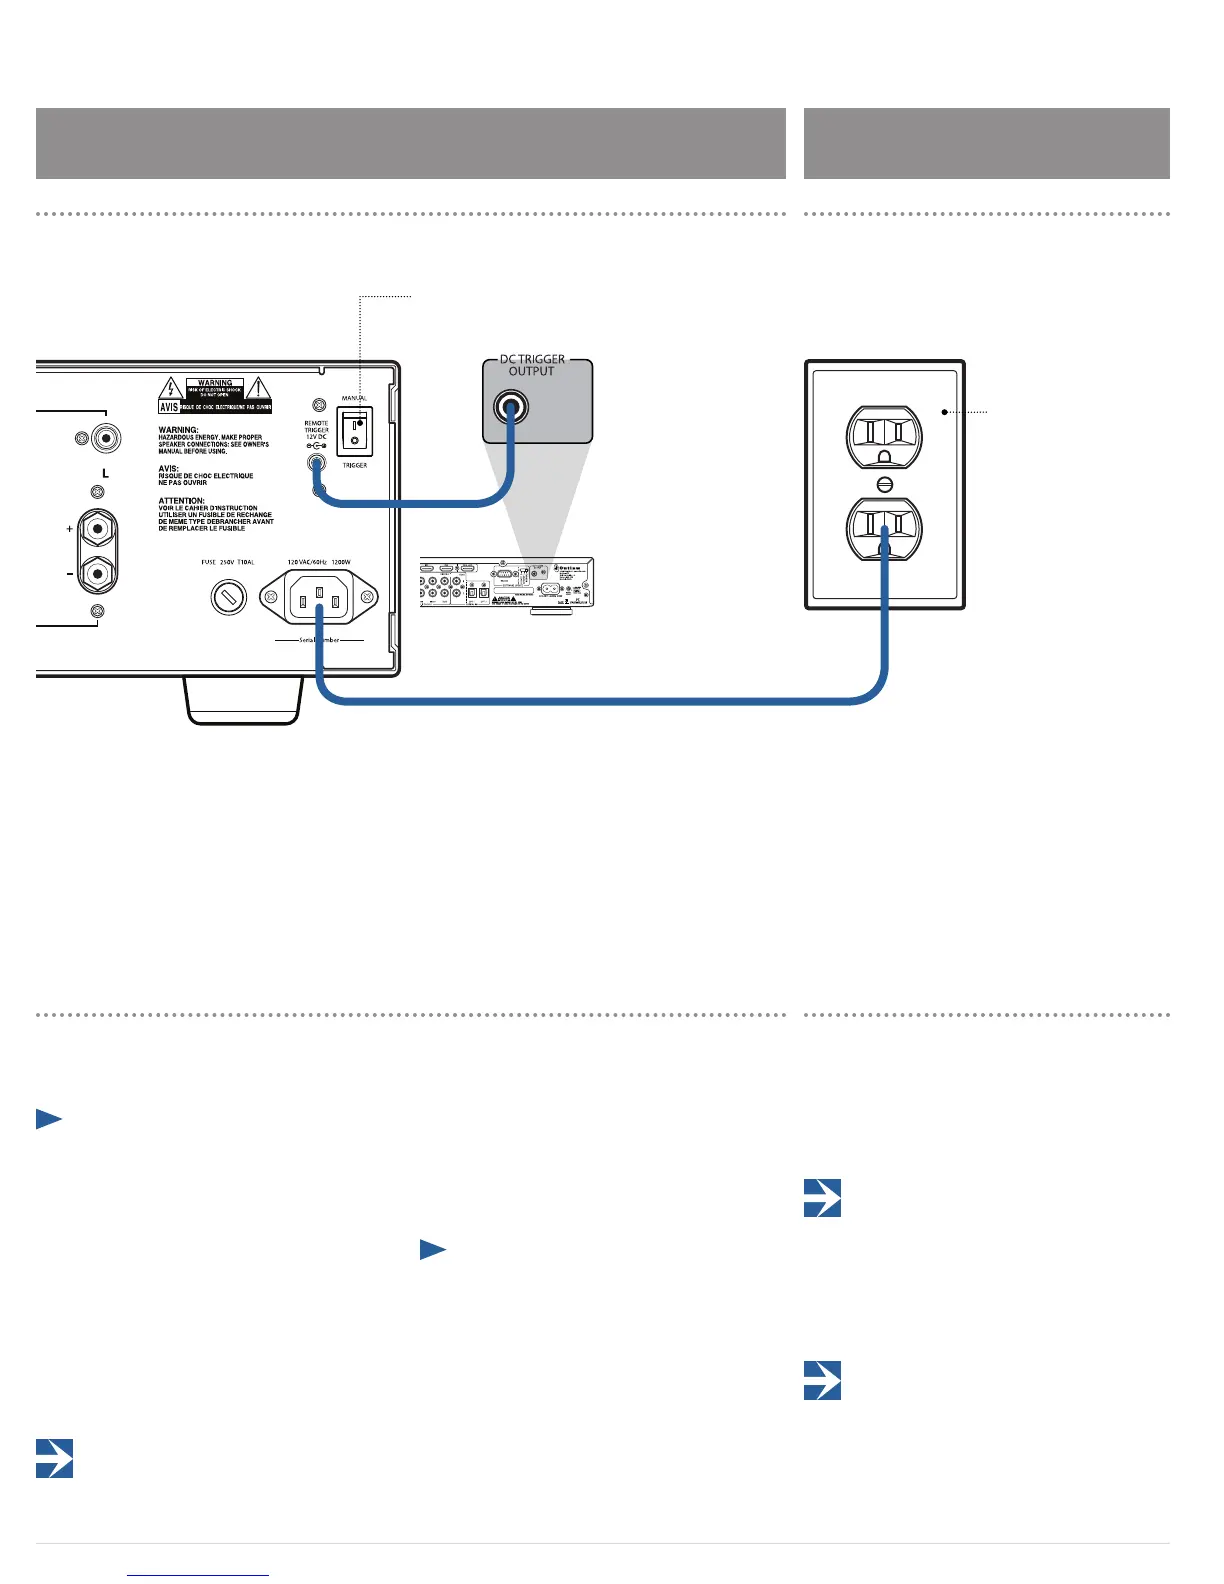
Remote Trigger Connection
The Model 5000 features a trigger circuit to allow another
device in the system to automatically turn the amplier
on or o.
¼ To use another device with a 12 volt trigger output
jack to automatically power on the Model 5000:
1. Set the MANUAL/TRIGGER switch on the rear panel
of the Model 5000 to the Trigger position.
2. Connect the supplied 3.5mm mono mini-plug from
the trigger-output jack of the source device to the
REMOTE TRIGGER jack on the amplier’s rear panel.
When the switch is set to TRIGGER, and the front
power switch is set to ON, the blue ring around the
Power button glows dimly indicating the amp is in
Standby mode. When the connected device is turned
on, the Model 5000 turns on and the blue ring glows
brightly.
If you set the MANUAL/TRIGGER switch to Trigger, but don't
connect the Model 5000 to another device with the REMOTE
TRIGGER cable, the blue ring around the Power button will glow when the
Power button is pressed, but the amplier will remain in standby.
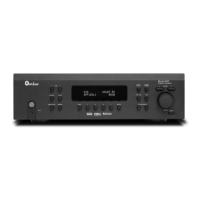
Model 5000
Remote Trigger Connection
Model 5000 Power Connection
If your processor or receiver does not have a dedicated trig-
ger jack, it is still possible to activate the unit for automatic
turn on when a switched outlet is available on the rear of
the source device. You will need a small AC to DC power
converter, capable of delivering a 6 to 12 volt DC signal.
The DC voltage should terminate in a standard 3.5mm type
mini plug. This type of converter may be obtained as a
Power Adapter from many electronics retailers.
¼ To use an external AC to DC power converter to
automatically power on the Model 5000
1. Plug the AC adapter into a switched outlet that
will be activated when you wish to have the ampli-
er turn on.
This may be the switched outlet at the rear of an AC receiver
or other audio equipment.
2. Connect the 3.5mm mini-plug from the AC adapter
to the REMOTE TRIGGER jack on the back panel of
the amplier.
The amplier will now turn on and o automatically, based
on the status of the controlling device.n
Power Connection
Once all audio and system connections have been made,
connect the supplied power cord to the AC Input on the
rear panel of the Model 5000 and an AC power source.
Please make certain that the amplier is turned o and
that the device connected to the remote trigger input is o
when plugging the power cord into an AC outlet.
CAUTION: Do not plug the Model 5000 directly into the
“Switched Accessory” outlet of another device! These
outlets are intended for use with low current draw products having
a low current draw, such as tuners, CD players or cassette decks.
These outlets cannot handle the high current draw of a power
amplier and using them for a power amplier is a signicant
safety hazard.
It is not recommended that you connect other power
ampliers or products with a high current draw, to the
same AC power circuit as the Model 5000, unless they are used
with the remote power turn on and sequencing system. The
simultaneous turn-on of multiple ampliers on the same circuit
may cause circuit breakers to trip, due to the high current draw.
AC Wall Outlet
Set the MANUAL/TRIGGER
switch to Trigger