9
S-176-9-E
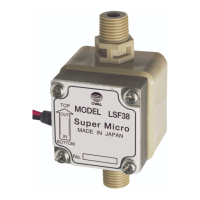
Rotors
Pulse Generator
6. DISASSEMBLY AND INSPECTION
◎
While recommended servicing intervals vary according to the given operating conditions, the
g
eneral rule to follow is to perform periodic disassembly and inspection once a year.
◎
Refer to the exploded views on pages 12 to 14.
6.1 Meter Body Disassembly and Inspection
Complaint - Fluid will not run.
The most likely cause is that scales become jammed in the oval rotors, making them immovable
and blocking the uid ow.
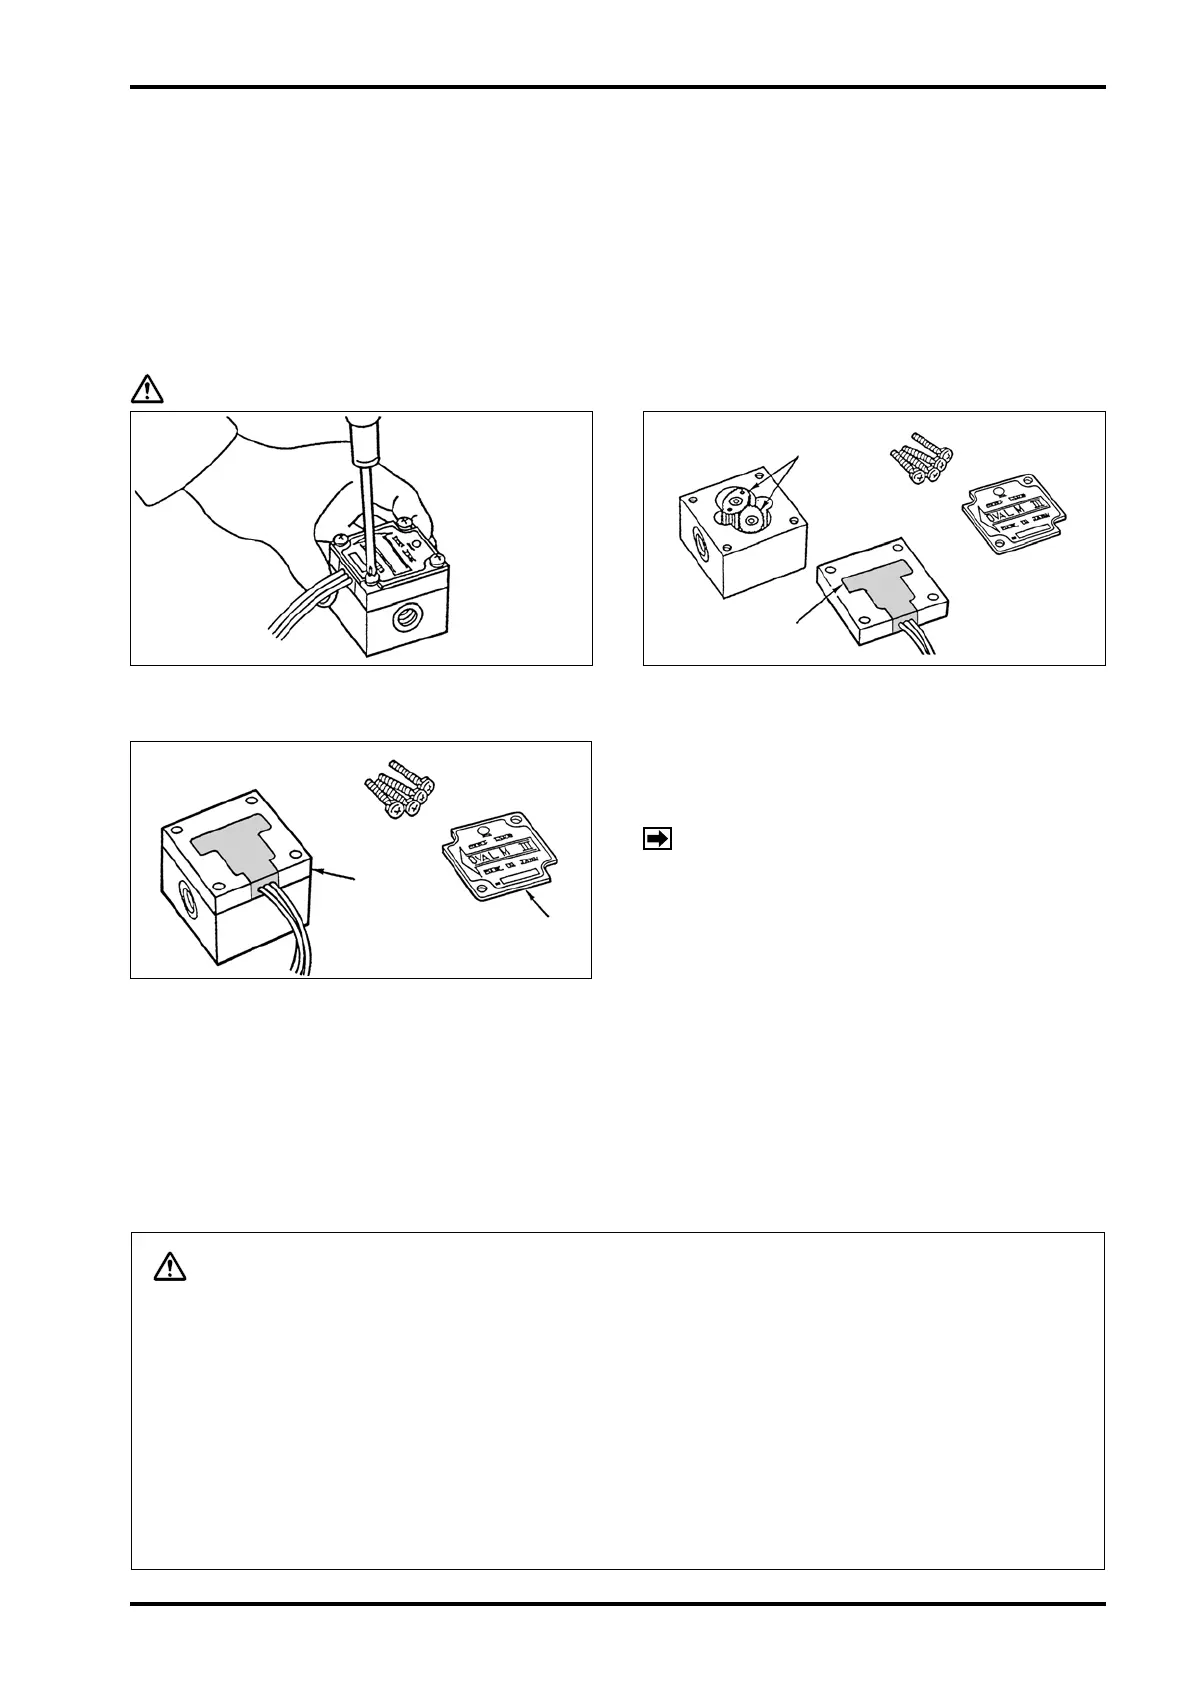
CA
UTION: Be sure to turn off power before you start servicing.
①
Take off all four pan head with cross point
screwdriver.
②
With pan head screws taken off, the front cover
and pulse generator are now separable from
the meter body. Be careful not to drop the meter
body.
Pan Head Screws
Nameplate
Front
Cover
③
With the front cover removed, the measuring
chamber and oval rotors are accessible.
④
Remove the oval rotors from the measuring
c
hamber and inspect individual component
parts for condition.
NOTE:The rotor shafts should be drawn out
axially.
(a) Are oval rotors jammed by foreign solids?
(b) Are rotors, shafts and other components
worn?
(c) Are the inner walls of measuring chamber
and front cover damaged?
(d) Are signal generating magnets rusted?
Upon completion of these inspections, wash
clean the oval rotors, rotor shafts, measuring
chamber and front cover thoroughly with fresh
water or cleaning oil.
CA
UTION
1. Deep scoring, high spots caused by impressions, or other irregularities, should be
reconditioned to be smooth and flat with oilstone.
2. FLOW MATE (OVAL M-
Ⅲ
) is a precision instrument. Disassembly and inspection should
be conducted indoors as a general rule. If it is desired to make disassembly and
inspection without removing the meter from the tubing assembly, reduce internal pressure
in the tubing assembly completely to zero, shut off valves upstream and downstream of
the meter completely, drain the tubing assembly and then place a suitable liquid receptacle
immediately below the meter. Use extra care to keep out dirt, sand or other contaminants from
disassembled component parts.