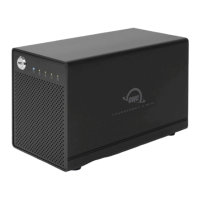
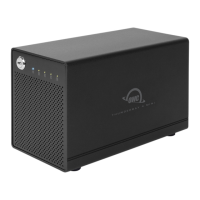
EasyManuals Logo

OWC ThunderBay 4 User Manual

OWC ThunderBay 4
12 pages
To Next Page IconTo Next Page
To Previous Page IconTo Previous Page
Page #9 background imageLoading...
Page #9 background image
OWC THUNDERBAY 4
SYSTEM SETUP
7
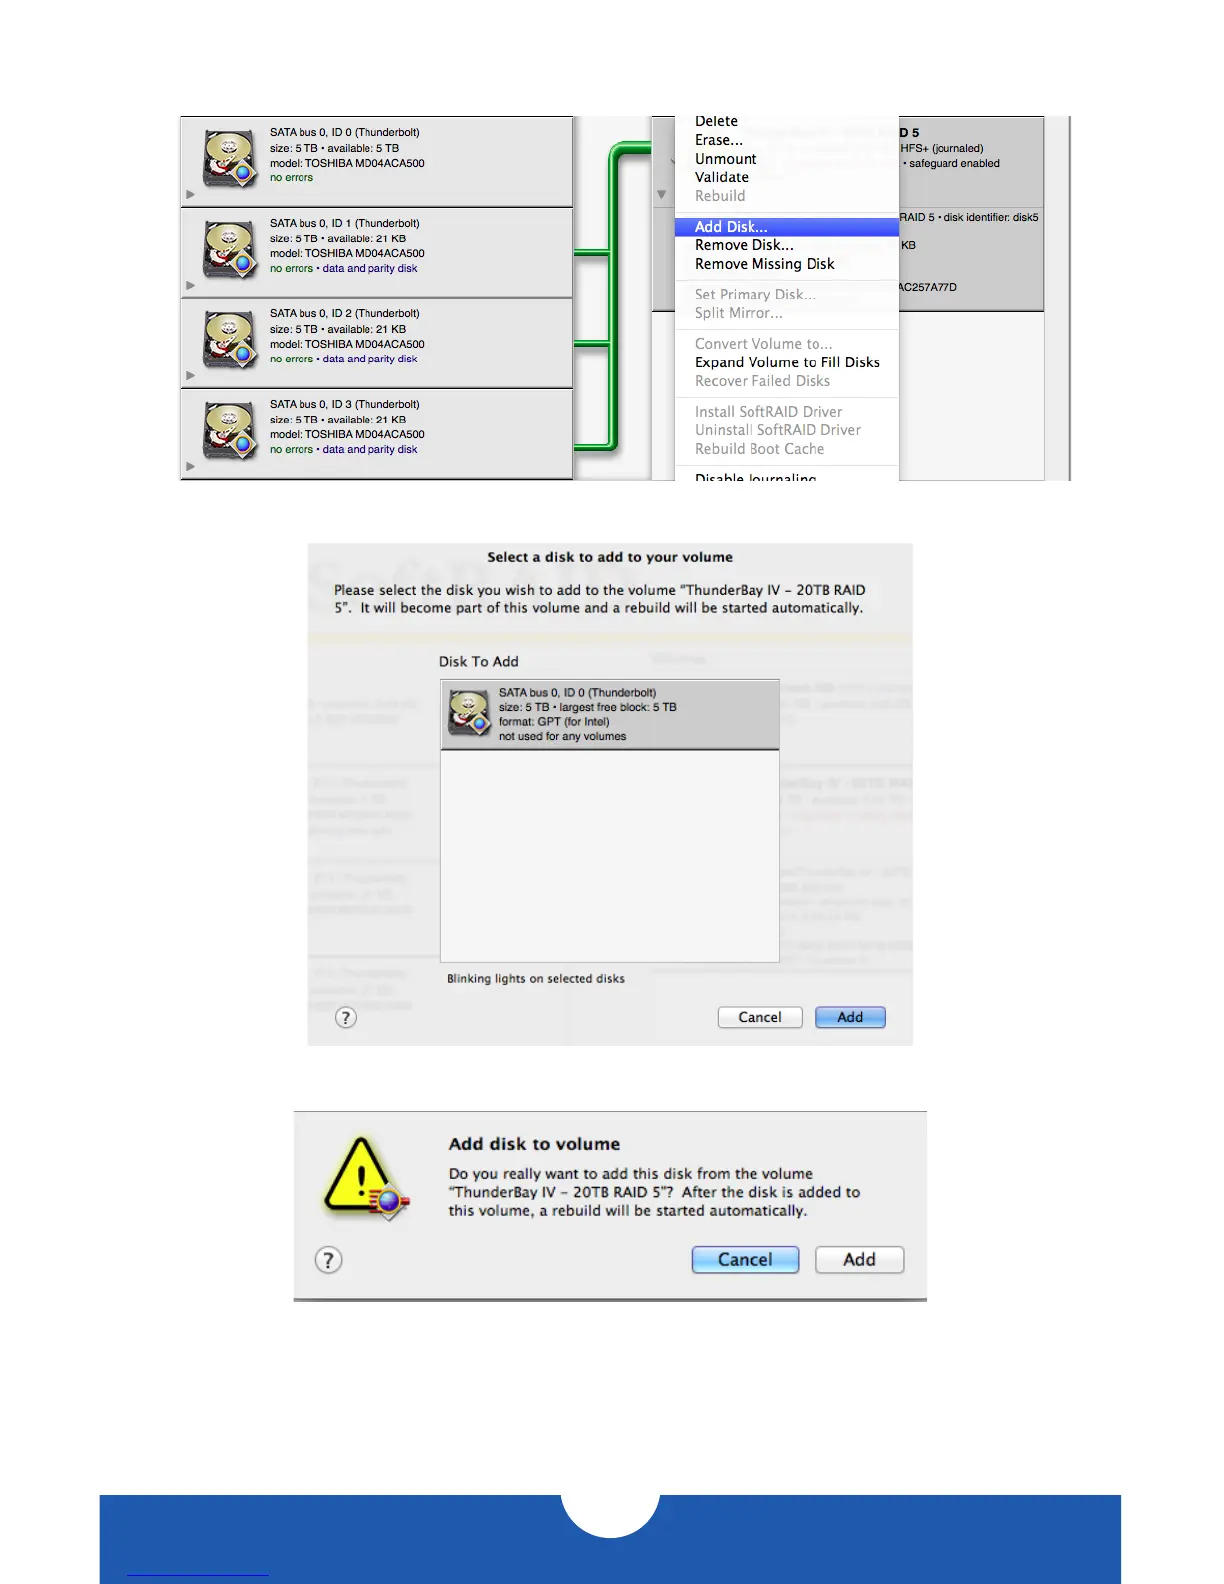
4. Once the new disk is initialized, right-click on the degraded RAID volume and select
Add Disk...
In the window that pops up next, click on the new disk to select it, then click ‘Add’.
You will be prompted to confirm your selection.
Click ‘Add’ again to add the new disk to the RAID volume and begin the rebuild process.

Questions and Answers:

Question and Answer IconNeed help?

Do you have a question about the OWC ThunderBay 4 and is the answer not in the manual?

OWC ThunderBay 4 Specifications

General IconGeneral
RAID levelsJBOD
Storage drive size2.5/3.5 \
Maximum storage capacity32 TB
Number of storage drives supported4
Supported storage drive interfacesSerial ATA III
Fan diameter92 mm
Product typeHDD/SSD enclosure
Product colorBlack
LED indicatorsYes
Number of fans1 fan(s)
USB connectivityNo
Thunderbolt 2 ports quantity2
Data transfer rate20 Gbit/s
AC adapter frequency50/60 Hz
AC adapter input voltage110 - 240 V
AC adapter output voltage12 V
Storage temperature (T-T)-40 - 65 °C
Operating temperature (T-T)5 - 42 °C
Storage relative humidity (H-H)5 - 95 %
Operating relative humidity (H-H)8 - 90 %
Cables includedAC, Thunderbolt
Weight and Dimensions IconWeight and Dimensions
Depth245.11 mm
Width134.87 mm
Height176.78 mm
Weight3900 g

Related product manuals