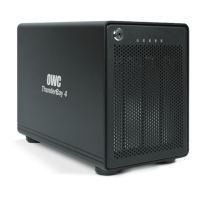
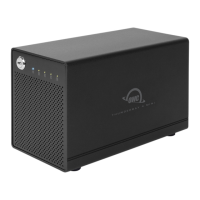
ThunderBay Flex 8
Installation
5
5 6
INSTALLATION
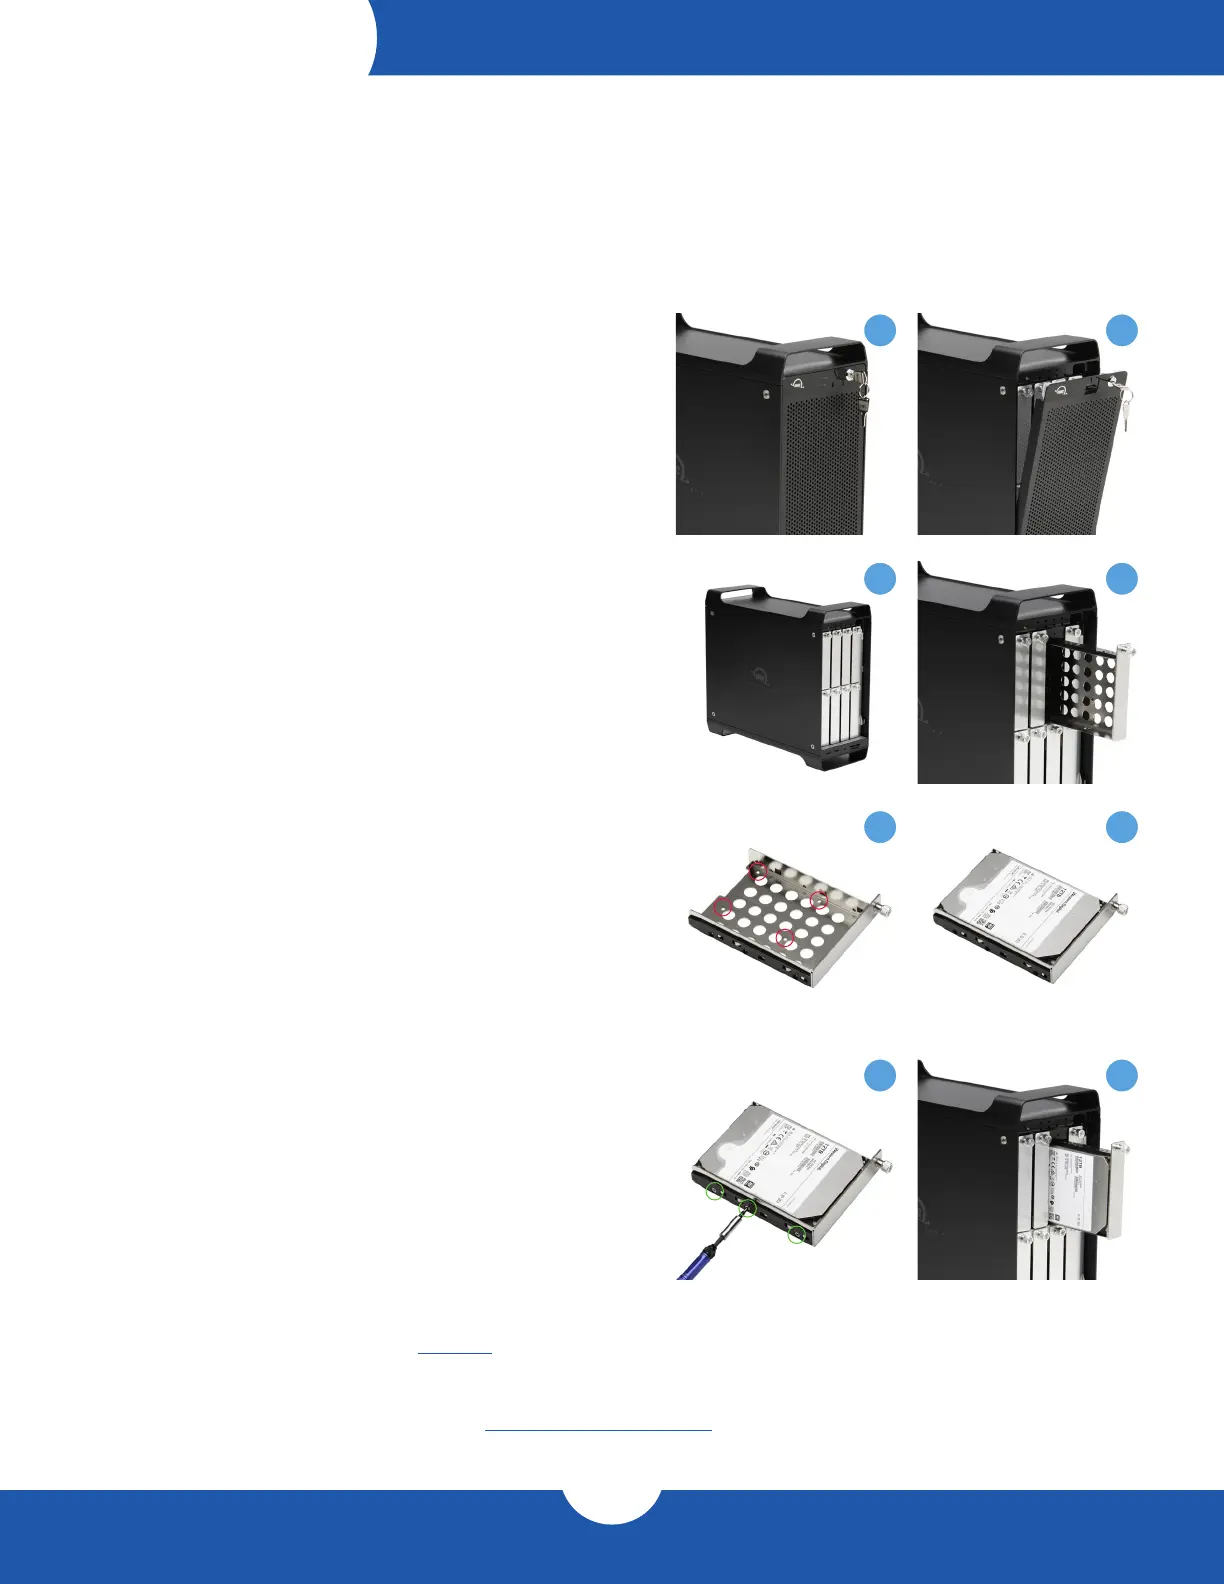
2.1 Drive Installation
1. Insert one of the included keys into the lock on the upper
right of the faceplate.
2. Turn the key clockwise, then pull it towards you.
The faceplate will swing open.
3. Once the faceplate has swung open as far as it will go,
lift to remove it.
4. For each tray you wish to remove, turn the thumbscrew
counter-clockwise until you no longer feel resistance.
Then hold onto the thumbscrew and pull the drive tray out.
5. Set the drive tray on your work surface as shown. If you are
replacing an existing hard drive, unscrew it from the drive
tray at this time. Note: the highlighted screw holes are for
2.5-inch drives (SATA or U.2). The holes for 3.5-inch drives
are highlighted in green (Step 7).
6. Place the hard drive inside the drive tray as shown. The label
should face up and the SATA connectors should be on the
far rear corner of the drive.
7. Fasten the drive into the drive tray using six of the included
screws (three per side). 2.5-inch drives require four of the
ne-thread screws.
8. Slide the drive tray back into the rails in the ThunderBay
Flex 8 and push until it is seated fully, then push in on the
thumbscrew and turn it clockwise until it stops turning.
If you encounter resistance, do not force the drive tray.
Remove it, check to make sure there are no obstructions
and that the drive tray is lined up correctly, then try again.
1 2
3 4
If you purchased the ThunderBay Flex 8 with drives, they have been installed prior to shipment — please skip to
the notes at the end of Section 2.2. If you are installing your own drives, follow the steps in Section 2.1 to install
3.5-inch hard drives into your ThunderBay Flex 8 enclosure, or to replace existing 3.5-inch drives. Note: it is
possible to install 2.5-inch SATA or U.2 drives (U.2 supported in top 4 bays only) using the ne-threaded screws
that are included and the four screw holes on the bottom of each drive tray (highlighted in step 5 below).
7 8
2.2 Quick Start
1. Install drives into the ThunderBay Flex 8 according to the
instructions in Section 2.1. if you have not already done so.
2. Connect the power supply between the ThunderBay Flex 8
and a power outlet.
3. Connect the included Thunderbolt cable between the ThunderBay
Flex 8 and a computer. When you do this, the device will power on
and the drives will be available for use on the computer.
- NOTE: If you installed your own drives in the previous section, they need to be formatted before you can use the ThunderBay Flex 8.
- This product shipped with a license for SoftRAID, which is recommended for setting up RAID volumes and working with
ThunderBays. If you purchased your solution with drives, they were already formatted as a RAID volume, but you should still install
SoftRAID to get the best performance and functionality.
- If you do not wish to use SoftRAID you can visit www.owcdigital.com/format and use one of the Mac specic links for instructions
on formatting your drives.