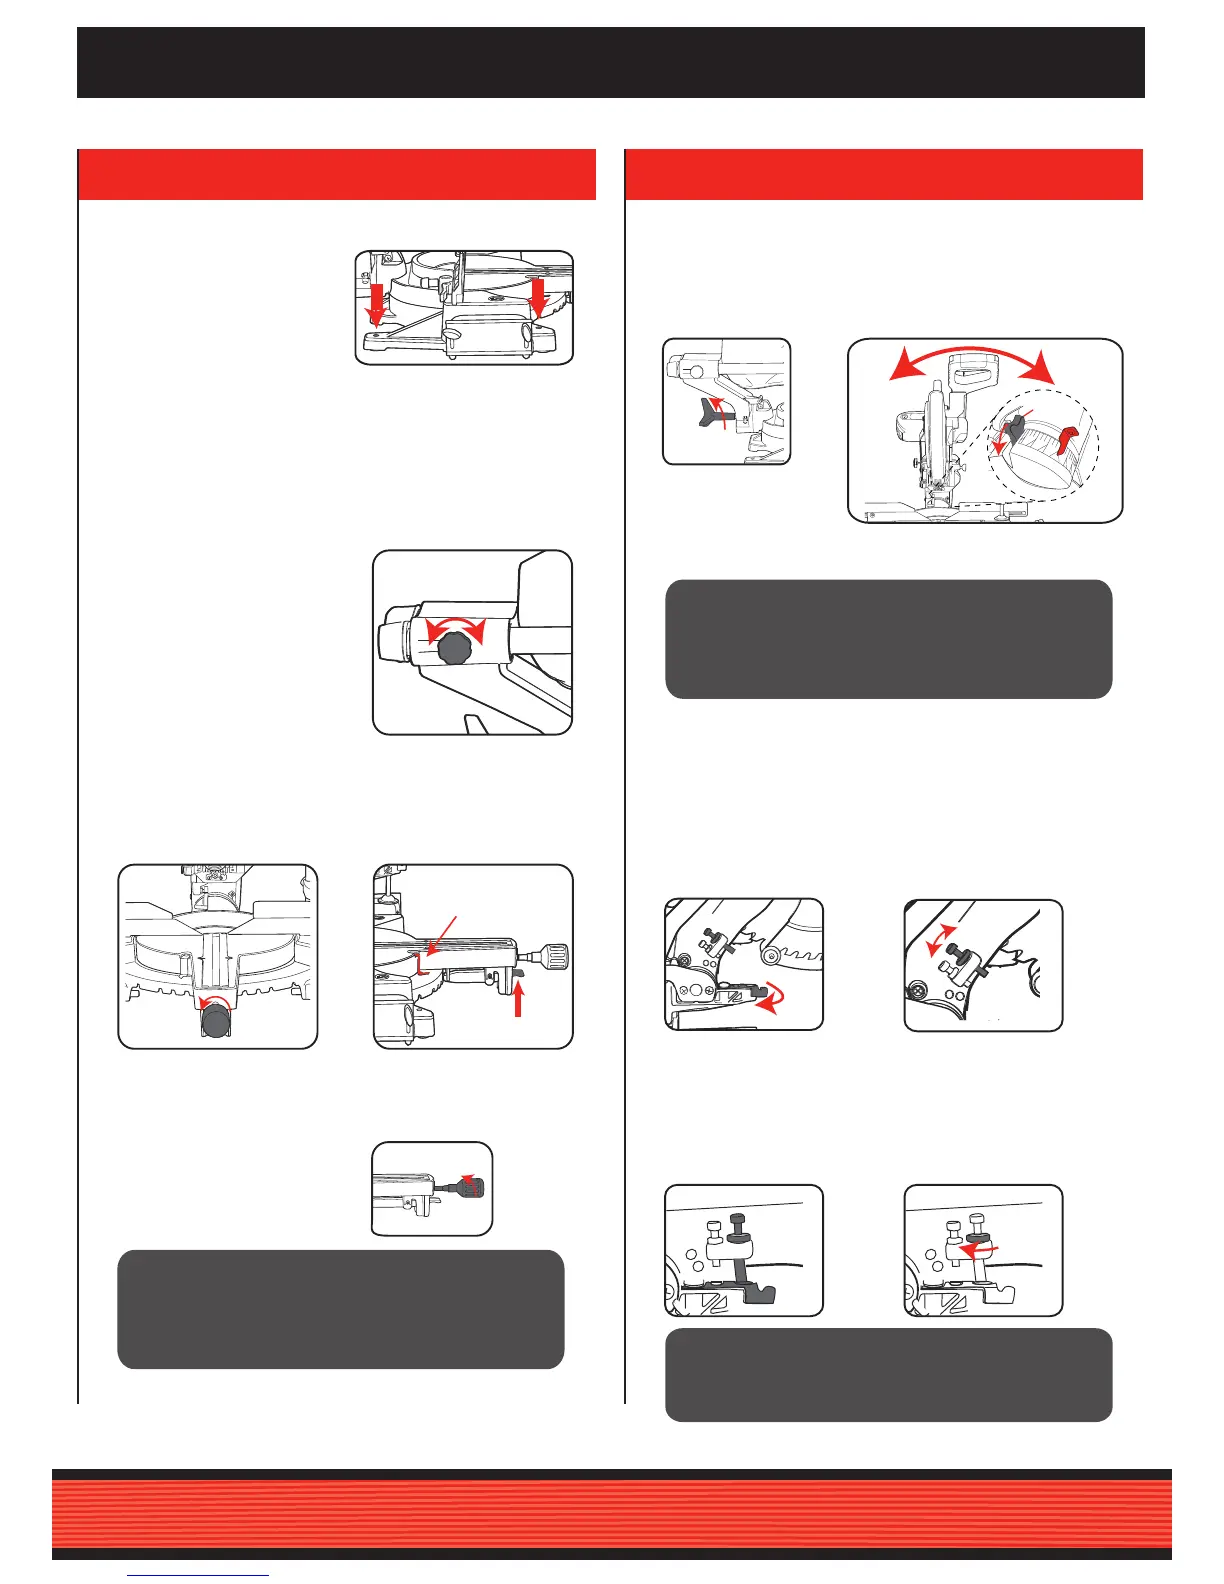
3. Tighten bevel lock knob at selected angle
Note: The mitre table features positive click stops at 0°, 15°, 22.5°,
30° and 45° for quick setting of common mitre angles.
Bench Mounting
The base of the saw has four
bench mounting holes (1 each
corner) that can be used to
mount it to a workbench or
mitre saw stand. Use four
screws or bolts (not included)
to secure.
Note: If required, the Mitre Saw can be mounted onto a 13mm piece
(or thicker) of plywood which can then be clamped to the work bench
or mitre saw stand. This provides the exibility to transport the Mitre
Saw to other work areas
WARNING!: ENSURE THE MITRE LOCK HANDLE IS
TIGHT BEFORE MAKING A CUT. FAILURE TO DO
SO MAY RESULT IN THE MITRE TABLE MOVING
DURING OPERATION AND CAUSE SERIOUS
PERSONAL INJURY.
WARNING!: ENSURE THE BEVEL LOCK KNOB IS
TIGHT BEFORE MAKING A CUT. FAILURE TO DO
SO MAY RESULT IN THE CUTTING HEAD MOVING
DURING OPERATION AND CAUSE SERIOUS
PERSONAL INJURY.
WARNING!: DO NOT ADJUST THE REAR DEPTH
BOLT. THE REAR BOLT IS USED TO PREVENT
THE BLADE FROM CUTTING THE TABLE DURING
NORMAL CUTTING
Trenching refers to restricting the depth of cut and permits a “trench”
to be cut in the workpiece.
Bevel Angle Adjustment
Trenching
1. Ensure the cutting head is
raised, move the trenching
stop to the left as far as it
will go.
2. To adjust the trenching
depth rotate the trenching
depth adjustment screw.
3. To check that the blade
stops at the desired position,
lower the cutting head
until the trenching stop
adjustment screw touches
the trenching stop.
4. When the correct depth is
set. Lock it in position using
the trenching depth lock nut.
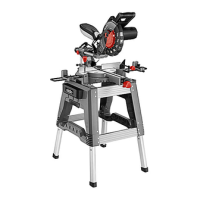
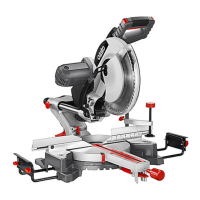
Available for purchase is an Ozito Mitre Saw Stand, model MSS-003
to t this unit, available at your local Bunnings Warehouse.
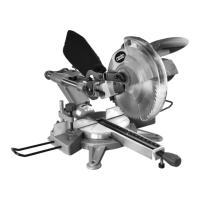
Slide Lock
When cutting a narrow piece of
wood it is not necessary to use
the slide mechanism. In these
circumstances, push back the
cutting head and ensure the slide
locking knob is tight to prevent the
cutting head from sliding.


 To Next Page