Do you have a question about the PAC GM3A-RSTX and is the answer not in the manual?
Key points and considerations for using the GM3A-RSTX interface, including revision info and switch settings.
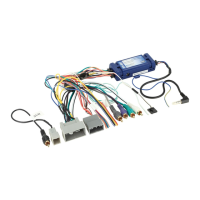
Details aftermarket radio and SWC connector wiring, including specific wire functions and colors.
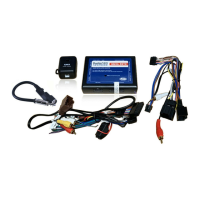
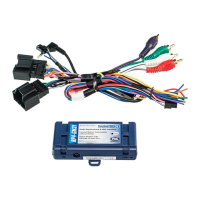
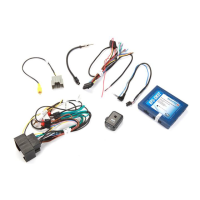
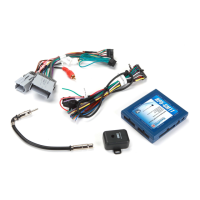
Diagram illustrating the physical connections for power, speakers, and vehicle interfaces.
Instructions for adjusting the rotary switch on the interface to match the connected vehicle's radio.
Overview of pre-programmed SWC functions and how to restore default settings.
Table showing default assignments for steering wheel control buttons for various radio brands.
Guide for reassigning SWC functions, using dual command functionality, and mode selection.
Explanation of two modes for controlling OnStar/XM functions, affecting SWC button assignments.
Step-by-step guide on how to program custom SWC assignments and dual command functionality.
Chart detailing the sequence for programming specific SWC functions for different radio brands.
Procedures to verify correct operation of the interface, radio, SWC, and OnStar functions.
How to use the aftermarket radio's dual zone audio output with the rear seat controls.
Instructions for controlling the factory XM tuner using the interface and SWC buttons.
Detailed steps to activate, control, and store presets for the factory XM tuner via SWC.
Details for vehicles with overhead screens only or with additional headrest monitors.
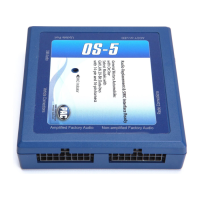
The GM3A-RSTX is a sophisticated interface designed to facilitate the replacement of a factory radio in select General Motors vehicles equipped with 29-bit LAN radios. This device ensures that essential factory features are retained even after the original radio is removed, offering a seamless upgrade experience for vehicle owners.
The primary function of the GM3A-RSTX is to act as a bridge between an aftermarket radio and the vehicle's existing electronic systems. It preserves several key factory functionalities, including:
Beyond retention, the GM3A-RSTX also enhances user experience by providing advanced programming capabilities. It allows users to program two distinct radio functions to each SWC button using a "short press" and "long press" dual command functionality. This feature offers greater customization and convenience, enabling quick access to frequently used functions.
Furthermore, the interface provides several data bus-driven outputs that are crucial for aftermarket radio installation:
The GM3A-RSTX is designed for straightforward installation and configuration, though careful attention to detail is required.
The interface comes pre-programmed with default SWC functions. However, users can customize these functions or utilize the short press/long press dual command functionality.
The Mute and Source buttons can be configured to control factory OnStar/XM functions (factory mode) or aftermarket radio functions (aftermarket mode).
For vehicles without steering wheel controls, the programming button on the interface is used to adjust OnStar audio level. When OnStar is active, pressing the button will raise the audio level four times before returning to the original level.
The GM3A-RSTX is designed for long-term reliability and minimal maintenance. The primary maintenance feature is its upgradability:
Regular testing after installation and any programming changes is recommended to ensure all functionalities are working as expected. If any functions cease to work, repeating the programming steps is the first troubleshooting step. The LED on the interface, which flashes when an SWC button is pressed, serves as a visual indicator of proper communication and can aid in diagnosing issues.
| Input Channels | 2 |
|---|---|
| Bit Depth | 24-bit |
| Headphone Output | 1/4" TRS |
| Input Type | XLR/TRS combo |
| Phantom Power | 48V |
| Monitor Output | 1/4" TRS |
| Power Source | USB Bus Power |
| Compatibility | Windows, macOS |