©2001 PACE Inc., Laurel, Maryland Page 8 of 20
All Rights Reserved
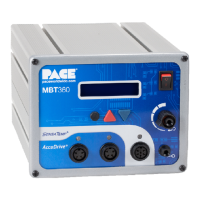
System Set-Up
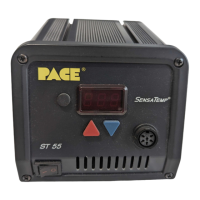
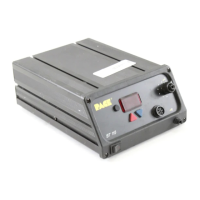
Set up the ST 45 or ST 55 system using the following steps and associated drawings.
1. Store the shipping container in a convenient location.
Reuse of these containers will prevent damage if you store or
ship your system.
2. Place the Power Switch in the “OFF” or “0” position.
Mounting Options
The ST 45 and ST 55 can be placed directly on a workbench and can be stacked if more than one
system is used. The ST 55 can also be mounted under a workbench or shelf to conserve space. To
mount the system in this way:
1. Mount the bracket in the desired location (fasteners not
supplied).
2. Insert the 2 Mounting Screws (head first) into the power
source mounting slots.
3. Place the washers over the screws.
4. Fit the power source between the bracket’s support arms
and place the screws into the slots on the support arms.
5. Place the nut on the screw and tighten by hand.
6. Angle the power source so the operator can see the
display easily and tighten the nuts with a wrench or
pliers.
Tip & Tool Stand
The Tip & Tool Stand can be mounted to the power source. If the system will be placed on the
workbench, this is recommended. If the ST 55 is to be mounted under the workbench or shelf, the
Tip & Tool Stand should not be mounted to the power source.
1. To attach the stand to the power source:
a) Insert the 2 Mounting Screws (head first) into
the power source mounting slots (plastic case
shown). Slide the screws toward rear of the
power source.
b) Place the Tip & Tool Stand beside the power
source. Insert ends of the 2 Mounting Screws
into the 2 Tip & Tool Stand mounting holes as
shown.
c) Install a Thumb Nut onto the end of each
Mounting Screw and tighten Thumb Nuts.
2. Place the handpiece into its Tip & Tool Stand.
Handpiece Connection
Connect the handpiece connector plug into the Power
Receptacle in the following manner.
1. Align guide on connector with slot on power receptacle.
2. Insert connector into power receptacle.
3. Turn the connector housing clockwise to lock in place.