4
Sensor Technology
26
Subject to change without notice
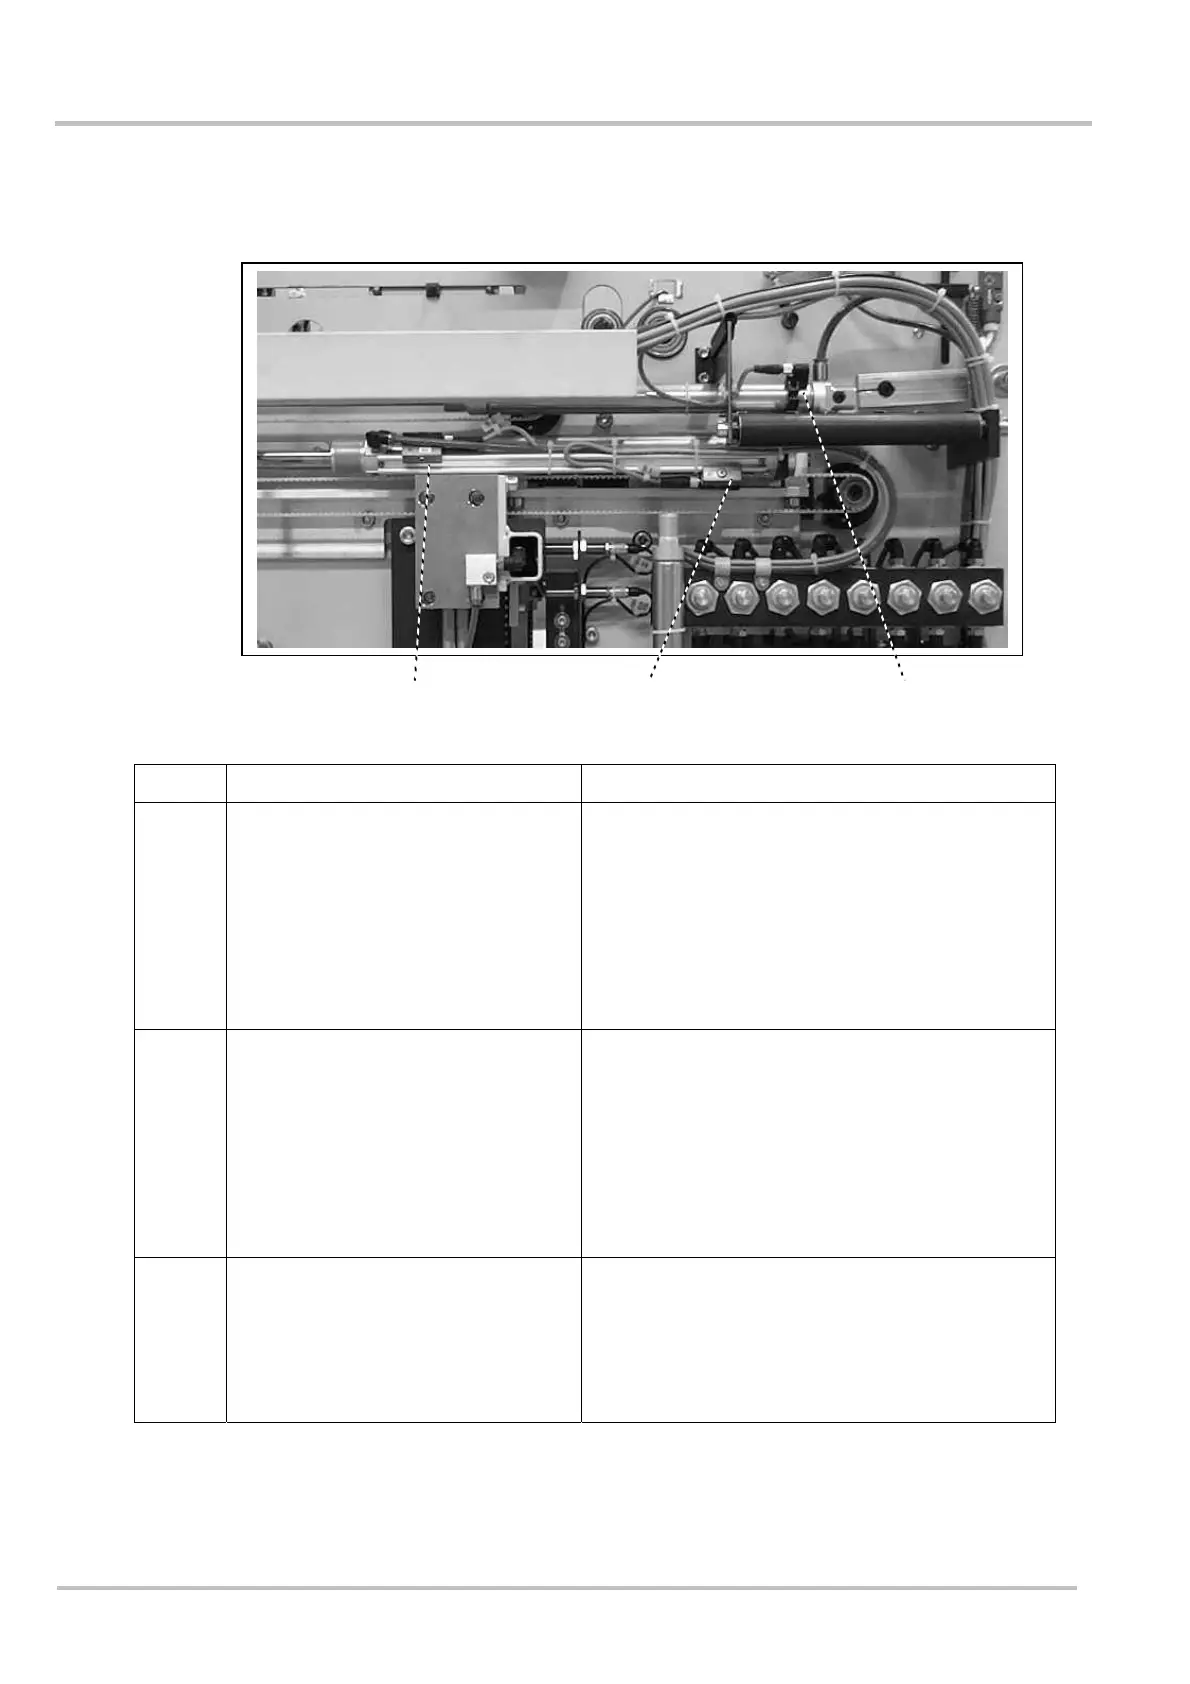
4.2 Sensor B 1, B 2 and B3
Sensor Position/Name Adjustment
B1 Heat-sealers starting position Separate welding head manually (either by
hand or by code 204). Loosen Sensor B1 and
move to the left until the yellow LED goes out.
Then move the sensor slowly to the right until
the yellow LED lights up again. Now place the
sensor a further 2mm to the right and fix it.
N.B. This setting has to been made under
pressure.
B2 Heat-sealers operating position Move welding head together manually (either
by hand or by code 204). Loosen sensor B2
and move to the right until the yellow LED goes
out. Then move the Sensor slowly to the left
until the yellow LED lights up again. Now place
the sensor a further 2mm to the left and fix it
N.B. This setting has to been made under
pressure.
B3 Pressing bars working position Move pressing bars in manually (either by
hand or by code 204). Loosen sensor B3 and
move to the right until the yellow LED goes out.
Then move the Sensor slowly to the left until
the yellow LED lights up again. Now place the
sensor a further 2mm to the left and fix it
B1 B2 B3