Do you have a question about the Panasonic CQ-VA707WEUC and is the answer not in the manual?
Delivers images with high quality and superb color reproduction.
Allows powered adjustment of display unit position for optimal viewing.
Equipped with Auto Dimmer to adjust image brightness.
Allows system expansion by adding an optional CD Changer.
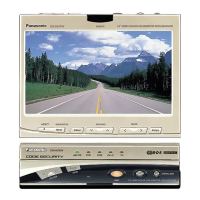
Provides a 4-digit ID code for increased security.
Warning to avoid risk of injury and ensure safe operation.
Safety guidelines for driving, parking, and general operation.
Unit operates on a 12-volt DC negative ground system.
Recommends using authorized centers for service.
Diagram showing identification labels on the display unit.
Diagram showing identification labels on the control unit.
Statement regarding compliance with FCC Part 15.
Caution to record and secure the registered ID code.
Step-by-step instructions for inserting the battery.
Warnings regarding battery usage, overheating, and leakage.
Diagram and explanation of remote control buttons.
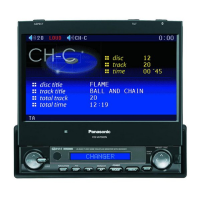
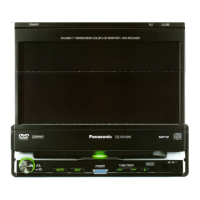
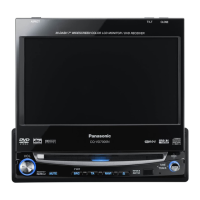
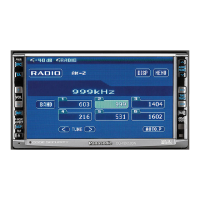
Identification of buttons and indicators on the display unit.
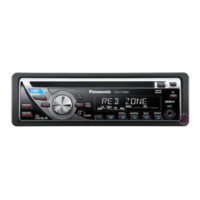
Identification of controls and indicators on the control unit.
Details on input/output terminals on the control unit front.
Details on connectors on the control unit rear.
Warning against inserting objects and safe operation.
Instructions for turning the unit ON and OFF.
Procedures for opening, raising, and retracting the display.
Adjusting vertical angle (TILT) and front/rear position.
Adjusting the lateral angle of the display unit.
Safety precautions during angle adjustments.
Navigating the main and sub-menus.
Accessing and using setting/adjusting menus.
Adjusting the tilt and front/rear position of the display unit.
Enabling, disabling, and adjusting the clock display.
Setting up navigation system input.
Setting up rear-view camera input.
Setting external input sources.
Setting, changing, and canceling the ID code for security.
Adjusting bass and treble frequencies.
Adjusting sound distribution between speakers.
Enabling or disabling the soft beep sound.
Adjusting the backlight brightness of the display.
Adjusting the contrast of the displayed image.
Adjusting the overall brightness of the image.
Adjusting the intensity of colors in the image.
Adjusting the color tone or tint of the image.
Adjusting the volume level and mute function.
Changing the aspect ratio of the displayed image.
Changing between FM/AM, AV, VTR, and CH-C modes.
Activating and canceling car navigation display.
Switching between FM/AM bands and tuner modes.
Procedures for manual and seek tuning.
Saving and recalling radio stations.
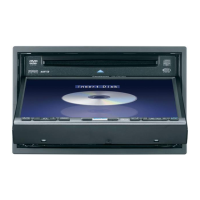
Changing to CD changer mode after connection.
Selecting discs and tracks for playback.
Using random, scan, and repeat playback functions.
Controlling two CD changers with optional unit.
Connecting video decks, cameras, or navigation systems.
Switching between VTR and AV input modes.
General installation advice and safety warnings.
Tasks and checks required before starting installation.
Instructions for connecting power, speakers, and other leads.
Step-by-step guide for mounting the unit.
Instructions for mounting the control unit.
Diagram showing the basic system electrical connections.
Procedure for connecting the parking brake lead.
Connecting mobile video decks or cameras.
Tips for maintaining the unit's exterior.
Using charts to identify and solve common issues.
Troubleshooting problems related to power and sound.
Diagnosing and resolving display and video problems.
Troubleshooting radio reception and remote control functionality.
Advice on avoiding damage to the unit's exterior.
Instructions for cleaning the unit with a soft cloth.
Overall power, dimension, and weight details.
Details on display panel, pixels, and resolution.
FM/AM frequency range, sensitivity, and audio performance.
| Screen Size | 7 inches |
|---|---|
| Screen Type | LCD |
| Touchscreen | Yes |
| DVD Player | Yes |
| MP3 Playback | Yes |
| WMA Playback | Yes |
| Radio Tuner | AM/FM |
| Output Power | 50W x 4 |
| USB Port | Yes |
| Bluetooth | Yes |
| GPS Navigation | No |
| Rear View Camera Input | Yes |