12
3.7.2. INITIAL SETTINGS:
After replacing the MAIN PCB, be sure to perform the initial settings after achieving the adjustment by ordering the following proce-
dure in accordance with model suffix of the unit.
1. IMPORTANT NOTICE:
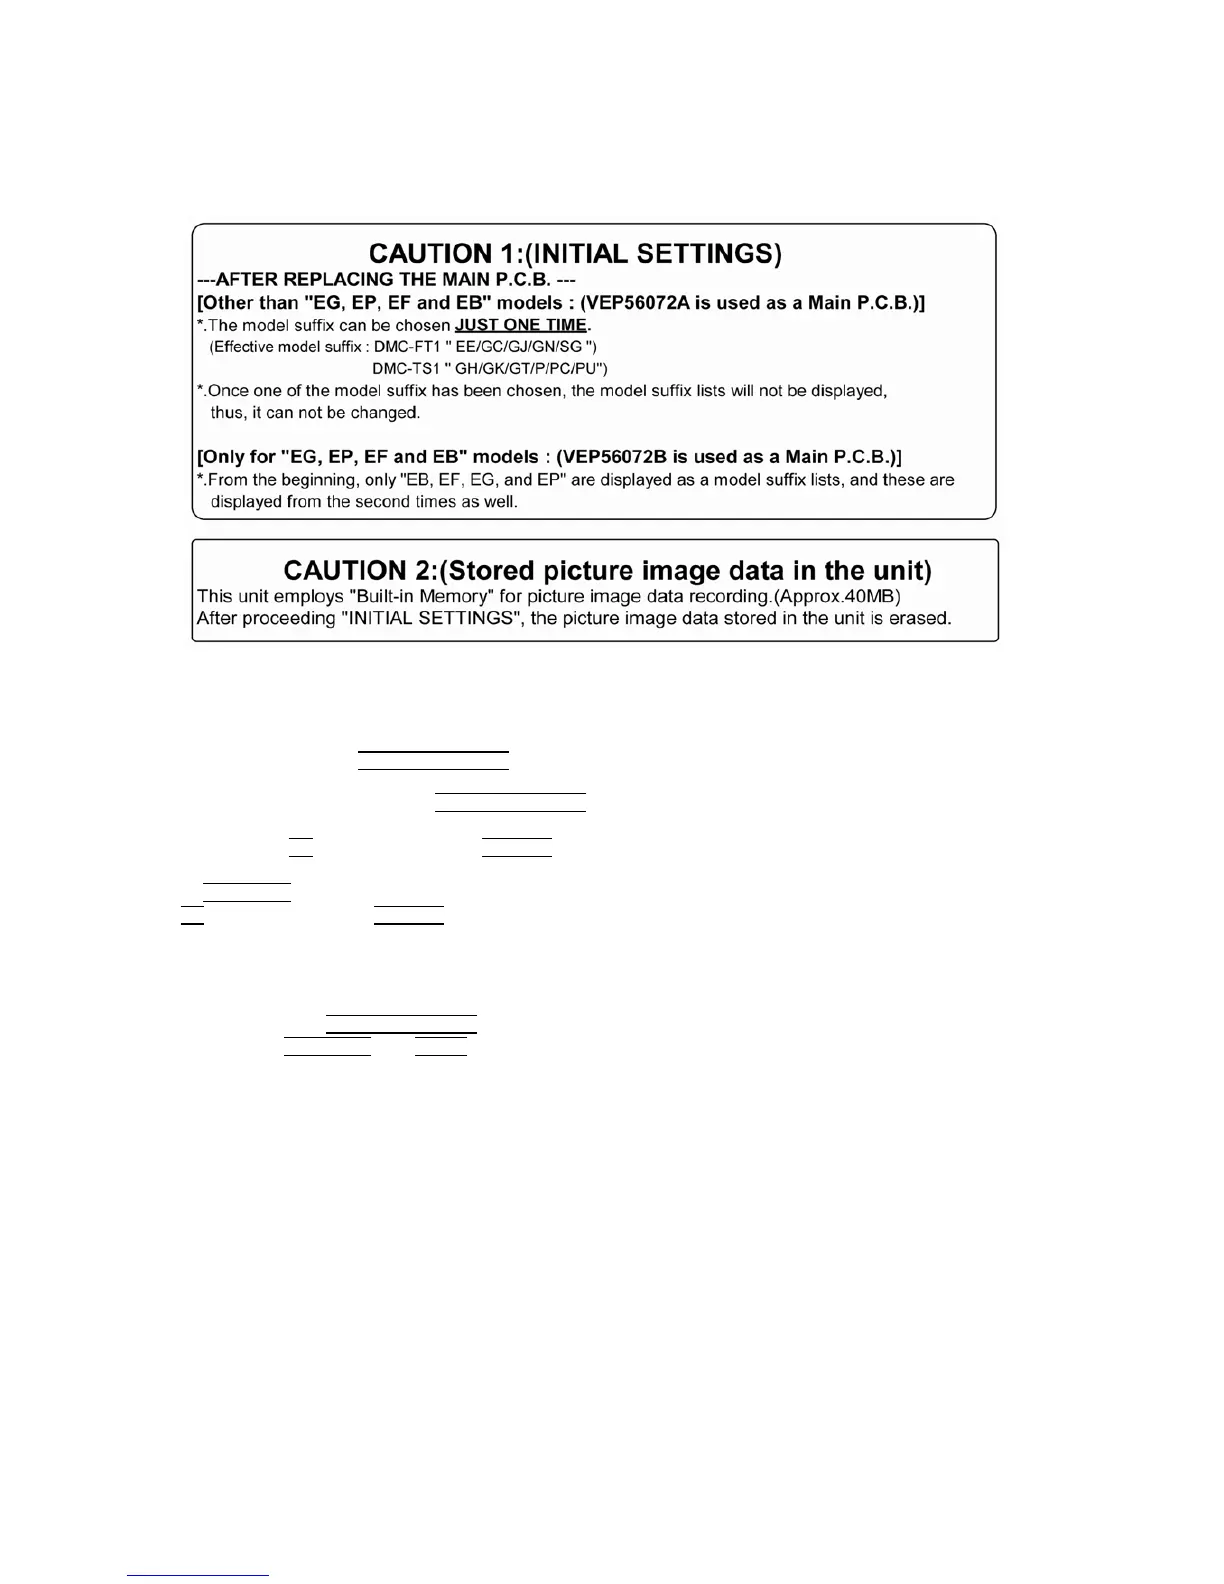
Before proceeding Initial settings, be sure to read the following CAUTIONS.
2. PROCEDURES:
• Precautions: Read the above "CAUTION 1" and "CAUTION 2", carefully
• Preparation:
1. Attach the Battery or AC Adaptor with a DC coupler to the unit.
2. Set the mode dial to the NORMAL PICTURE
mode.
NOTE:
If the mode dial position is other than NORMAL PICTURE
mode, it does not display the initial settings menu.
• Step 1. The temporary cancellation of "INITIAL SETTINGS":
While keep pressing “UP
of Cursor button” and DISPLAY button simultaneously, turn the Power on.
• Step 2. The cancellation of "INITIAL SETTINGS":
Press the PLAYBACK
button.
Press "UP
of Cursor button" and DISPLAY button simultaneously, then turn the Power off.
• Step 3. Turn the Power on:
Turn the Power on.
• Step 4. Display the "INITIAL SETTINGS" menu:
NOTE:
If the unit is other than NORMAL PICTURE
mode, it does not display the initial settings menu.
While keep pressing MENU/SET
and "RIGHT of Cursor button" simultaneously, turn the Power off.
The "INITIAL SETTINGS" menu is displayed.
There are two kinds of “NITIAL SETTINGS” menu form as follows:
[CASE 1. After replacing MAIN P.C.B.]
[Other than "EG, EP, EF and EB" models : (VEP56072A is used as a Main P.C.B.)]
When MAIN P.C.B. has just been replaced, all of the model suffix are displayed as follows. (Four pages in total)