Advanced (Recording pictures)
- 90 -
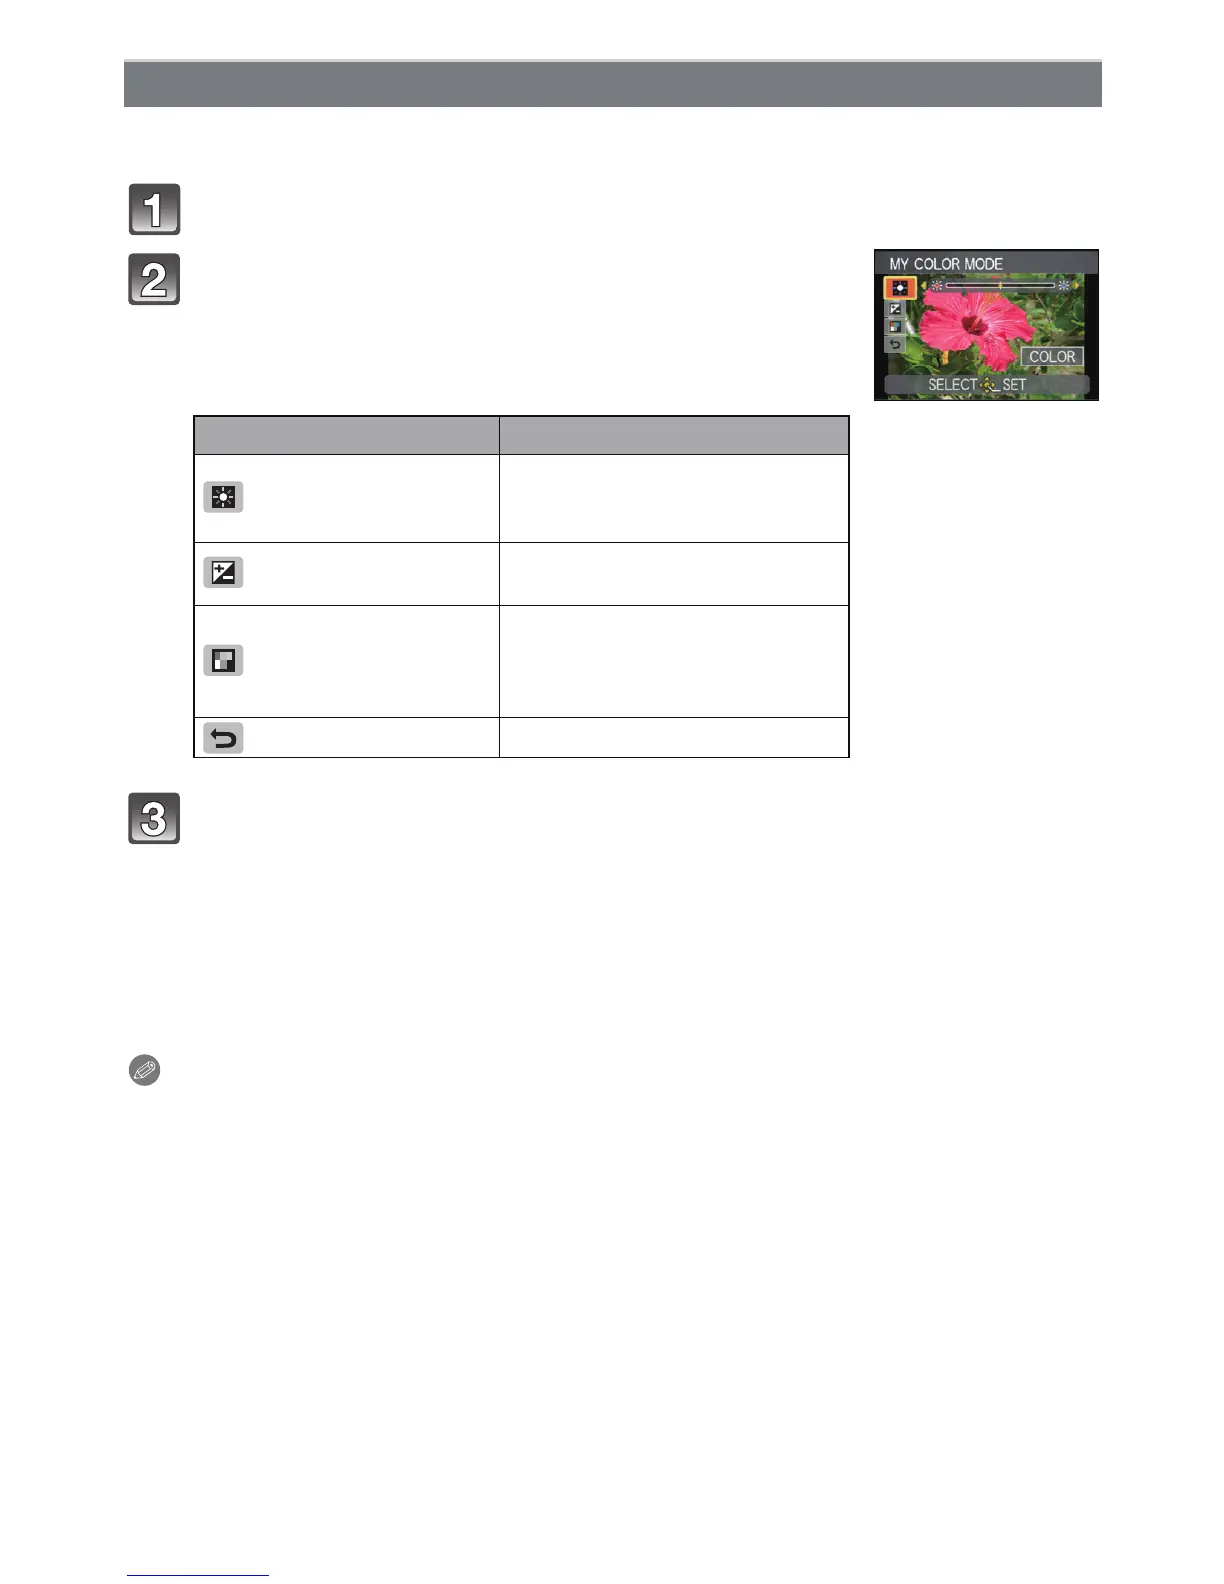
By selecting [CUSTOM], you can take pictures with colour, brightness and saturation
adjusted to desired levels.
In step 2 on page 88, select [CUSTOM] and press 1.
Press 3/4 to select an item and 2/1 to adjust.
Press [MENU/SET] to set.
• You can also press the shutter button halfway to set.
• Recording screen is displayed.
∫ Return [CUSTOM] settings to default
1 Select [RESET] in above step 2.
2 Press 2 to select [YES] and press [MENU/SET].
•
Adjusted value for each item returns to standard (centre point).
Note
•
Adjustments made with [CUSTOM] are not in effect in other recording modes.
• Icons for the adjusted items are displayed in the LCD monitor/viewfinder when the [CUSTOM]
are adjusted. Displayed icon is the one for direction of adjustment.
• AF tracking may not function if you adjust [SATURATION] to make the colour lighter.
Adjusting the custom settings to achieve desired effects
Item Adjustment contents
[COLOR]
This will adjust the colour of the
image from red light to blue light.
(11 steps in n5)
[BRIGHTNESS]
This will adjust the brightness of
the image. (19 steps in n9)
[SATURATION]
This will adjust the colour
intensity of the image from black
and white to vivid colour.
(11 steps in n5)
[RESET]
Return all settings to default