14. Adjustment Procedures
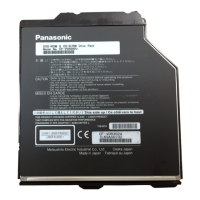
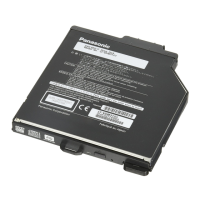
14.1. After replacing the RAM Drive with new one
Caution:
In this case, all parameters are initialized.
14.2. When the unit does not operate normally after replacing the
Timer Microprocessor with new one
in order to transmit the
Step Operation Descriptions
1 While power is ON, short IC7503-1 pin (RESET) and
the GND.
“RESET (L)” is transmitted to
terminal of Timer
80 pin), then the unit operates
15. Standard Inspection Specifications after Making
Repairs
After making repairs, we recommend performing the following inspection, to check normal
operation.
No. Procedure Item to Check
1 Turn on the power, and confirm items pointed out. Items pointed out should reappear.
2 Insert RAM disc. The Panasonic RAM disc should be
3 Enter the EE (TU IN / AV IN - AV OUT) mode. No abnormality should be seen in the
sound or operation.
4 Perform auto recording and playback for one
minute using the RAM disc.
No abnormality should be seen in the
sound or operation.
5 If a problem is caused by a VCD, DVD-R, DVD-
Video, Audio-CD, or MP3, playback the test disc.
No abnormality should be seen in the
sound or operation.
6 After checking and making repairs, upgrade the
firmware to the latest version.
Make sure that [FIRM_SUCCESS]
FL displays.
*[UNSUPPORT] display means the unit
updated to newest same version. Then
is not necessary.
7 Transfer [9][9] in the service mode setting, and
initialize the service settings (return various
settings and error information to their default
values. The laser time is not included in this
initialization).
Make sure that [CLR SERV] appears in
display.
After checking it, turn the power off.
8 When replacing of RAM drive, transfer [9] [5] in
the service mode setting to delete Laser used
time.
Make sure that [CLR LASER] appears in
display.
After that, turn power off.
Use the following checklist to establish the judgement criteria for the picture and sound.
35