- 31 -
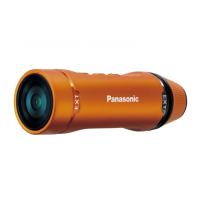
Recording in dark locations (Night Mode)
You can record brighter images in dark locations using an infrared (IR) light (commercially
available).
Preparation:
Turn off this unit. (l 15)
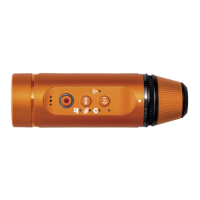
1 Rotate the glasscover (normal shooting) 1 in
the direction of the arrow to remove it.
2 Rotate the supplied glasscover (night mode) 2
in the direction of the arrow to attach it.
≥ Tighten it firmly to ensure that it is not loose.
≥ The glasscover (night mode) is labelled with the mark.
3 Turn on this unit. (l 15)
≥ The access lamp will light blue.
4 Start recording. (l 29)
≥ When you perform recording, the colour of the access lamp
changes from blue to red.
∫ To exit Night Mode
1 Rotate the glasscover (night mode) 2 in the
direction of the arrow to remove it.
2 Rotate the glasscover (normal shooting) 1 in the
direction of the arrow to attach it.
≥ The glasscover (normal shooting) is not labelled with the
mark.
≥ You cannot change the white balance and backlight compensation settings.
≥ Do not use Night Mode in bright locations.
≥ Depending on the subject and recording environment, when recording with an infrared (IR) light, it
may illuminate only the centre area. As a result, the subject may be whited out. If you diffuse the
beam of the infrared (IR) light, white saturation can be suppressed.
≥ Please also refer to the notes on page 30.
IR
IR
IR
 Loading...