2-40 Installation
2.4.8 Installing Expansion Unit (KX-TD170 /
KX-TD180(D) / KX-TD185 / KX-TD280)
Note Be sure to fix the inside screw to
the main unit, or the unit may not
work properly.
5. Secure the inside screw (include) to fix
the cabinet to the main unit.
6. Prepare the required plugs. Two 4-pin plugs are included in KX-TD180(D) or KX-TD280 to
connect four CO lines. Eight 6-pin plugs are included in KX-TD170 to connect eight
extensions.
• To prepare a 4-pin plug for KX-TD180(D), perform step 1 on page 2-32.
• To prepare a 4-pin plug for KX-TD280, perform step 1 on page 2-33.
• To prepare a 6-pin plug for KX-TD170, perform step 1 on page 2-15.
7. Insert the plug into a jack on the unit.
Connect an earth wire to the earth terminal on the extension expansion unit.
† For details, refer to Section 2.5 “Power Failure Transfer Connection.”
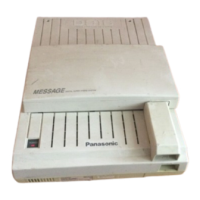
KX-TD170
 Loading...
