Advanced (Playback)
- 152 -
Minute leveling of the image can be adjusted.
Select [LEVELING] on the [PLAYBACK] Mode menu. (P23)
Touch [SINGLE] or [SINGLE IN BURST GROUP].
• When you have selected [SINGLE IN BURST GROUP], select burst picture group, and
proceed to step
3.
Press [MENU] several times to return to the menu screen.
• Touch [EXIT] to close the menu.
Note
•
Quality of image may become coarse when leveling is performed.
• Recorded pixels may decrease compared to original image when leveling is performed.
• Leveling may not be performed on images recorded with other equipment.
• Motion pictures, pictures with audio, and pictures stamped with [TEXT STAMP] cannot be
leveled.
• Information regarding the Face Recognition in the original picture will not be copied to images
having undergone [LEVELING].
[LEVELING]
Drag the screen horizontally to select an image, and then touch
[SET].
• For how to select a picture, see P48.
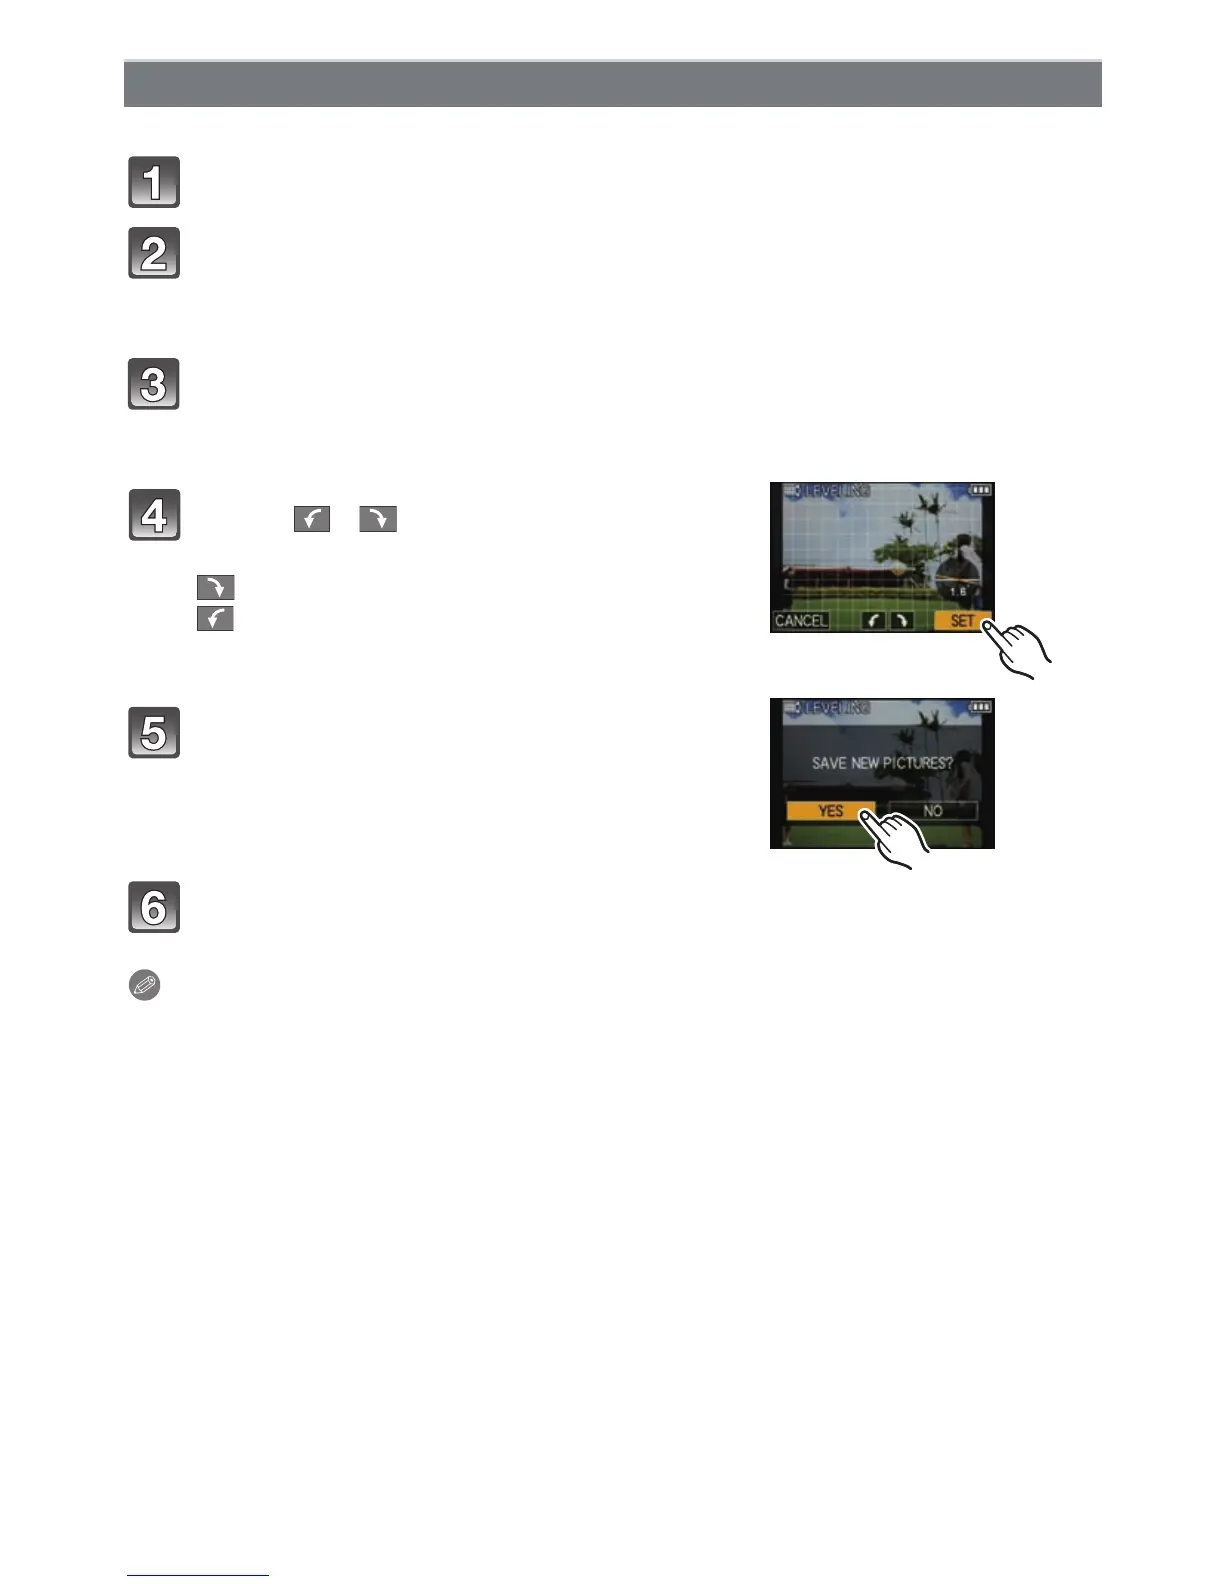
Touch []/[] to adjust the leveling, and
then touch [SET].
: clockwise
: counter-clockwise
•
Up to 2 o can be adjusted.
Touch [YES].

 Loading...