- Eng-7 -
English
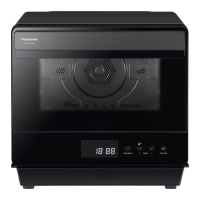
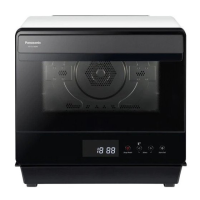
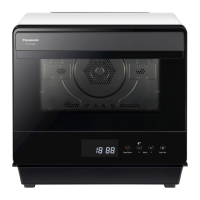
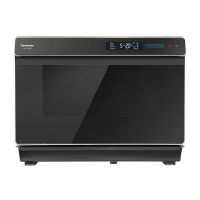
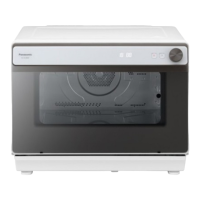
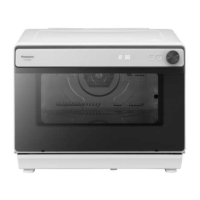
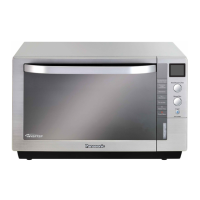
Feature Diagram
(continued)
Notes:
1. The above illustration is for reference only.
2.
7KH¿OPVDUHFRYHUHGRQWKHVXUIDFHRIGRRUKDQGOHDQGFRQWUROSDQHO<RXFDQUHPRYHLWEHIRUHXVLQJ
Water Tank
1. Full water level is 800 ml. Add water to 800 ml mark.
2. Fill with pure water (do not use mineral water).
3. Fully fill the water tank, and cover the rubber lid.
Drip tray
1. The drip tray must be fitted as it
collects excess water during cooking.
2. The drip tray should be removed and
cleaned on a regular basis.
Water Tank Lid
Rubber Lid
Figure 1
Drip Tray
Control Panel
Integrated Water Tank
1.
Water tank and drip tray are parts of integrated water tank.
2.
Take integrated water tank out from package before using
DFFRUGLQJWR¿JXUH7KHQLQVWDOOLWWRWKHORZHUVLGH
3. To remove the drip tray, hold with both hands and
gently ease forward.
4. Always clean the integrated water tank.
5. Ensure the water tank is closed tightly and securely
positioned, otherwise leakage may occur.
6. DO NOT USE A DISHWASHER TO CLEAN THE
INTEGRATED WATER TANK.
Note: When remove the integrated water tank, several
GURSVPD\ÀRZIURPWKHZDWHURXWOHWRIERWWRP
FDYLW\<RXFDQUHPRYHLQWHJUDWHGZDWHUWDQN
after the oven cavity cooling down.
 Loading...