19
Connect (cont.)
You can make the setting for infrastructure mode
※
(connection through the access
point); however, confirm to your system administrator on network settings before
changing any settings.
※“Glossary” (See page 62)
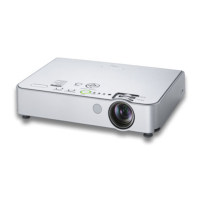
① Projector settings
1
Turn on the projector and press the [WIRELESS]
button on the remote control.
2
Select [USER 1]- [USER 3] from [NETWORK] at the
wireless menu and press the [ENTER] button.
3
Set the details of network and select [OK].
As for network setting items, see pages 49-52.
Confirm to your system administrator on network settings before changing any
settings.
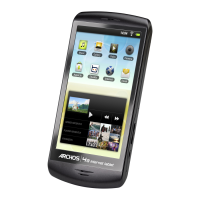
② Computer settings
4
Turn on the computer.
5
Make the network setting according to your system
administrator.
6
Connect to your access point.
If the projector is not displayed, click [Designate] followed by [ADD], then enter
the IP address set in the projector using the “Access Port Registration” window,
and click [REGISTER]. (See page 20)
7
Start Wireless Manager ME 3.0, and select [U] from
[Network] of “Select Access Port” window.
8
Select the desired projector, and click [OK].
The launcher appears and the connection with the projector is established.
(“Description of the launcher” →See page 23)
Connecting through the access point

 Loading...