44
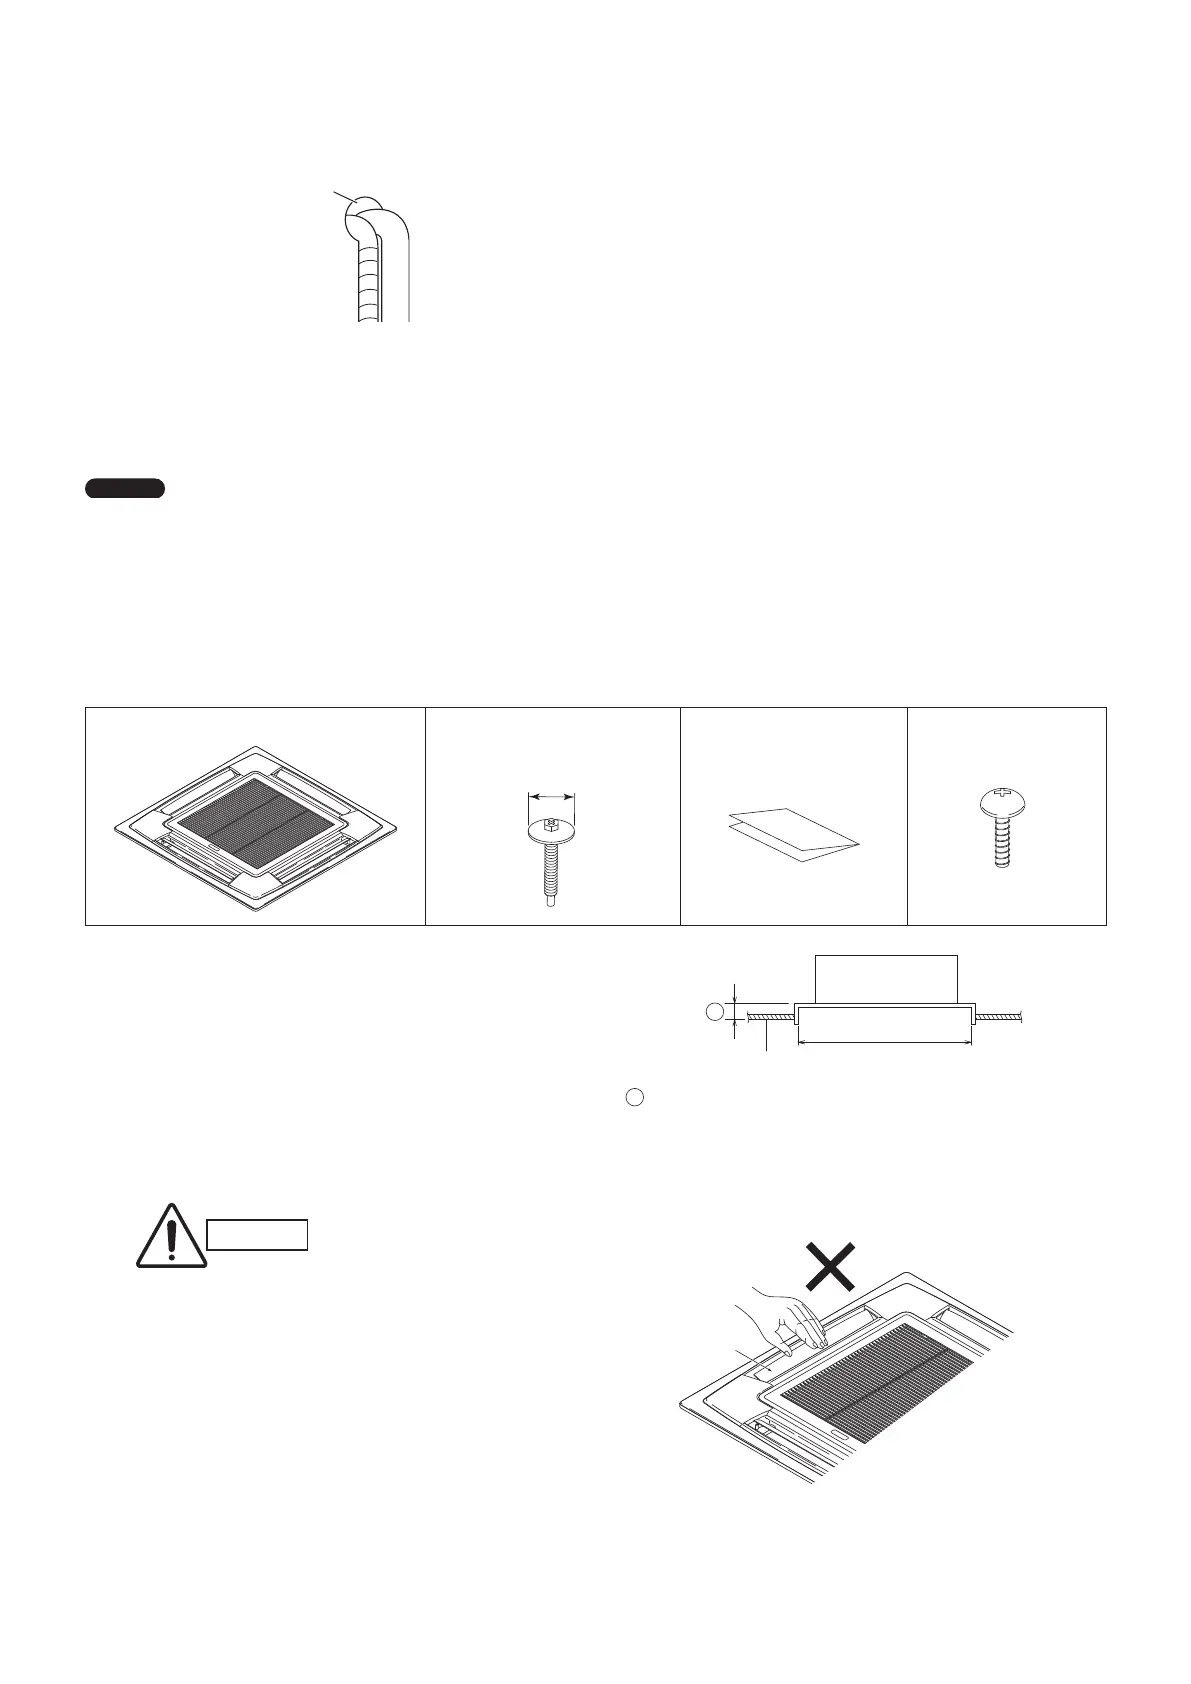
Main unit
Ceiling side
Ceiling opening
dimension
A
: Be sure to necessarily make a space within the range of
12 mm - 17 mm.
If not within this range, malfunction or other trouble may
occur.
Flap
5-5. Finishing the Installation
After finishing insulating and taping over the tubing, use sealing
putty to seal off the hole in the wall to prevent rain and draft
from entering. (Fig. 5-10)
Apply putty here
Tubing
Fig.5-10
6. HOW TO INSTALL THE TIMER REMOTE
CONTROLLER (OPTIONAL PART)
NOTE
Refer to the Operating Instructions attached to the optional
Timer Remote Control Unit.
7. HOW TO INSTALL THE CEILING PANEL
■
4-Way Cassette Type (U1 Type)
Accessories
Ceiling panel ×1 Washer head screws ×4
M5 × 40
ø18
Installation notes ×1 Screws ×4
4 × 12
7-1. Preparation for Ceiling Panel Installation
(1) Checking the unit position
1) Check that the ceiling hole is within this range:
860 mm × 860 mm to 910 mm × 910 mm
2) Confirm that the position of the indoor unit and the
ceiling as shown in the diagram. If the positions of
the ceiling surface and unit do not match, air leakage,
water leakage, flap operation failure, or other problems
may occur.
CAUTION
Never place the panel face-down.
●
Either hang it vertically or place it on top of
a projecting object. Placing it face-down will
damage the surface.
Do not touch the flap or apply force to it.
●
(This may cause flap malfunction.)
Panaindoor336013Eng.indb44Panaindoor336013Eng.indb44 2012/03/2121:07:192012/03/2121:07:19
 Loading...