You can choose one of four types of sound quality.
Press [PRESET EQ] to select the sound quality.
Each time you press the button:•
Digital remaster is effective on CD (MP3)
Analog remaster is effective on Music Port
This feature reproduces the frequencies lost during recording to give you
a sound closer to the original.
Press [REMASTER] during play to select “RE-MASTER ON”.
Each time you press the button:•
Enables you to enjoy the powerful bass effect.
Press [D.BASS] to turn the D.BASS function on/off.
The actual effect depends on the disc.
You can create a three-dimensional sound field when listening to stereo
sound.
Press [SURROUND] to turn the Live Virtualizer on/off.
The actual effect depends on the source played.
The function allows you to program up to 24 tracks.
Press [PGM, -AUTO PRESET] while stopped.
Press the numbered buttons to select tracks. (Maximum 24 tracks)
Repeat this step to program other tracks.
Press [CD q/h] to start play.
Press [PGM, -AUTO PRESET] while stopped.
Press [ or , ALBUM] to select your desired album.
Press [i, 1] once and then press the numbered buttons to
select tracks. (Maximum 24 tracks)
Press [ENTER].
Repeat step 2 to 4 to program other tracks.
Press [CD q/h] to start play.
g Confirm a
programmed
track
Press [u, 2] or [i, 1] when “PGM” is
displayed in the stop mode. To check while
programming, press [PGM, -AUTO PRESET]
twice after “PGM” appears, then press [u, 2]
or [i, 1].
g Delete the last
track
Press [DEL] in the stop mode.
g Delete all
programs
Press [CLEAR] in the stop
mode. “CLR ALL” is displayed.
g Cancel
program mode
Press [PGM, -AUTO PRESET] in the stop mode
to clear “PGM” indicator from the display.
Program contents are stored in the unit’s memory even after changing to
a different function or turning the unit off. All program contents are erased
by pressing [CLEAR] or by opening the CD lid.
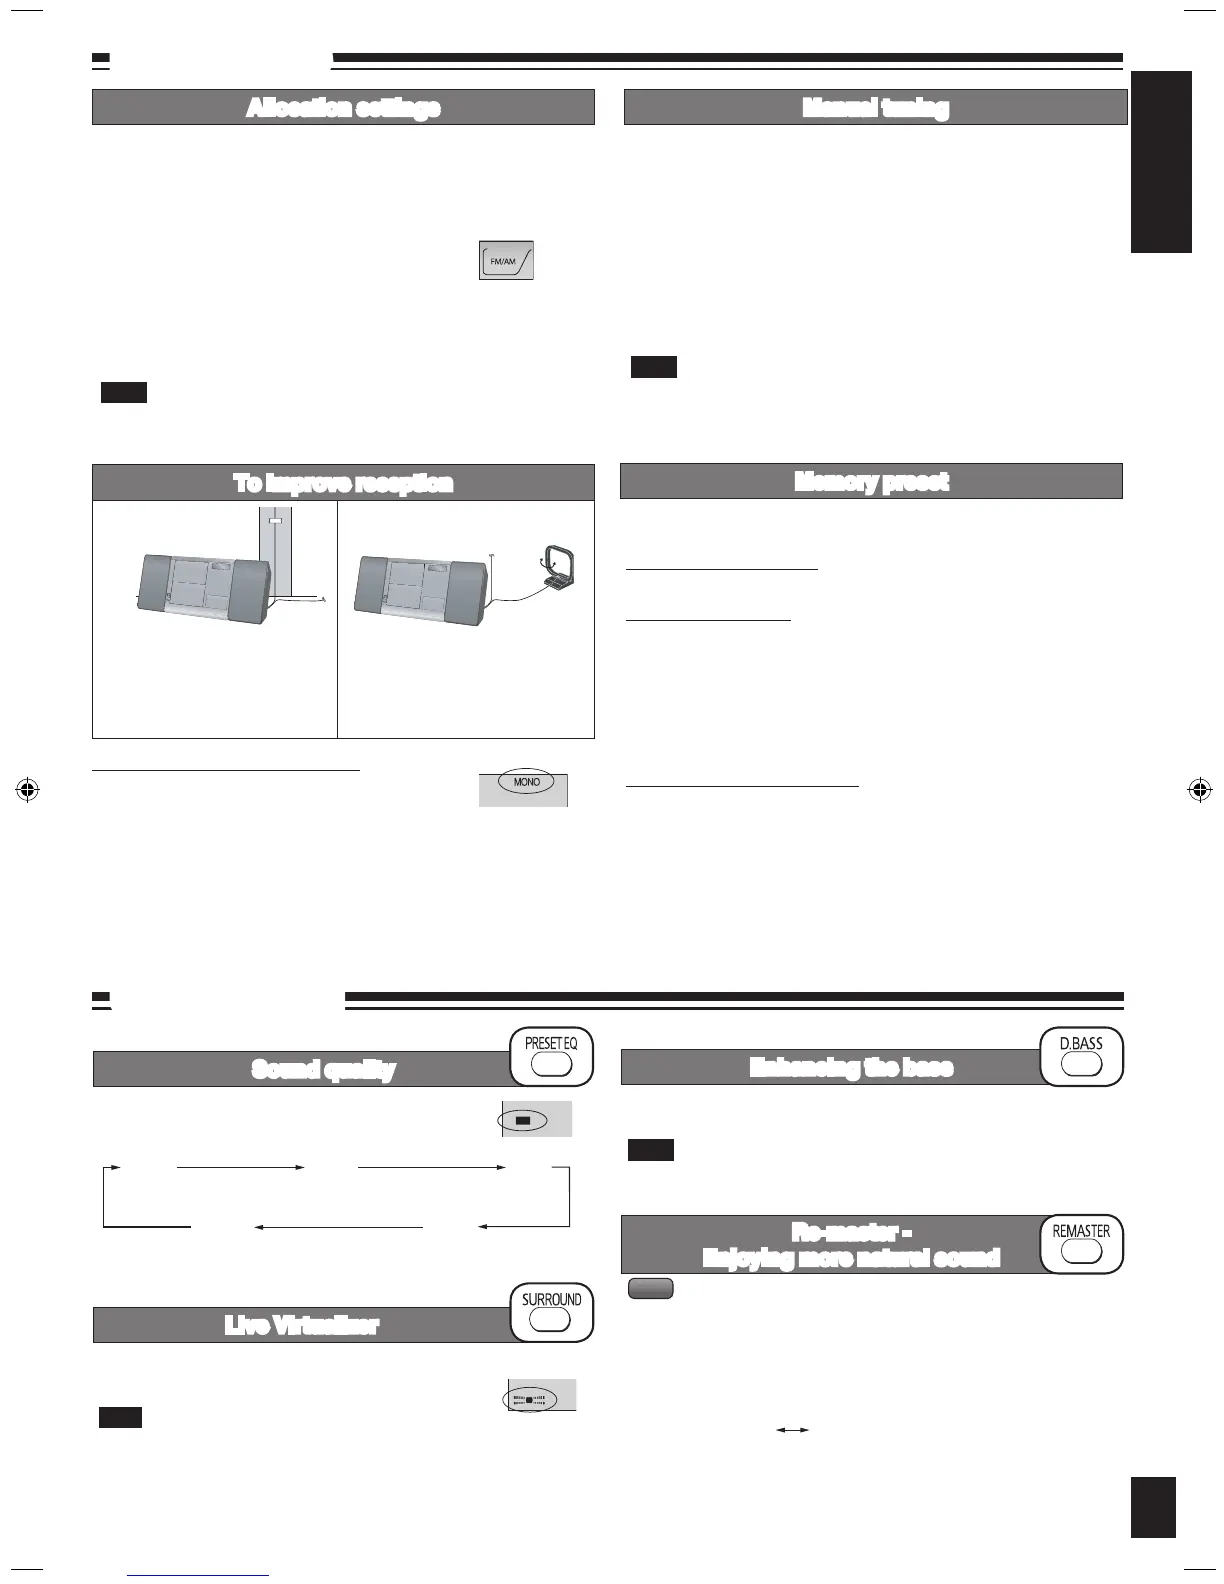
FM AM
Receive the radio stations after
connecting the antenna. Then
attach the antenna cord to a
wall or pillar where there is good
reception.
To improve FM sound quality
Press and hold [PLAY MODE] to display “MONO”.
To cancel
Press and hold [PLAY MODE] again until “MONO” disappears.
“MONO” is also canceled if the frequency is changed.
Turn off “MONO” for normal listening.
•
•
You can preset up to 30 FM channels and up to 15 AM channels.
Preparation: Press [FM/AM] to select “FM” or “AM”.
Automatic presetting
Press and hold [PGM, -AUTO PRESET] to start presetting.
Manual presetting
Press [PLAY MODE] to select “MANUAL”.
Press [u, 2] or [i, 1] to tune to the required station.
Press [PGM, -AUTO PRESET].
Press the numbered buttons to select a channel.
The station occupying a channel is erased if another station is preset in
that channel.
Repeat steps 2 to 4 to preset more stations.
Selecting a preset station
Press the numbered buttons to select the channel.
For channels 10 to 30 press [
≧
10], then the two digits.
OR
Press [PLAY MODE] to select “PRESET”.
Press [u, 2] or [i, 1] to select the channel.
Press [FM/AM] to select “FM” or “AM”.
Press [PLAY MODE] to select “MANUAL”.
Press [u, 2] or [i, 1] to select the frequency of the required
station.
To tune automatically
Press [FM/AM] to select “FM” or “AM”.
Press [PLAY MODE] to select “MANUAL”.
Press and hold [u, 2] or [i, 1] until the frequency starts
changing rapidly.
Auto tuning stops when it finds a station.
To cancel auto tuning, press [u, 2] or [i, 1] once again.
Auto tuning may not function when there is excessive interference.
•
•
Each country allocates broadcast bands according to their particular
system.
You can change the FM steps. The step is factory-set to 0.2 MHz, but you
can change it to receive broadcasts allocated 0.1 MHz steps.
Any FM/AM frequencies preset in channels will be changed by this
procedure.
Preset them again.
Select the FM band with [FM/AM] on the unit.
Press and hold [FM/AM] on the unit.
After a few seconds the display changes to show the current minimum
frequency. Continue to hold the button down. The minimum frequency
changes and the step is changed.
To return to the original step, repeat the above steps.
The preset memory will be initialized when you change your frequency
step.
Note
Allocation settings
To improve reception
Manual tuning
Memory preset
Change the direction and location
of the antenna.
Note
Radio operations
7
➡ Page 4 for the buttons position of remote control and main unit.


 To Next Page