RQT8596
Simple Setup
10
≥ Do not connect through the video cassette recorder.
Due to copy guard protection, the picture may not be displayed properly.
≥ Turn the television off before connecting, and refer to the television’s operating instructions.
≥ This audio connection will enable you to play audio from your
television through your home theater system. Refer to “Operating other
equipment” (➜ page 33).
Basic audio connection
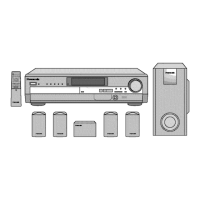
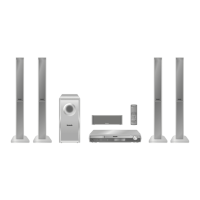
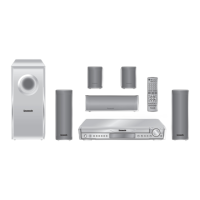
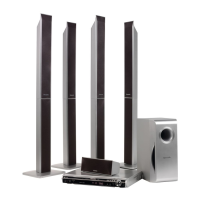
STEP3 Speaker connections
4
4
2
2
6
6
5
3
5
3
1
1
SURROUND
Rch
Rch
SURROUND
Rch
Rch
FRONT
WOOFER
SUB
Lch
Lch Lch
CENTER
Lch
SURROUND
SURROUND
FRONT
SUB
WOOFER
FRONT
FRONT
CENTER
FRONT
Lch
Rch
SURROUND
Rch
FRONT
2
Rch
FRONT
FRONT
Lch
Rch
SURROUND
CENTER
5
CENTER
5
Lch
SURROUND
Lch
SURROUND
2
1
1
4
4
3
3
SUB
WOOFER
6
Be careful not to cross
(short-circuit) or reverse
the polarity of the speaker
wires as doing so may
damage the speakers.
2 sheets of speaker cable stickers
≥ Attach the speaker-cable stickers to
make connection easier.
Speaker cable sticker
2 FRONT (R)
1 FRONT (L)
4 SURROUND (R)
3 SURROUND (L)
5 CENTER
Main unit
Insert the wire fully.
i: White
j: Blue
Push!
6 SUBWOOFER
The illustration shows the model for Continental Europe.
Speaker cables
[HT540]
≥ 1kshort cable: For center speaker
≥ 2klong cables: For surround speakers
Insert the
wire fully.
i: White
j: Blue
Push!
[HT990]
≥ 1kshort cable: For center speaker
STEP4 Audio and video connections
Video cable
VIDEO
OUT
R
RF IN
AUDIO
OUT
L
R
VIDEO IN
AUDIO
IN
VIDEO OUT
L
AUX
S-VIDEO
OUT
COMPONENT VIDEO OUT
P
B
P
R
Y
Television
(not included)
Back of the main unit
Audio cable
(not included)
Speaker connections / Audio and video connections
8596En_p03-15.fm Page 10 Thursday, March 16, 2006 2:13 PM
 Loading...