24
8.3. Cold start
Here are the procedures to do a reset for the main unit.
Step 1 : Power up the main unit.
Step 2 : Press & hold [POWER] button on main unit for 4s or more.
All LED will light-up and blink for 2 times (at frequency of 4Hz)
8.4. Pairing mode
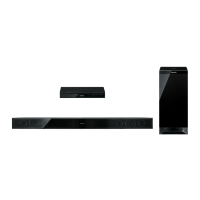
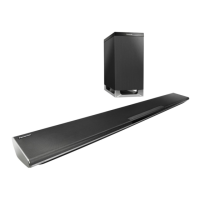
Here are the procedures to do pairing between Main Unit (SU-HTB550) with Active Subwoofer (SB-HWA520)
Step 1 : Power up the Main Unit & Active Subwoofer.
Note : Please check the connections in Main Unit and Active Subwoofer when either fails to power up.
(LED on Active Subwoofer should turn RED if it is not linked)
Step 2 : Press [ID SET] on Active Subwoofer.
LED on Active Subwoofer shall blinking for up to 1 minutes to indicate it is in ready for pairing mode.
Step 3 : During Active Subwoofer LED blinking, press [INPUT] or [AUX] on remote control followed by [VOL +] on Main Unit for 2
secs (Pairing begins)
Note :
1. Under Pairing Mode, [BD/DVD] LED blinking and 3 indicators LEDs (Dolby D, DTS and PCM/AAC) will run one by one
(shifting) for every 1 sec from left to right to indicate it is searching for the receiver to be linked and repeated the
cycle after reached the [AAC] or [PCM] LED.
2. When pairing is completed. [BD/DVD] LED on Main Unit will light up and LED on Active Subwoofer turns GREEN if
pairing is successful.
3. Wireless pairing automatically exit after 1 minute.
8.5. SET AUDIO DELAY
If the video from TV late compared to audio output from this unit, this unit can be set the audio delay to 150ms fixed delay.
Step 1 : Power up the main unit.
Step 2 : Press & hold [VOL-] button on main unit and follow by [VOL-] and [SUB-] on remote control.
All LED will light-up and blink once for confirmation display and audio delay setting is set to 150ms.
 Loading...