Before use
RQT5717
8
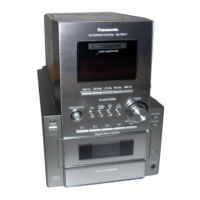
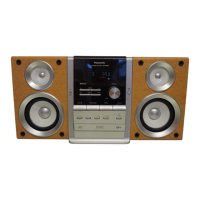
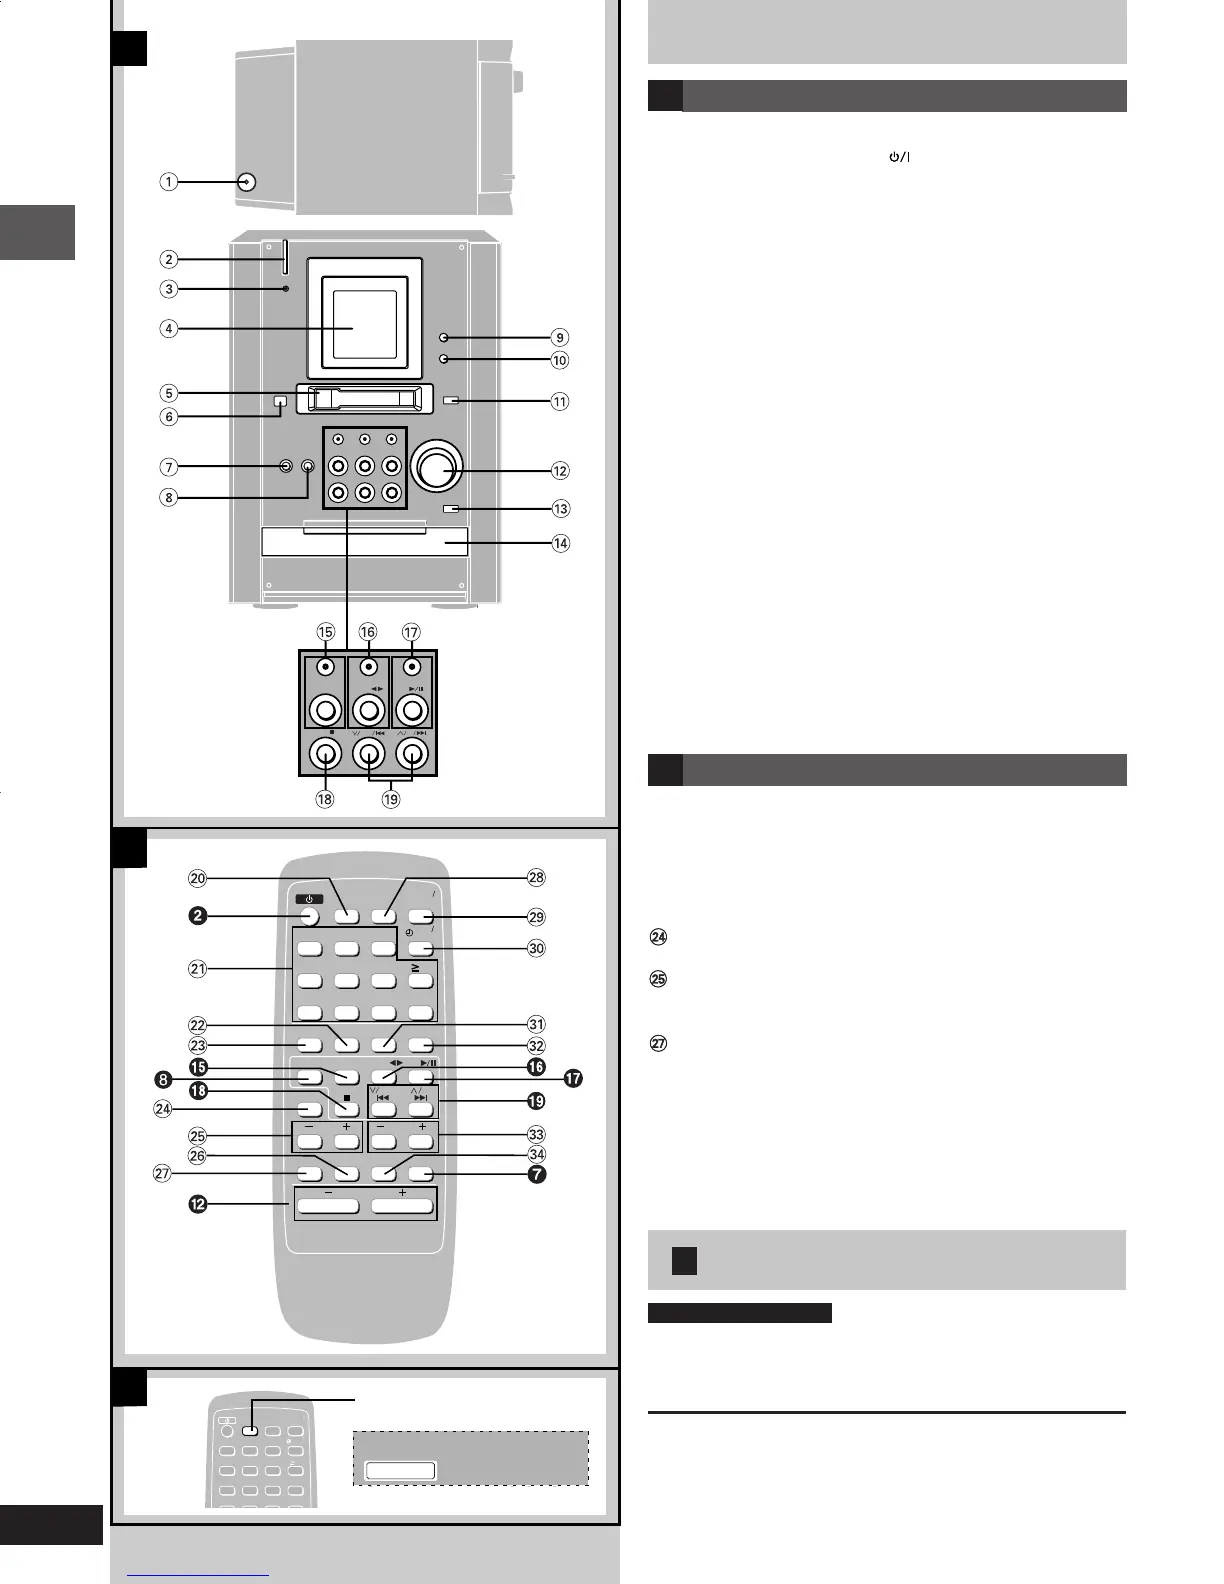
Front panel controls
A Main unit
11
11
1 Headphone jack (PHONES) ................................................... 20
22
22
2 Standby/on switch (POWER )
Press to switch the unit from on to standby mode or vice versa. In
standby mode, the unit is still consuming a small amount of
power.
33
33
3 AC supply indicator (AC IN)
This indicator lights when the unit is connected to the AC power
supply.
44
44
4 Display
55
55
5 Cassette slot
66
66
6 Remote control signal sensor
77
77
7 Display select/demonstration button ..................................... 9
(DISPLAY, –DEMO)
88
88
8 CD, Tape, Tuner, Aux select button
(SELECTOR) ............................................................... 13, 18, 20
99
99
9 CD edit button (CD EDIT) ...................................................... 19
00
00
0 Recording start/pause button ([REC/ J )....................... 17, 18
!!
!!
! Cassette eject button (EJECT c) ......................................... 15
@@
@@
@ Volume control (VOLUME DOWN, UP) ..................... 10, 12, 15
##
##
# CD tray open/close button (OPEN/CLOSE c) ..................... 12
$$
$$
$ CD Tray
%%
%%
% Tuner/band select button and indicator
(TUNER/BAND) ....................................................................... 10
^^
^^
^ Cassette play/direction button and indicator
(TAPE 1
2) .............................................................................. 15
&&
&&
& CD play/pause button and indicator (CD -/ J ) ................... 12
**
**
* CD, Tape stop button (STOP L)...................................... 12, 15
((
((
( Skip/search/preset channel button
(
44
44
4/REW/ g ,
33
33
3
/FF/ f ) ........................................ 10, 12, 16
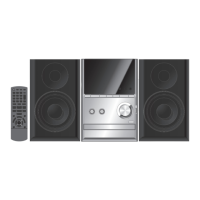
B Remote Control
Buttons such as 2 function in exactly same way as the buttons on
the main unit.
))
))
)
Auto power off button (AUTO OFF)........................................ 8
¡¡
¡¡
¡ Numeric buttons .............................................................. 11, 12
™™
™™
™ Program button (PROGRAM) ................................................ 14
££
££
£ Tuning mode select button (TUNE MODE) .................... 10, 17
Reverse mode select button
(REV MODE) ..................................................................... 17, 18
Bass buttons (–BASS+)......................................................... 20
§§
§§
§ Sound virtualizer button
(SOUND VIRTUALIZER) ......................................................... 20
Muting button (MUTING) ........................................................ 9
••
••
• Sleep timer button (SLEEP) .................................................. 22
ªª
ªª
ª Clock/timer button (CLOCK/TIMER) ........................... 9, 21, 22
ºº
ºº
º Play timer/recording timer button (
˚˚
˚˚
˚PLAY/REC) .......... 21, 22
⁄⁄
⁄⁄
⁄ Cancel button (CANCEL) ....................................................... 14
¤¤
¤¤
¤ Play mode select button (PLAY MODE) ............................... 13
‹‹
‹‹
‹ Treble buttons (–TREBLE+) .................................................. 20
››
››
› Dimmer button (DIMMER) ....................................................... 9
C
1 2
3
4 5 6
7 9 0
10
CANCEL
AUTO OFF
SLEEP
8
PROGRAMTUNE MODE PLAY MODE
VOLUME
DISPLAY
DIMMER
MUTING
SOUND
VIRTUALIZER
REV MODE
SELECTSELECTOROR
TAPEAPETUNERTUNER CDCD
CLOCK
TIMER
PLAY
REC
REW
CLEAR
FF
BASS
TREBLE
A
B
CD
TUNER/BAND
TAPE
STOP
FF
REW
12
3
456
790
10
CANCEL
AUTO OFF
SLEEP
8
PROGRAMTUNE MODE PLAY MODE
CLOCK
TIMER
PLAY
REC
AUTO OFF
Top of the
unit
RDS
PS
PTY
FADER
AUTO OFF
C Auto power-off
by remote control only
When “CD” or “TAPE” is selected as the source
To save power, the unit turns off if it is left unused for 10 minutes.
Press [AUTO OFF].
“AUTO OFF” is displayed.
To cancel
Press [AUTO OFF] again.
For your reference
• The setting is maintained even if the unit is turned off. When the
unit is turned on again, the unit functions as described above.
• If you select any source other than “CD” or “TAPE”, “AUTO OFF”
goes out. It comes on again when you select “CD” or “TAPE”.
e4-9 1/17/01, 6:22 PM8