6
RQTX0246
Getting Started
Preparation
≥To prevent damage or scratches, lay down a soft cloth to assemble speakers.
≥For assembly, use a Phillips-head screwdriver (not included).
≥
You will need to obtain the appropriate screw eyes to match
the walls or pillars to which they are going to be fastened.
≥
Consult a qualified housing contractor concerning the
appropriate procedure when attaching to a concrete wall or a
surface that may not have strong enough support. Improper
attachment may result in damage to the wall or speakers.
Caution
Do not stand on the base. Be cautious when children are
near.
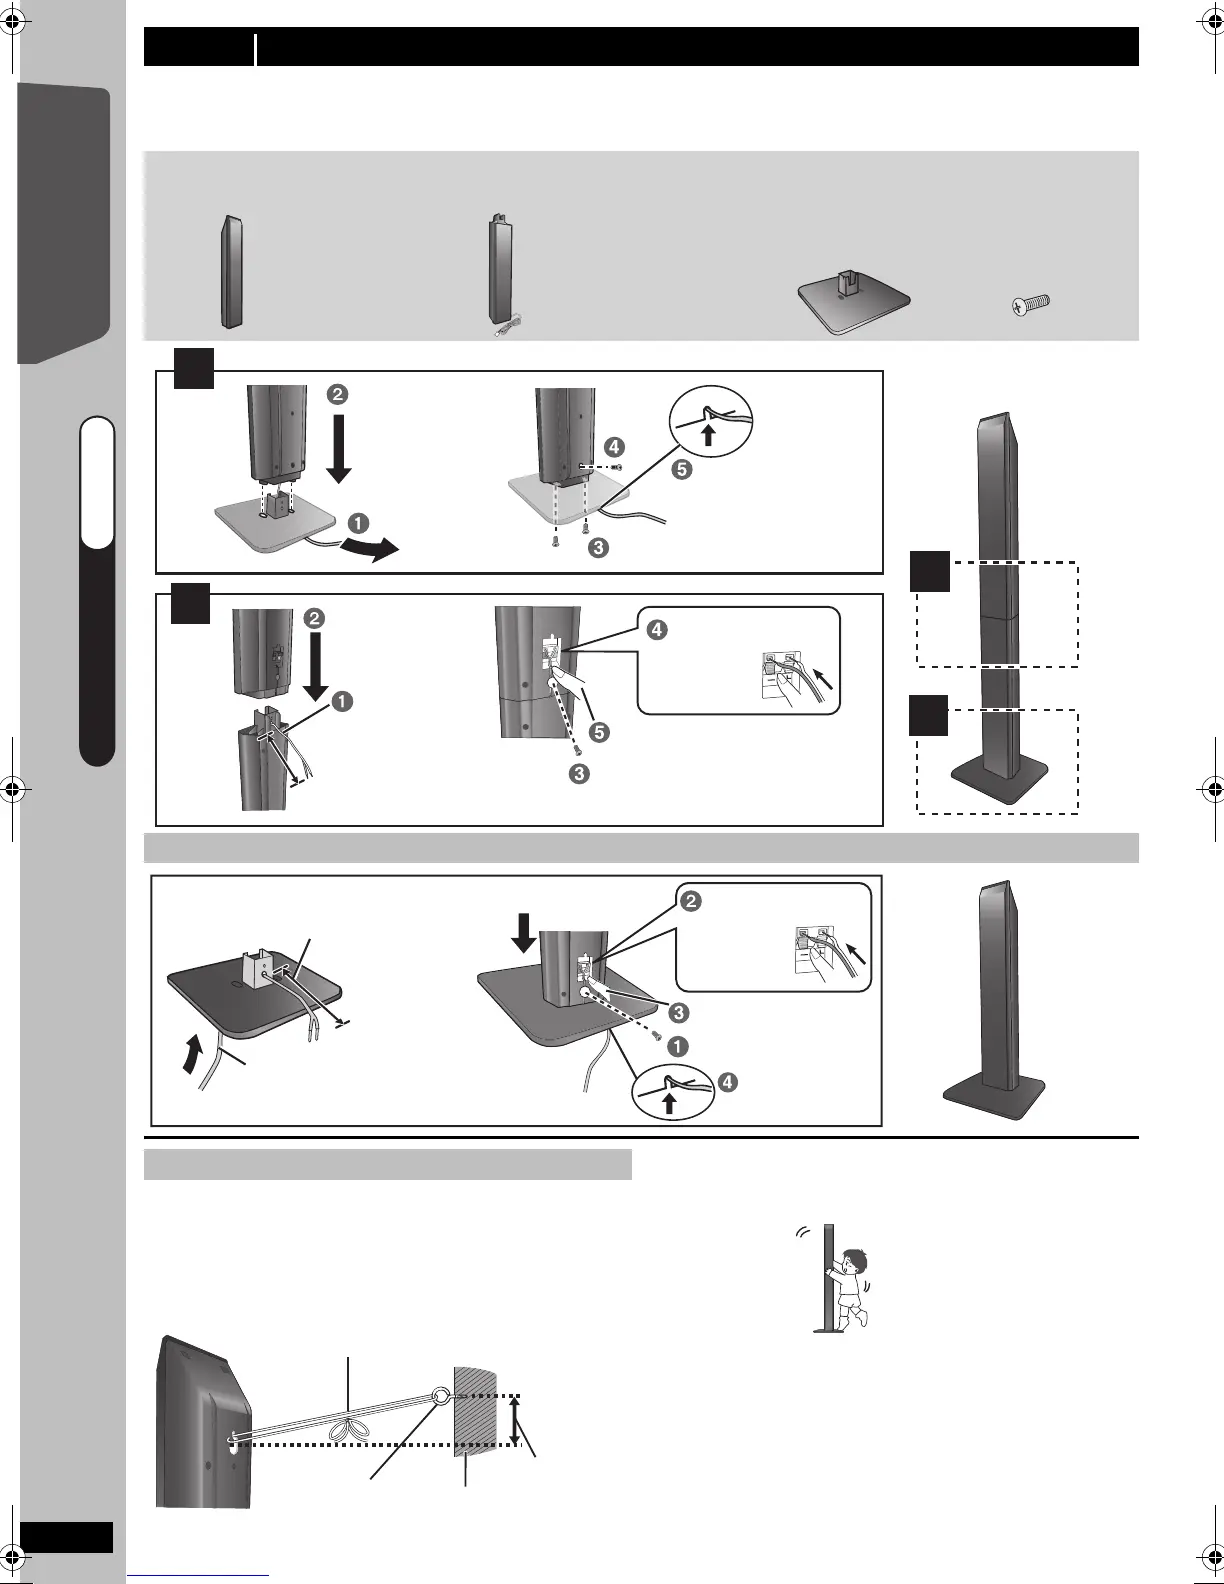
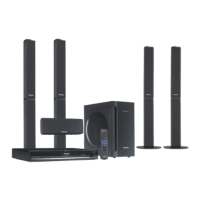
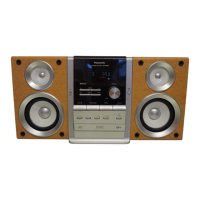
step 1 Assembling the front speakers [PT175]
Speaker assembly option
Make sure you have all the indicated components before starting assembly, setup, and connection.
≥Keep the screws out of reach of children to prevent swallowing.
≥For optional wall mount, refer to page 29.
2 Front speakers
2 Stands (with cable)
2 Bases 8 Screws
Slide into the groove.
Tighten securely.
Position the
cable between
the ridges.
Press into the groove.
Leave about 90 mm.
Tighten securely.
Insert the wire fully.
i
: White
j
: Blue
Push!
Press into the groove.
Push!
Insert the wire fully.
i
: White
j
: Blue
Tighten securely.
Leave about 100 mm.
You can remove and use the cable
from the stand. To reattach the cable,
refer page 29.
Thread the speaker cable
through the base.
Attach the speaker.
Slide into the
groove.
Preventing the speakers from falling
String
(not included)
Thread from the wall to the speaker and tie tightly.
Rear of the
speaker
Screw eye
(not included)
Wall
Approx.
150 mm
QUICK START GUIDE
QUICK START GUIDE
step 1
SC-PT170-175EB-RQTX0246-B_eng.book Page 6 Wednesday, February 4, 2009 3:20 PM





 To Next Page