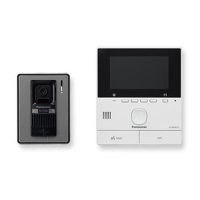
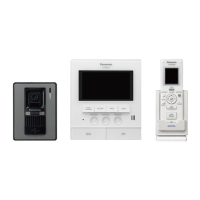
If repairing FLASH Memory, EEPROM, it is necessary to initialize and adjustment. The set doesn't operate if it is not executed.
GND (black)
UTX (yellow)
To Serial Port
(COM port
*1
)
JIG Cable
CL109 (GND)
CL107 (DP1)
CL108 (DP2)
URX (red)
1. Connect the AC cord into the power outlet.
2. Connect the PC to the Main monitor using the 3-Wire cable, as shown below.
1. Serial JIG cable: PQZZ1CD300E
2. PC in which "Tera Term (Ver. 4.78 later)" (communication software) is installed
3. Macro file CD-ROM for setting: PNZZN511EX
Procedure
Preparation
Main Board
(Main Monitor Station)
3. Start the communication software (Tera Term). The settings are shown below.
4. To confirm the connection, type in "EPD F", then press the Enter key. The response is "OK".
5. Refer to the “Measurements and Adjustments” for adjustment.
6. Disconnect the AC cord, and disconnect the 3-wire cable.
PC
Note:
*1 COM port names may vary depending
on what your PC calls it.
Check COM port number in advance.
ձ Open "Tera Term", select "Serial Port: COM䕕" at "Tera Term: New connection", then click "OK".
ղ Select "Terminal" on the tab of "Setup" to open "Tera Term: Terminal setup".
ճ Select "Receive: CR+LF" and "Transmit: CR" at "New-Line". And then click "OK".
մ Select "Serial port" on the tab of "Setup" to open "Tera term: Serial port setup". And then select the below items,
then click "OK".
Baud rate: 57600
Data: 8 bit
Parity: none
Stop: 1 bit
Flow control: none
յ Select [Setup] Ѝ [Terminal...] It checks to Local echo.
ն Select [Control] Ѝ [Macro] Attached macro (dp3_term.ttl) is performed.

 Loading...
