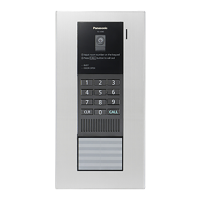
Installing the doorphone
Im
portant:
R On the bottom surface of the doorphone and the
mounting base, there are holes to allow water to
drain. Do not cover them up when installing.
R When existing wiring (such as chime wires) is
used:
– It may contain AC voltage that may cause
electric shock and/or damage the product.
– Never use the following types of wiring.
Consult a qualified technician/dealer.
R See "Wire type and length" for information about
w
iring materials.
1 Attach the mounting base (B) (accessory) to
the wall securely.
R Install the mounting base on a vertical flat
wall.
A Screws (locally procured) ´
2
(VL-SVN511AZ, VL-V555BX/SX/VN models:
included)
C Wire (locally procured)
D 83.5 mm
*1 To prevent dew condensation, fill a hole
for wiring as much as possible.
When using mounting box (option):
Mo
del No. VL-MB554
Install the flush mounting box (A) in the
wall.
B Knockout hole
*
1
C 100 mm D 151 mm E 37 mm
*1 Only open the knockout holes as
required for the wiring.
2 Use a hex wrench (A)
(accessory) to loosen
screw A (B) and remove the front panel (C)
of the doorphone.
A 2 mm hex wrench
10
 Loading...