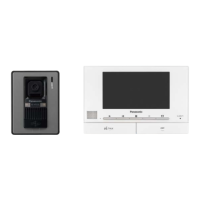
Main monitor installation
po
sition
About the installation position of the main
monitor and mounting bracket
R Place the main monitor in a location that your
eyes are the same height as the centre of the
display.
R For the following reasons, leave at least 20 cm
(A) of space above, below, and to the left and
right sides of the main monitor:
– To prevent malfunction and sound cutting out
– To ensure to make sure the reset button (B)
can be used (the reset button is on the
bottom of the main monitor)
R After deciding where to install the main monitor,
a
ttach the mounting bracket in the location
shown below.
C
Main monitor installation position
D
80.5 mm
E 86.8 mm
Installing the main monitor
1 At
tach the mounting bracket (A) to the wall
securely.
R Install the mounting bracket on a vertical flat
wall (B).
C
Screws (locally procured)
(
VL-SVN511AZ models: included)
D Hole in wall E 60 mm F 83.5 mm
G 7 mm H 50 mm
2 Connect the DC cable and wires.
R Connect the wires correctly according to
"Wiring schematic diagram".
2-1 How to connect the DC cable
A Remove screw A (A) and then remove the
terminal cover.
B Loosen screw B (B) and push in the wires
of the DC cable to the terminal connectors
(non-polar), then tighten the screws.
R Recommended torque: 0.8 N·m {8.2 kgf·cm}
C Use the cable binder (E) (accessory) to
secure the DC cable (double-coated area) to
the main monitor.
D Make sure to replace the terminal cover.
Bare wire at tip
C 7
mm D 30 mm
14

 Loading...


