Supplied accessories for installation
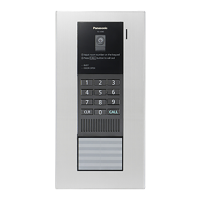
For the doorphone
*1,
*4
Mounting base ´ 1
Screw ´ 4
(4 mm ´ 12 mm)
Screw ´ 2
(3.8 mm ´ 20 mm)
Name plate ´ 2
(incl. 1 spare)
Hex wrench ´ 1
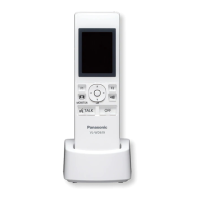
For the main monitor
*2
Relay box and related items
*2
Cable binder ´ 1 C
able binder ´ 1
*1 *1
Mounting bracket ´
1
Screw ´ 2
(4 mm ´ 16 mm)
Relay box ´ 1
(VL-RLY1)
Screw ´ 2
(4 mm ´ 40 mm)
Power supply unit and related items
*3
P
ower supply unit and related items
*1
Cable binder ´
1
Power supply unit ´
1
(
VL-PS240)
Cable binder ´ 2 Power supply unit ´ 1
(VL-PS241)
AC cable ´ 1 Screw ´ 2
(4 mm ´ 40 mm)
Important:
R Yo
u will need the following additional items to install and configure the doorphone and the
main monitor.
[Locally procured]
– S
crews (for mounting base: ´ 2, for mounting bracket: ´ 2, for relay box: ´
2):
*3
Prepare the screws (athe drawing on the right) according to the material,
structure, strength and other factors of the mounting area and the total weight
of objects to be mounted.
4 mm
– Power cables (AC/DC cables), wires (for doorphone and other connections):
Pr
epare cables and wires of the appropriate specification. (a"Wire type and length")
Note:
R Th
e illustrations in the supplied manual(s) may vary slightly from the actual product.
*1 VL-SVN511 AZ models only
*2 VL-V555 models not included.
*3 VL-SVN511 EX/FX models only
*4 VL-V555 BX/SX/VN models only
3
 Loading...