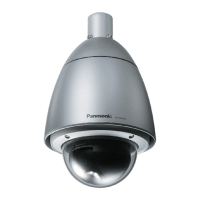
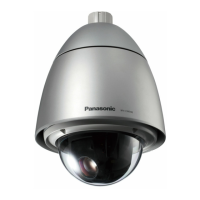
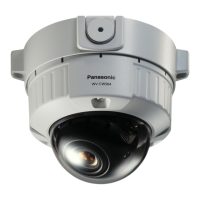
● Using Mounting Bracket
• Secure the camera mounting bracket to wall or ceiling, and fix the provided camera attach-
ment to the mounting bracket with the screws for to the mounting bracket. (Refer to the fol-
lowing figures.)
Verify the camera attachment and mounting bracket are mounted firmly after screwing
them.
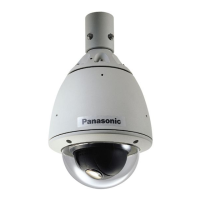
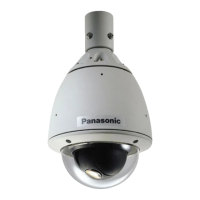
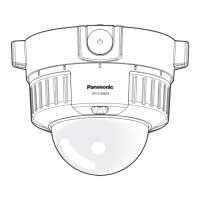
• When routing cables sideway or through the wall/ceiling, the mounting bracket is used.
• When routing cables sideway, open the
sideway cable exit unscrewing the lid by
use of a hexagon wrench. Screw the
detached lid to the cable access hole on
the bottom of the bracket.
• Make sure that either of the arrow marks
faces upward.
85 mm
{3.35"}
Bracket center
Drain slit*
* For wall mounting, do not face
the sideway cable exits upward.
51 mm
{2"}
Sideway cable exit
85 mm {3.35"}
<Mounting hole pattern>
TOP
Screws for the mounting bracket
TOP
Cable access
hole
Mounting
bracket
14
■ Installations
● Using a Junction Box
Secure the provided camera attachment to
the two gang junction box (4 in. x 4 in.) built
in a wall or ceiling.
<Mounting hole pattern>
46 mm {1.81"}
Junction box
Camera attachment (provided)
83.5 mm
{3.29"}
Screws for the camera attachment (Locally procured)
 Loading...