20
Setup procedures
Setup of this product should only be performed by
qualified service personnel or system installers.
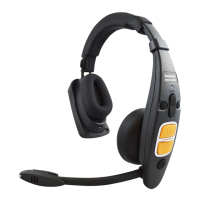
w Switch compartment
Unscrew the screw and open the switch
compartment when the power of the headset
is off.
Cover
Refer to the “DIP switch setup” on the right,
and set the DIP switches.
After finishing the setup, replace the cover.
w DIP switch setup
Remove the switch cover and you will see a 4-bit DIP switch
and a 1-bit DIP switch.
Initial Setting
1
3
4
5
p Be sure to turn off the headset. Otherwise, the DIP
Switch will not be activated until you turn the power off
and on again.
Note
No. Function ON OFF
1
Auto-Talk-Lock
ON/OFF
ON OFF
2
Talk button
setting
Talk-Lock PTT
3
Page button
setting
Page-Lock PTP
4
Center Module
model selection
WX-C3010
WX-CC411
WX-CC412
5 Unused –
Normal
operation
No.1 Auto-Talk-Lock ON/OFF
ON: Auto-Talk-Lock ON
OFF: Auto-Talk-Lock OFF
No.2 Talk button setting
ON: Talk-Lock
OFF: PTT
No.3 Page button setting
ON: Page-Lock
OFF: PTP
No.4 Center Module model selection
ON: WX-C3010
OFF: WX-CC411, WX-CC412
No.5 Unused
Always set to OFF.
 Loading...