13
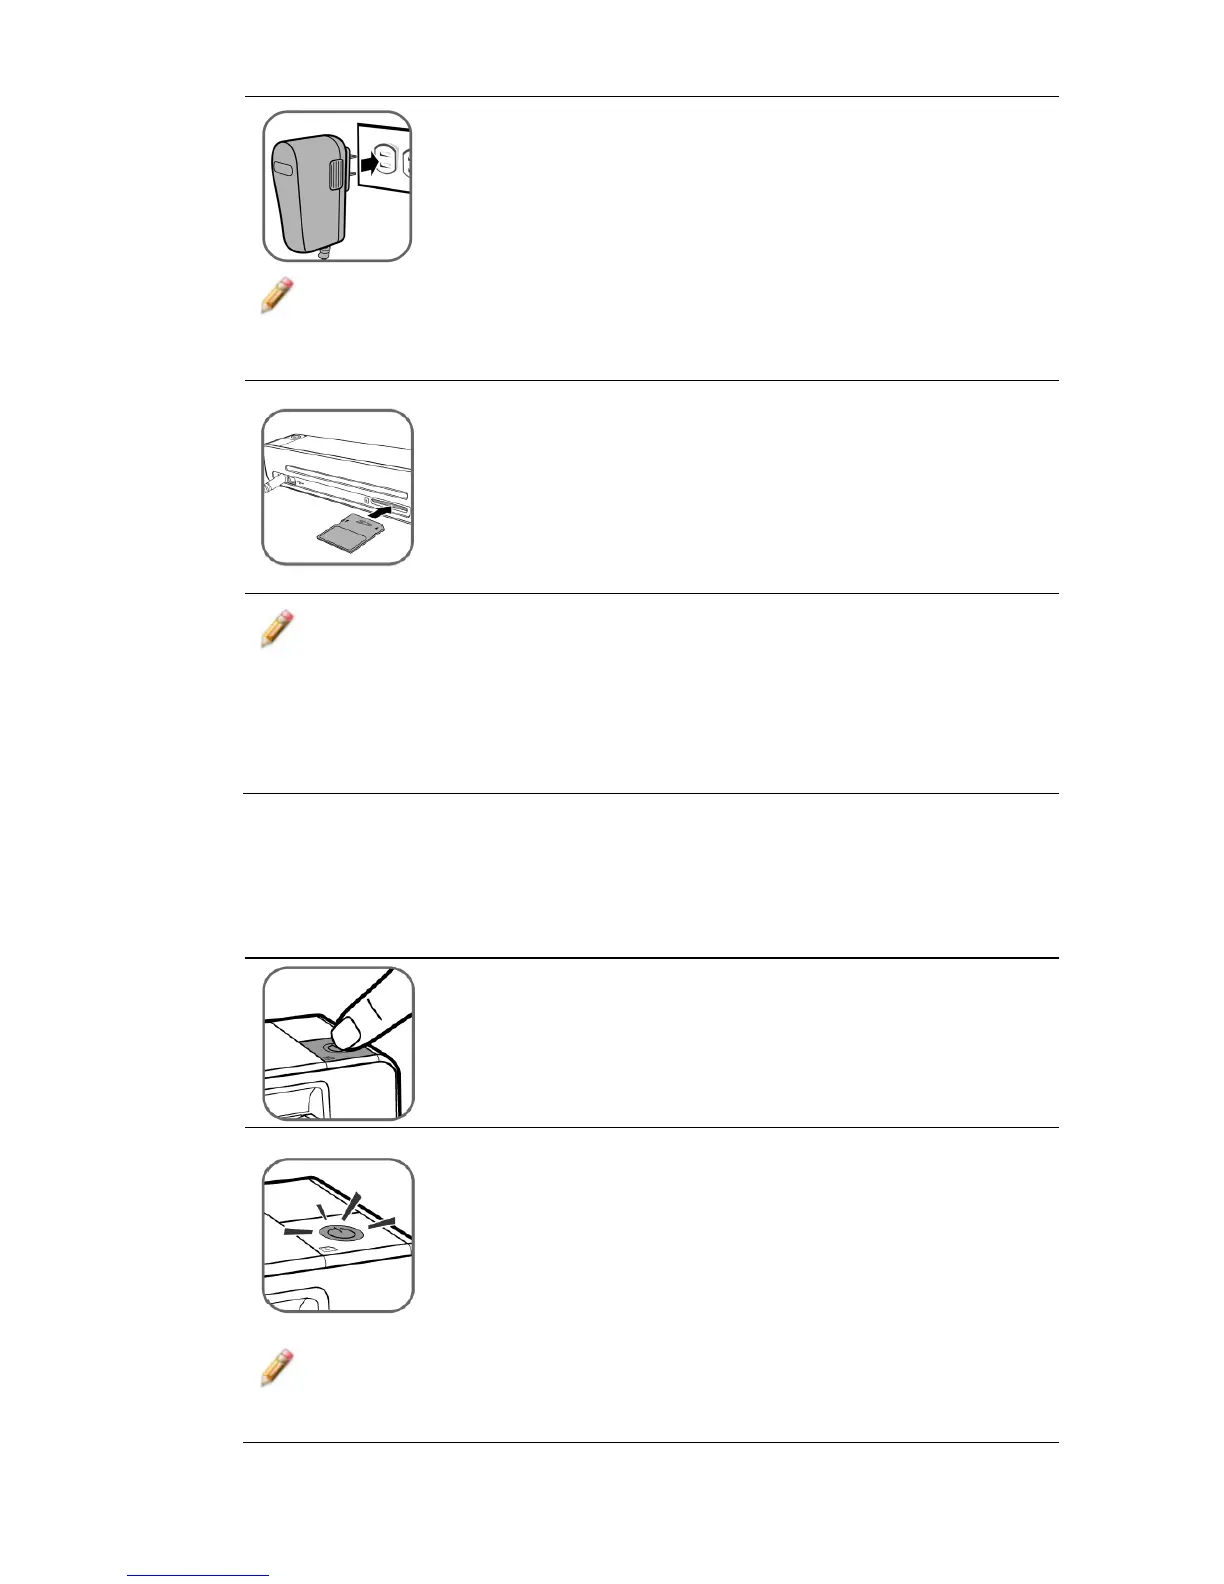
3. Plug the power adapter into a power outlet.
Note: The type of power plug and socket illustrated may differ
from that of your region.
4. Insert an unlocked (writable) memory card into
the memory card slot.
Notes:
Always insert a memory card before scanning.
The scanner only accepts memory cards in FAT16 or
FAT32 format. NTFS and other file formats are not
supported.
Poweronthe
PhotoLinkScanner
1. Press the
Power button. The power indicator
and Status/Card lights blink. (For more
information on the indicator lights, refer to
“Indicator Lights” on page 9.)
2. Wait until the power indicator stops blinking
and then goes off. The Status/Card indicator
will stay on steady, indicating that the scanner
is ready.
Note: Do not insert an original into the feeding slot when the
power indicator is blinking; the original will not be scanned.
 Loading...


