27
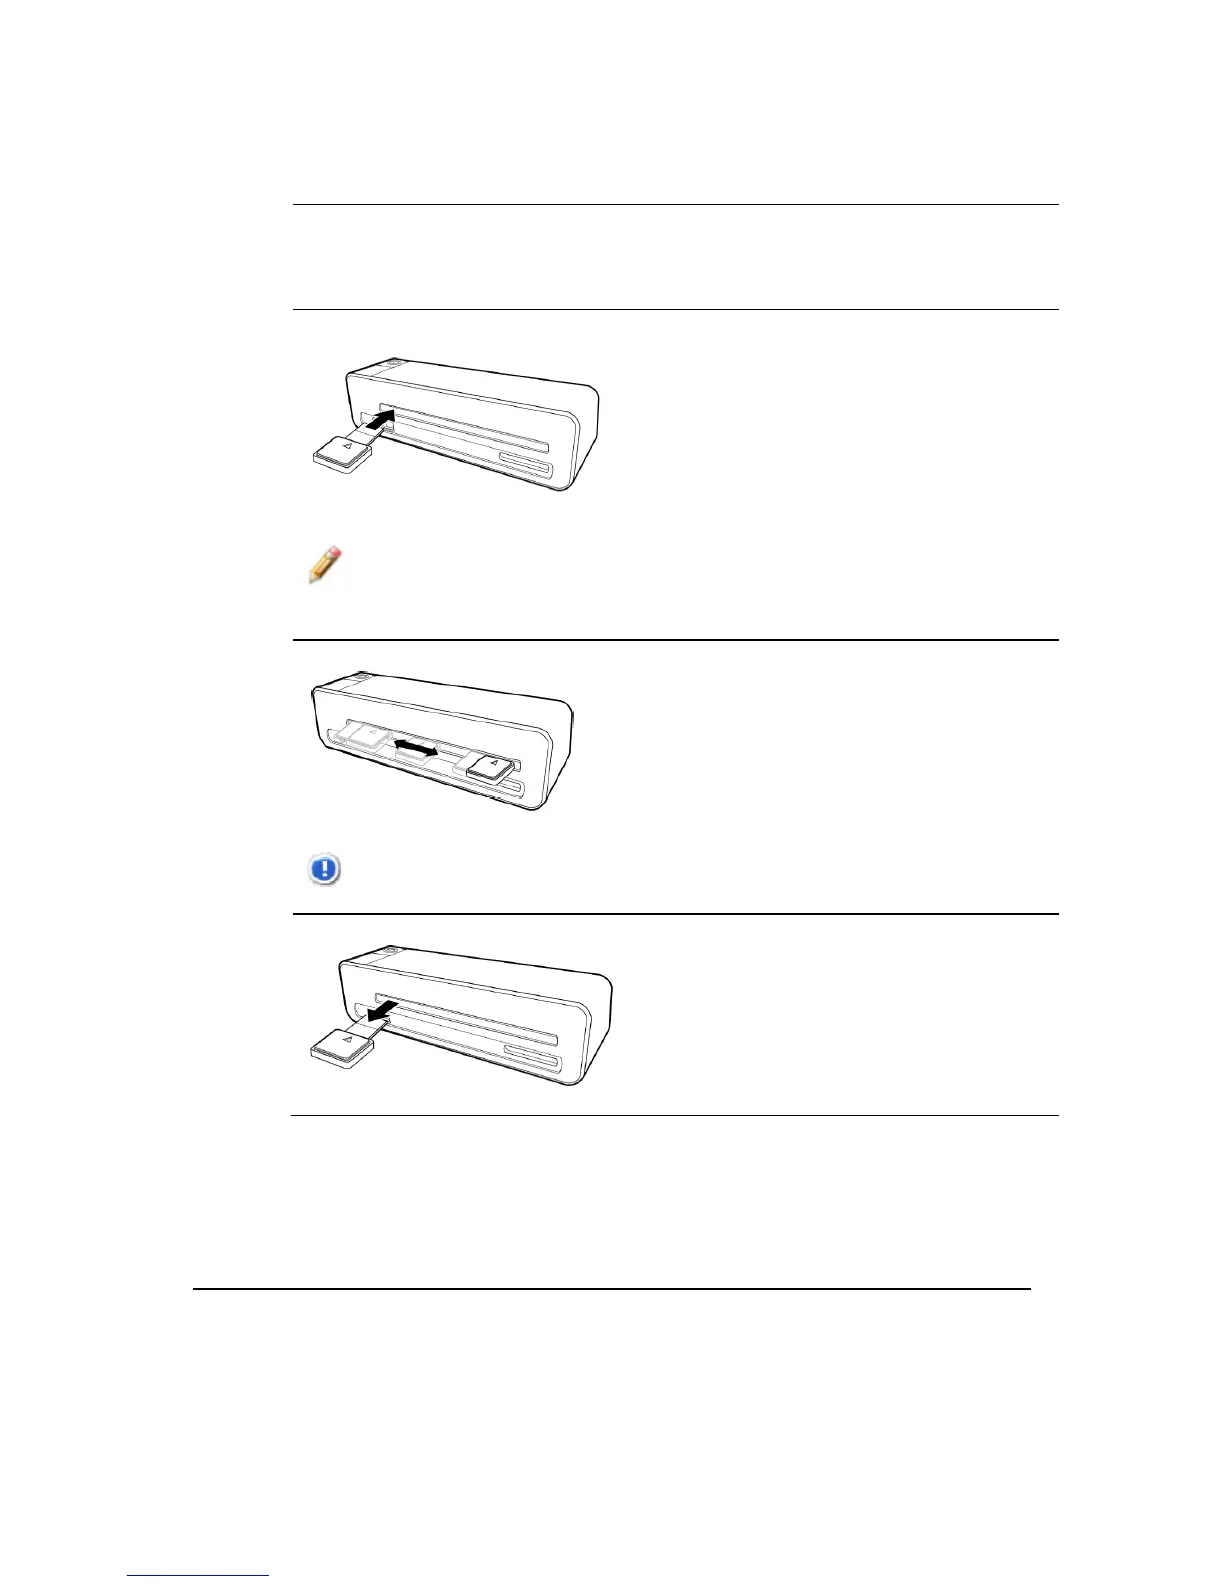
CleaningtheImageSensor
1. Clean the scanner’s outer casing first, using only the
recommended and supplied tools.
2. With the scanner powered off
and disconnected from the
power supply, insert the
sensor cleaning swab into
one end of the output slot.
Note: Make sure that there is no visible dust on the swab
before inserting it into the output slot.
3. Gently slide the sensor
cleaning swab back and forth
from one end of the output
slot to the other five or six
times consecutively.
CAUTION: Do not apply too much force on the swab.
4. Remove the sensor cleaning
swab, store it in a safe place
and protect it from dust.
CalibratethePhotoLinkScanner
If the scanned image looks fuzzy or there are strange stripes on it,
the scanner may need calibrating in order for the sensor to
resume its original precision. To calibrate the scanner:
 Loading...


