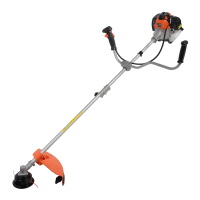
1
3
2
24
4
6
5
25
Once you are satised that the splines and the
locating pin hole are aligned sufciently, connect
the shaft to the joint.
When inserting the shaft into the joint pay particular
attention to the splines within the shaft.
It is essential that the splines are connected
correctly for the machine to operate.
Insert the locking knob into the shaft connector.
Pull and twist the locating pin to lock it into the open
position before inserting the lower shaft into the
joint.
JOIN THE SHAFTSALIGN THE SPLINESSHAFT TO JOINT ASSEMBLY
Loosen the four screws on the upper cap. Remove
the upper cap and place the bull horn handle inside
the recess.
Replace the upper cap and re-tighten the four
securing screws. The bullhorn handles are now
secured in place.
Attach the guard to the guard attachment bracket
using the screws which are already installed in the
lower guard, use the tools provided within the tool
kit.
Align the lower guard to the lower guard attachment
bracket located at the end of the lower shaft next to
the hub.
ATTACH THE HANDLEATTACH THE LOWER GUARDALIGN THE LOWER GUARD
ASSEMBLY
ASSEMBLY
• Over-tightening the bolts can cause damage to the screw and/or the machine.
CAUTION!
• Do not use the machine without the locking knob attached and tightened to the shaft connector.
• It is essential that the locking knob is secured when using the machine, failure to do so can damage the machine.
• Take care aligning the splines, if the splines are not connected correctly the machine will not function correctly.
WARNING!
 Loading...