1
3
2
48
4
6
5
49
Having sucessfully replaced the spool line and the
unit reassembled correctly you are now free to start
using the spool again.
With the the spool line now replaced and the
cartridge placed within the spool cover carefully
attach the spool cover to the spool body
Place the cartridge into the spool cover and line up
the ends of the spool line with the metal eyelets.
Remove the spool line from the lugs on the spool
cartridge and position them into the metal eyelets
on the the spool cover.
Secure the spool line inside one of the two lugs on
the body of the cartridge to prevent it unwinding.
Secure the replacement spool line to the cartridge as
shown. The cartridge consists of two compartments
in which the spool line needs to be wound. Wind in
the direction shown on the body of the cartridge.
Open the spool by pressing one of the two clips
to loosen the cover. Once loose rmly press the
second clip and remove the spool cartridge from
inside the housing.
REPLACEMENT COMPLETEREATTACH SPOOL COVERREPLACE CARTRIDGESECURE SPOOL LINEREPLACE SPOOL LINEOPEN THE SPOOL
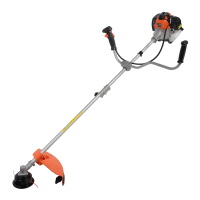
OPEN & REPLACE SPOOL LINE
OPEN & REPLACE SPOOL LINE
• Replacement strimmer wire should be 2.4mm in diameter.
 Loading...