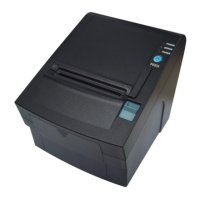
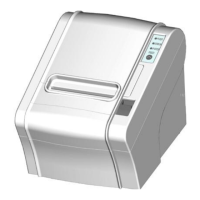
RP-700User’s Manual
The following diameter of core shaft of paper roll supported by the printer are as following: OD
of 16.2mm for plastic core shaft, OD of 20.8mm for paper type core shaft; adjust the paper near
end sensor to adjust the application method and paper near end alarm function for core shaft
with different outer diameters. There are four positions indicated by the scale marks for paper
near end alarm, and users can rotate the paper near end adjustment spanner to make the
indication line locate at different position, which change the paper near end alarm functions
under different application conditions. The position 1 and 2 are for the application that output
paper from the top, position 1 is for plastic core shaft of paper roll and position 2 is for paper
type core shaft of paper roll. The position 3 and 4 are for the application that output paper from
the front, position 3 is for paper type core shaft of paper roll and position 4 is for plastic core
shaft of paper roll.
4.6 Power-on and self-test
4.6.1 Power-on
1) Ensure that the printer is connected to power;
2) Turn on the power switch to power on the printer.
4.6.2 Print self-test page
1) Ensure that the printer is connected to power, and that paper roll is installed;
2) Ensure that the power LED is off and the printer is under power-off condition.
3) Press the feed button while turning on the printer power, and then release the button. The
printer will print out configuration information and prompt characters “Press and Release
FEED key to print characters” and “Press and Hold FEED key to config the printer”. Then
the printer enters pause status, and the error LED flashes;
4) Pressing the feed button momentarily, the printer will print out a character test sample, and
the printing of self-test page is completed. Pressing the feed button for a long time, the
printer will enter button configuration mode.
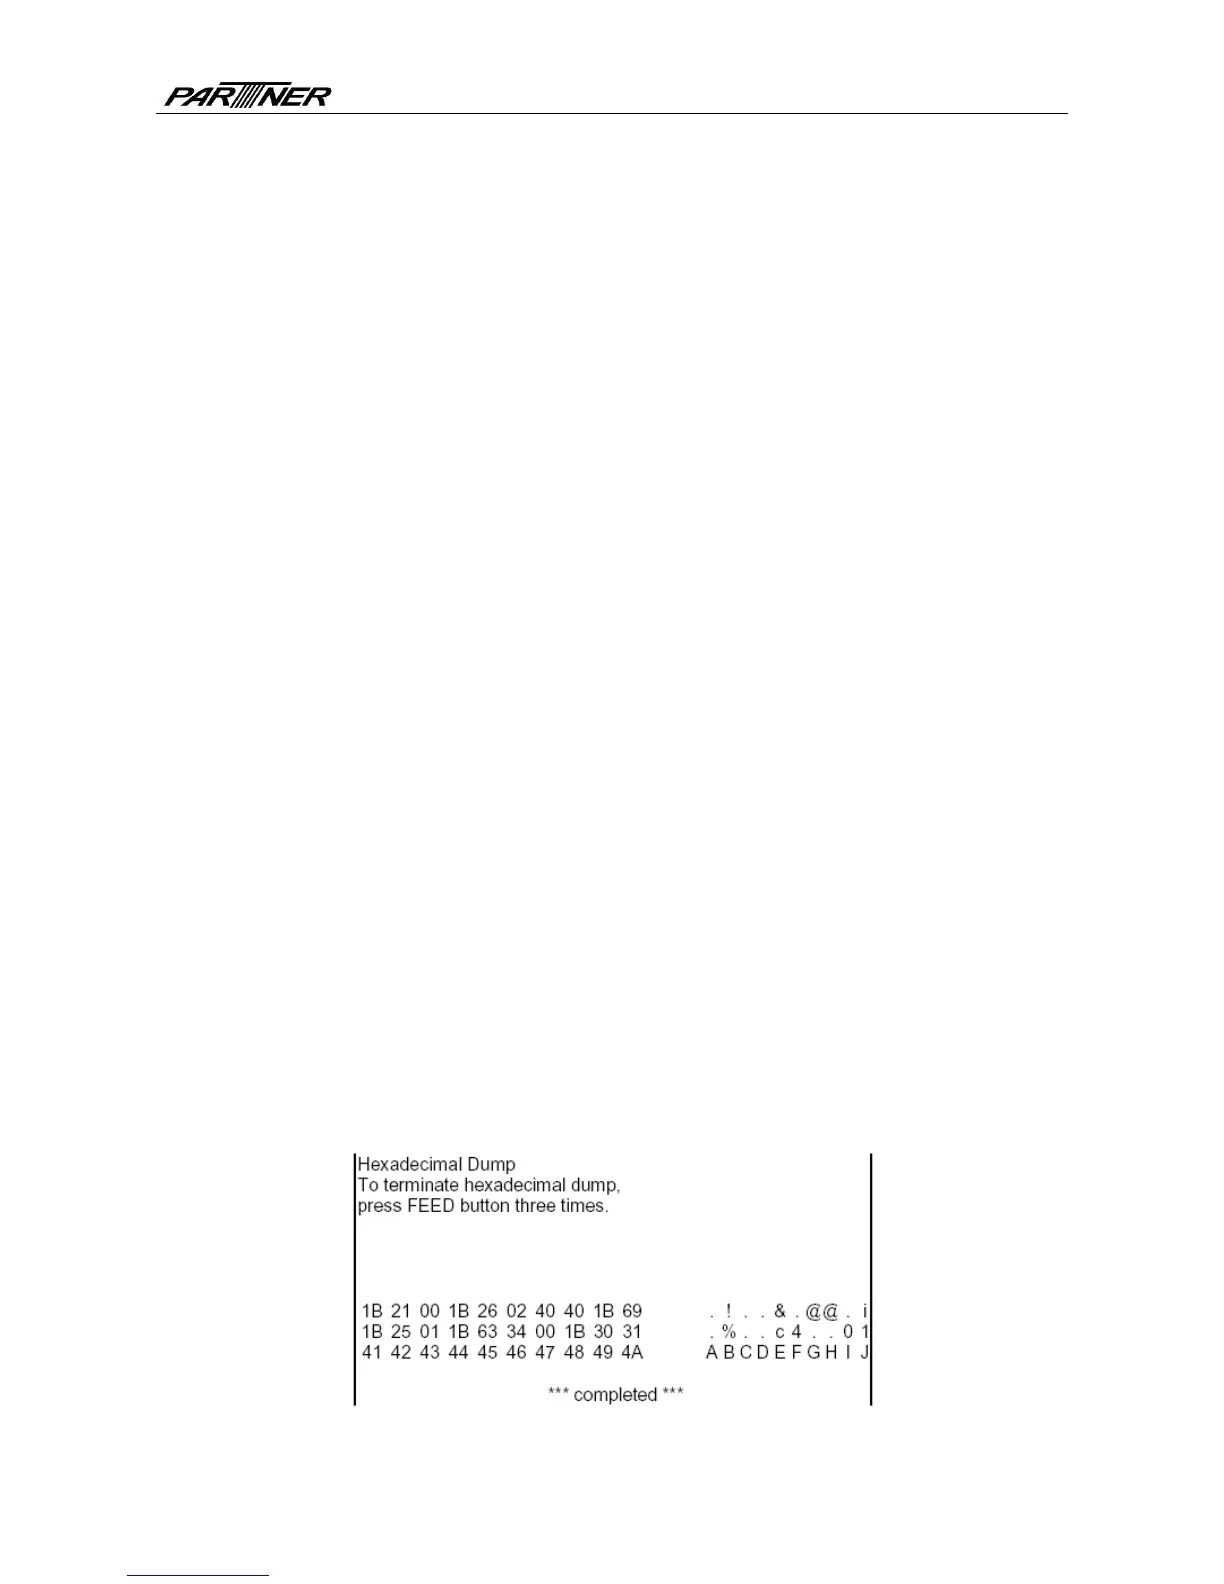
4.7 Hexadecimal dumping function
After entering Hexadecimal dumping mode, the printer will print out the data transmitted from
the host computer in hexadecimal and their corresponding ASCII characters.
The sample printed under Hexadecimal dumping mode is as follows:
Fig. 4.7-1 Print sample under Hexadecimal dumping mode
- 13 -